UMDB Build - Summer 2025
Session 1 - Recap
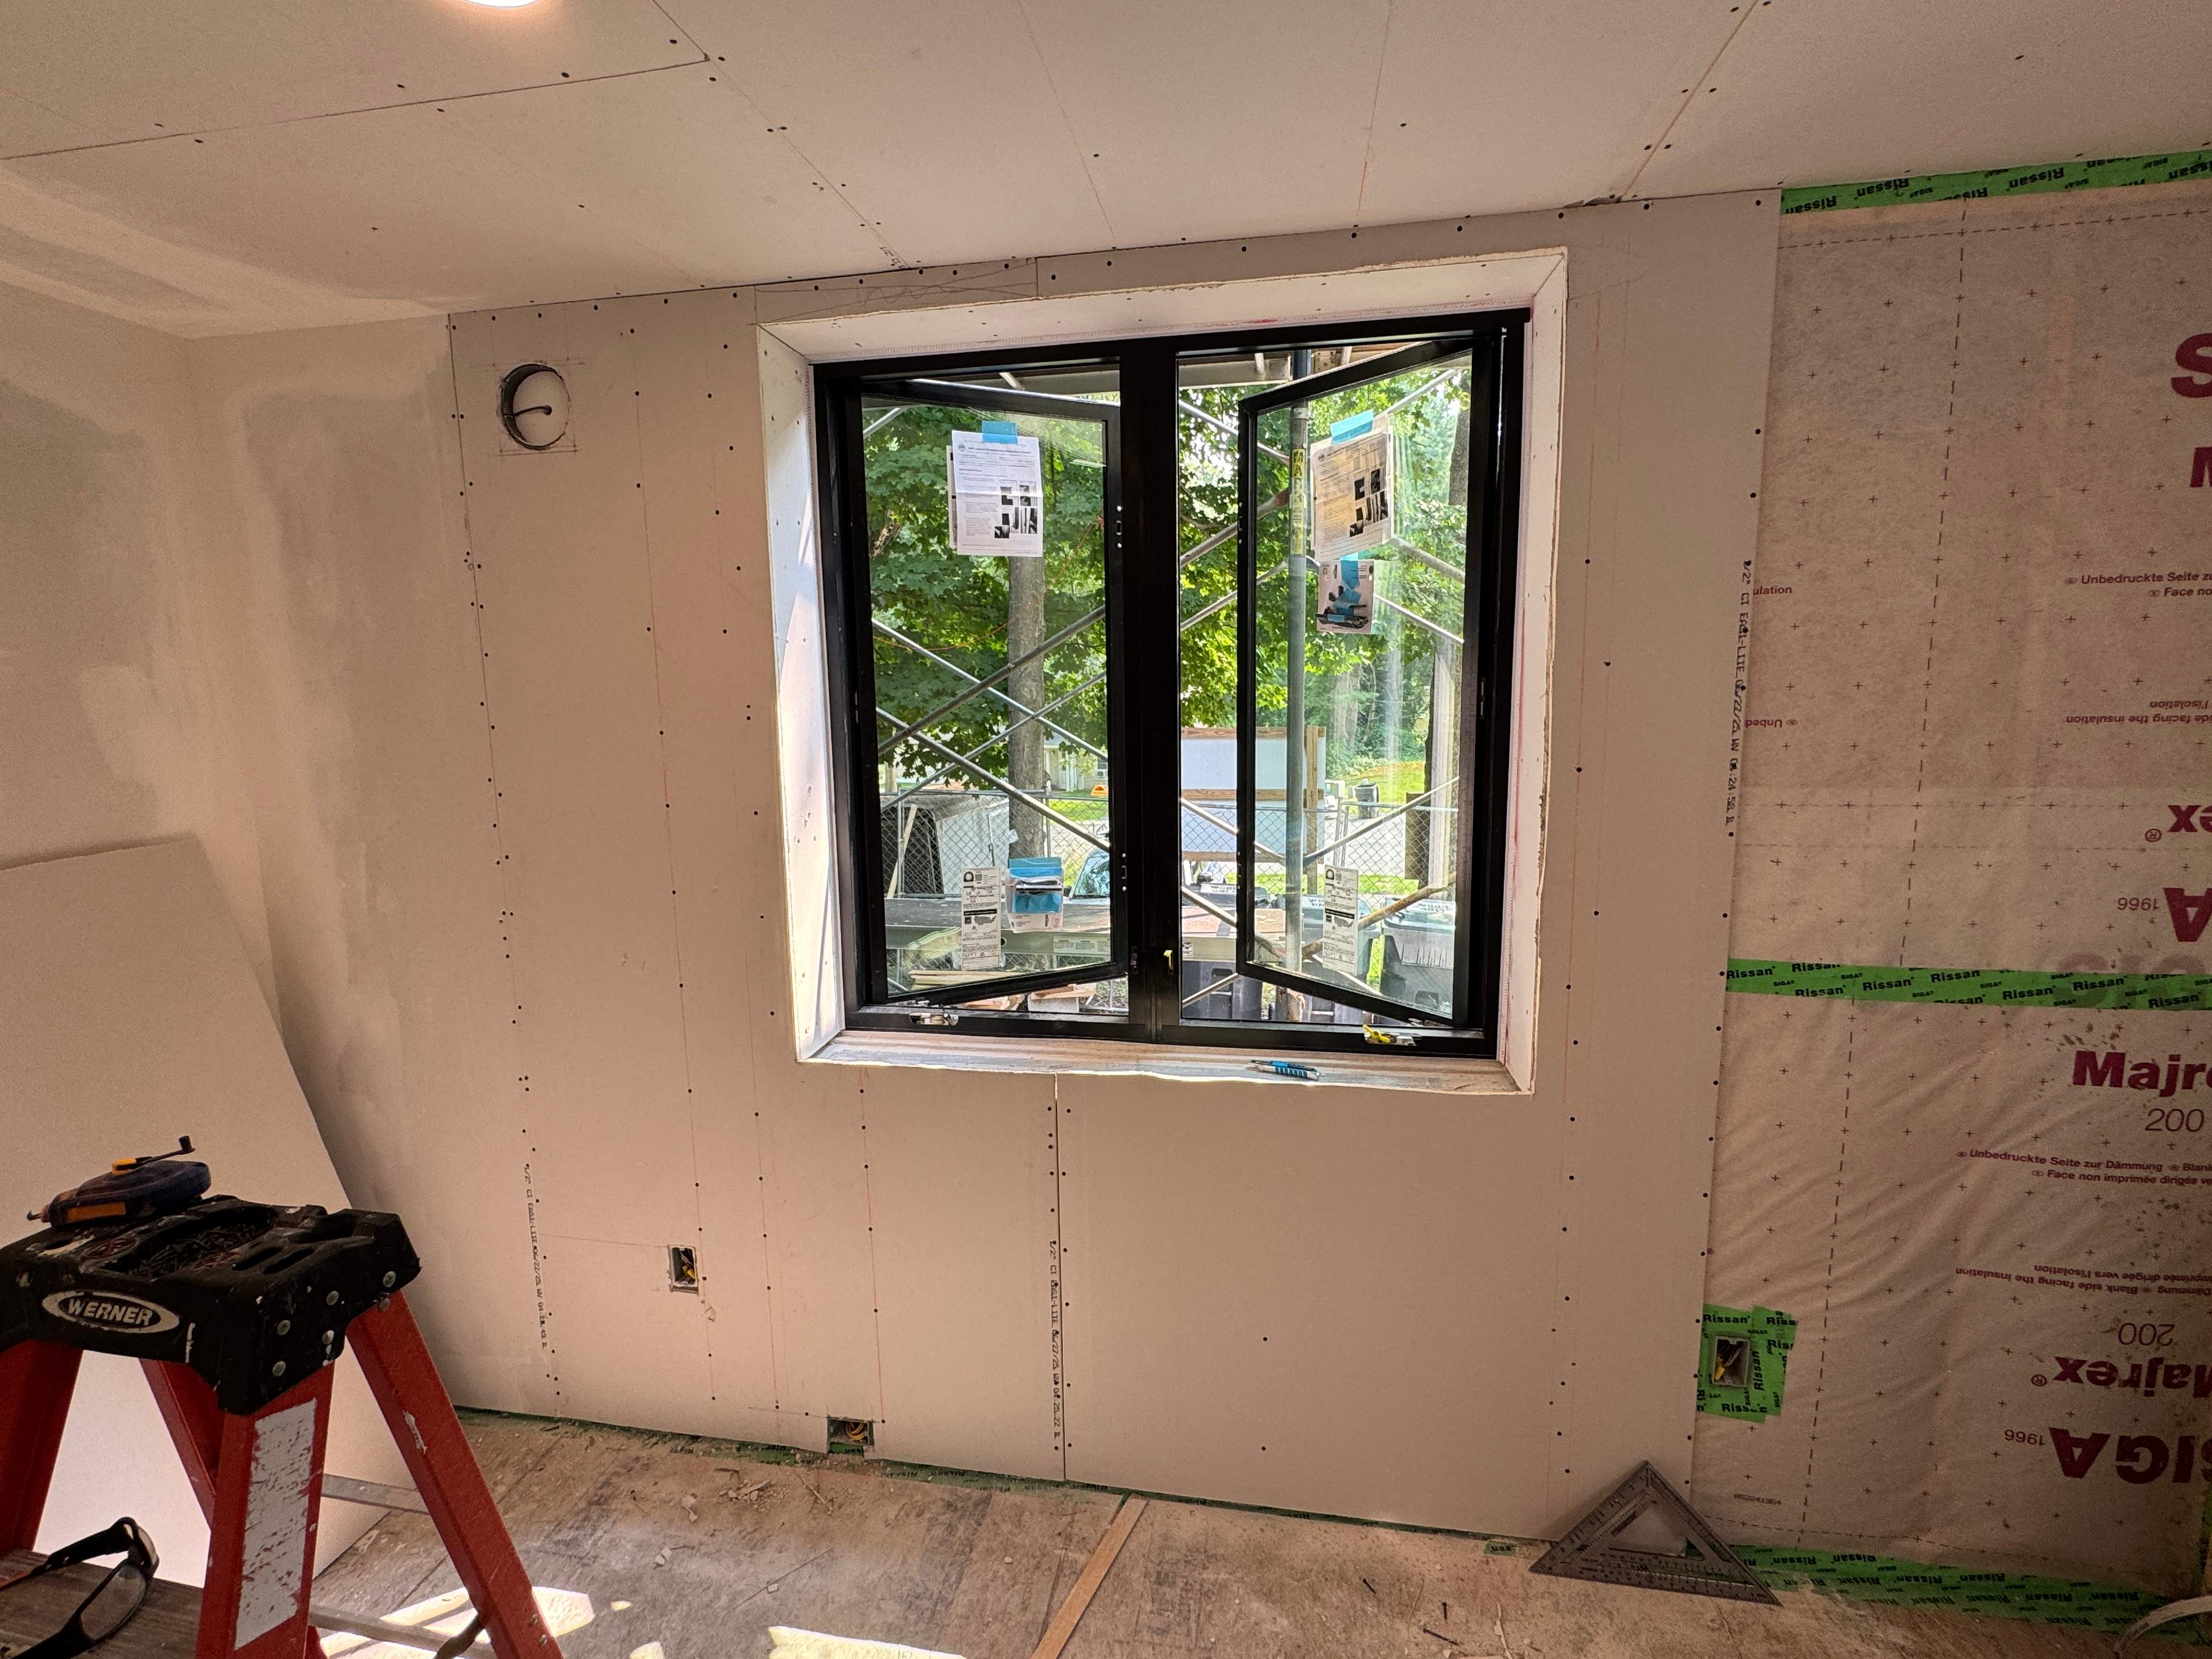
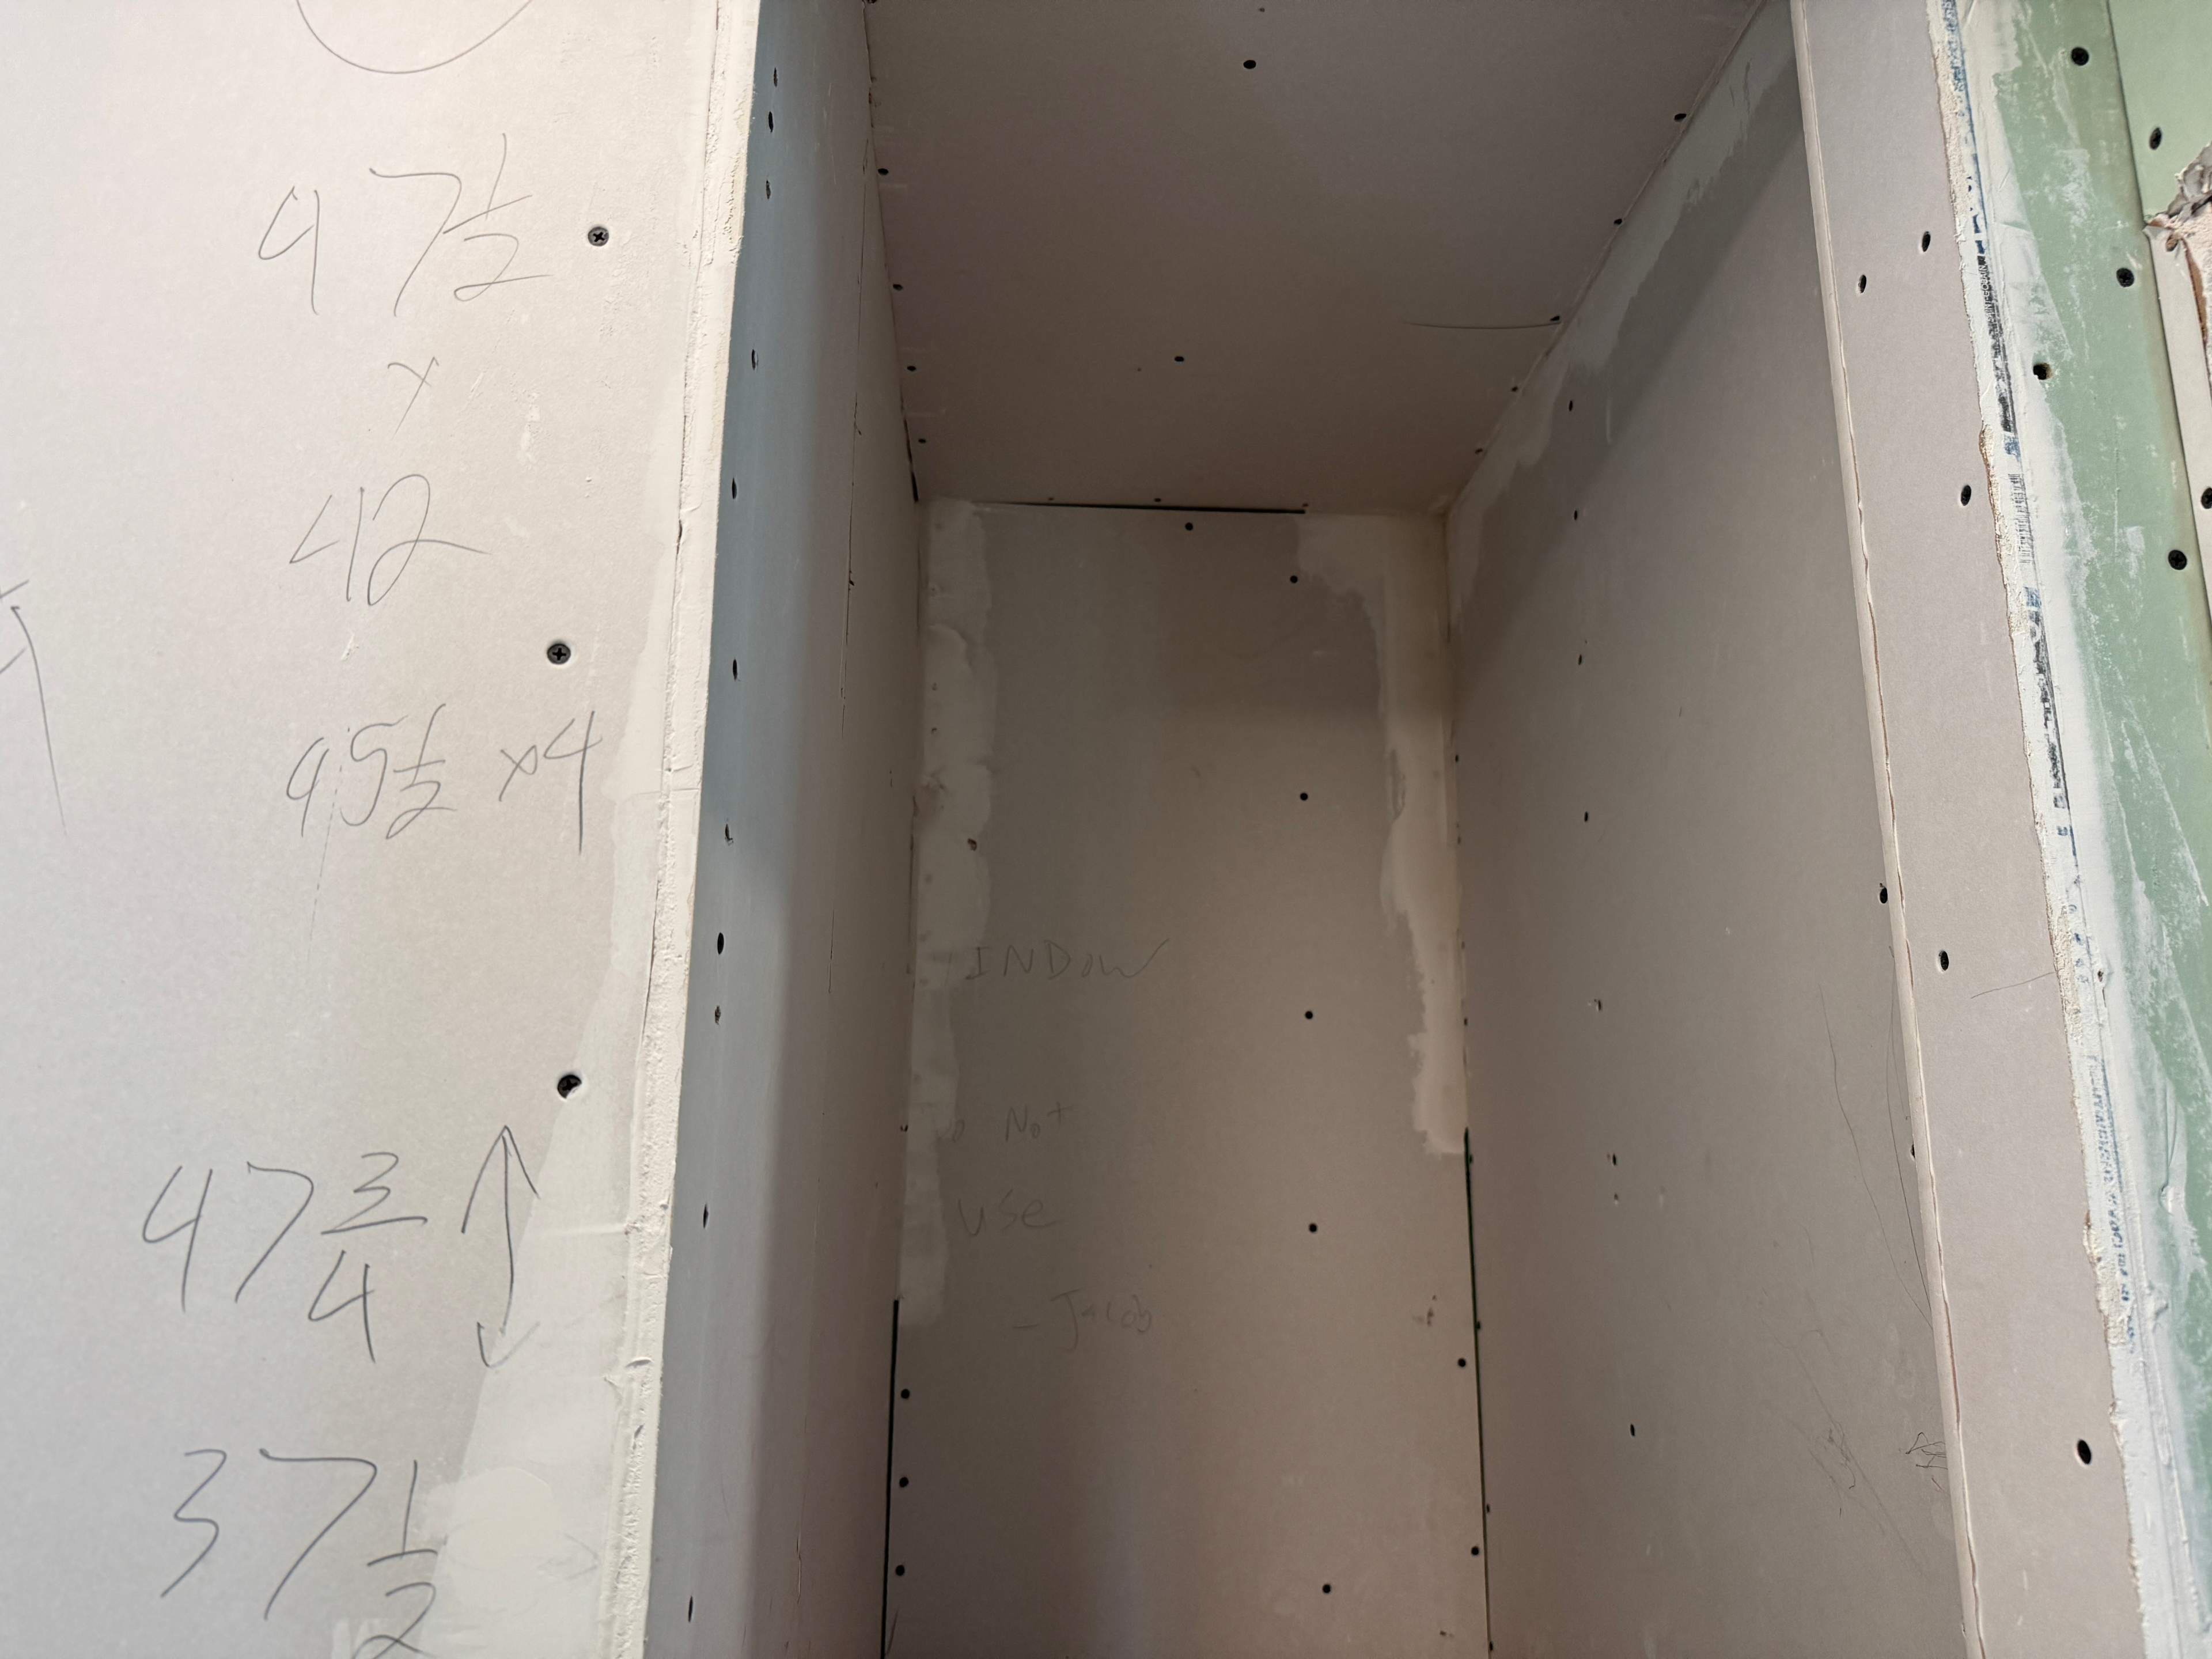
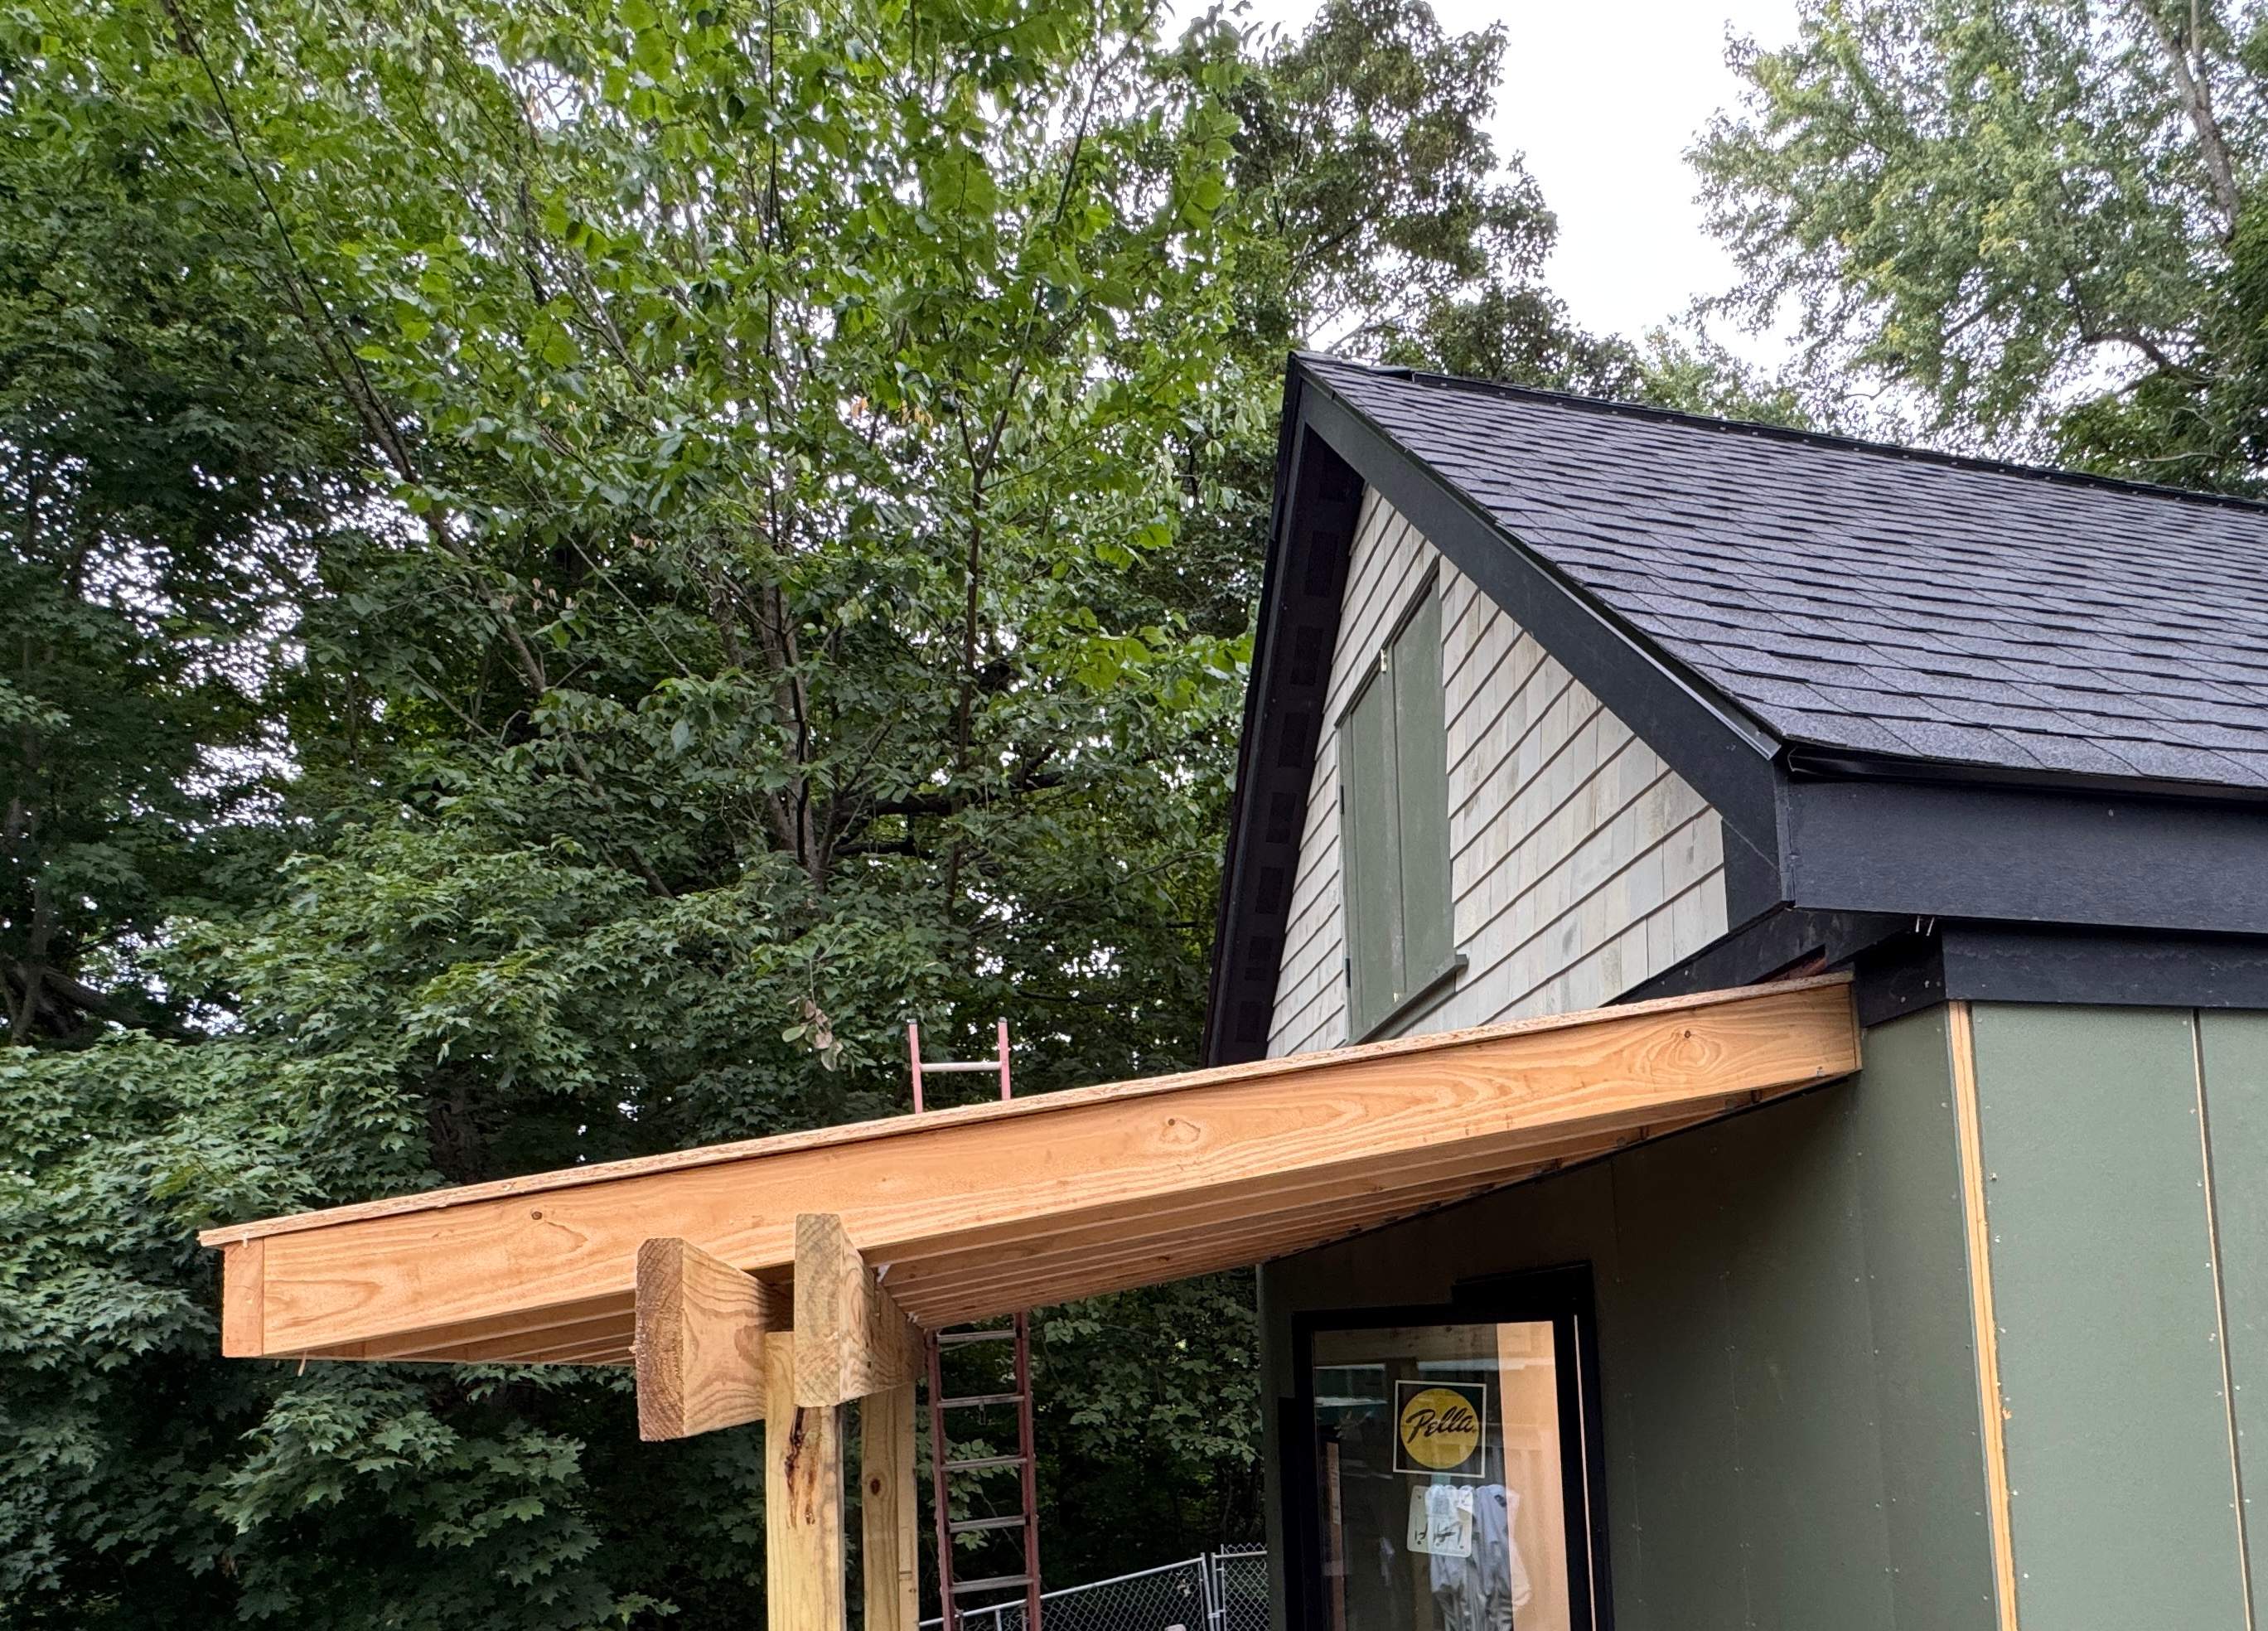
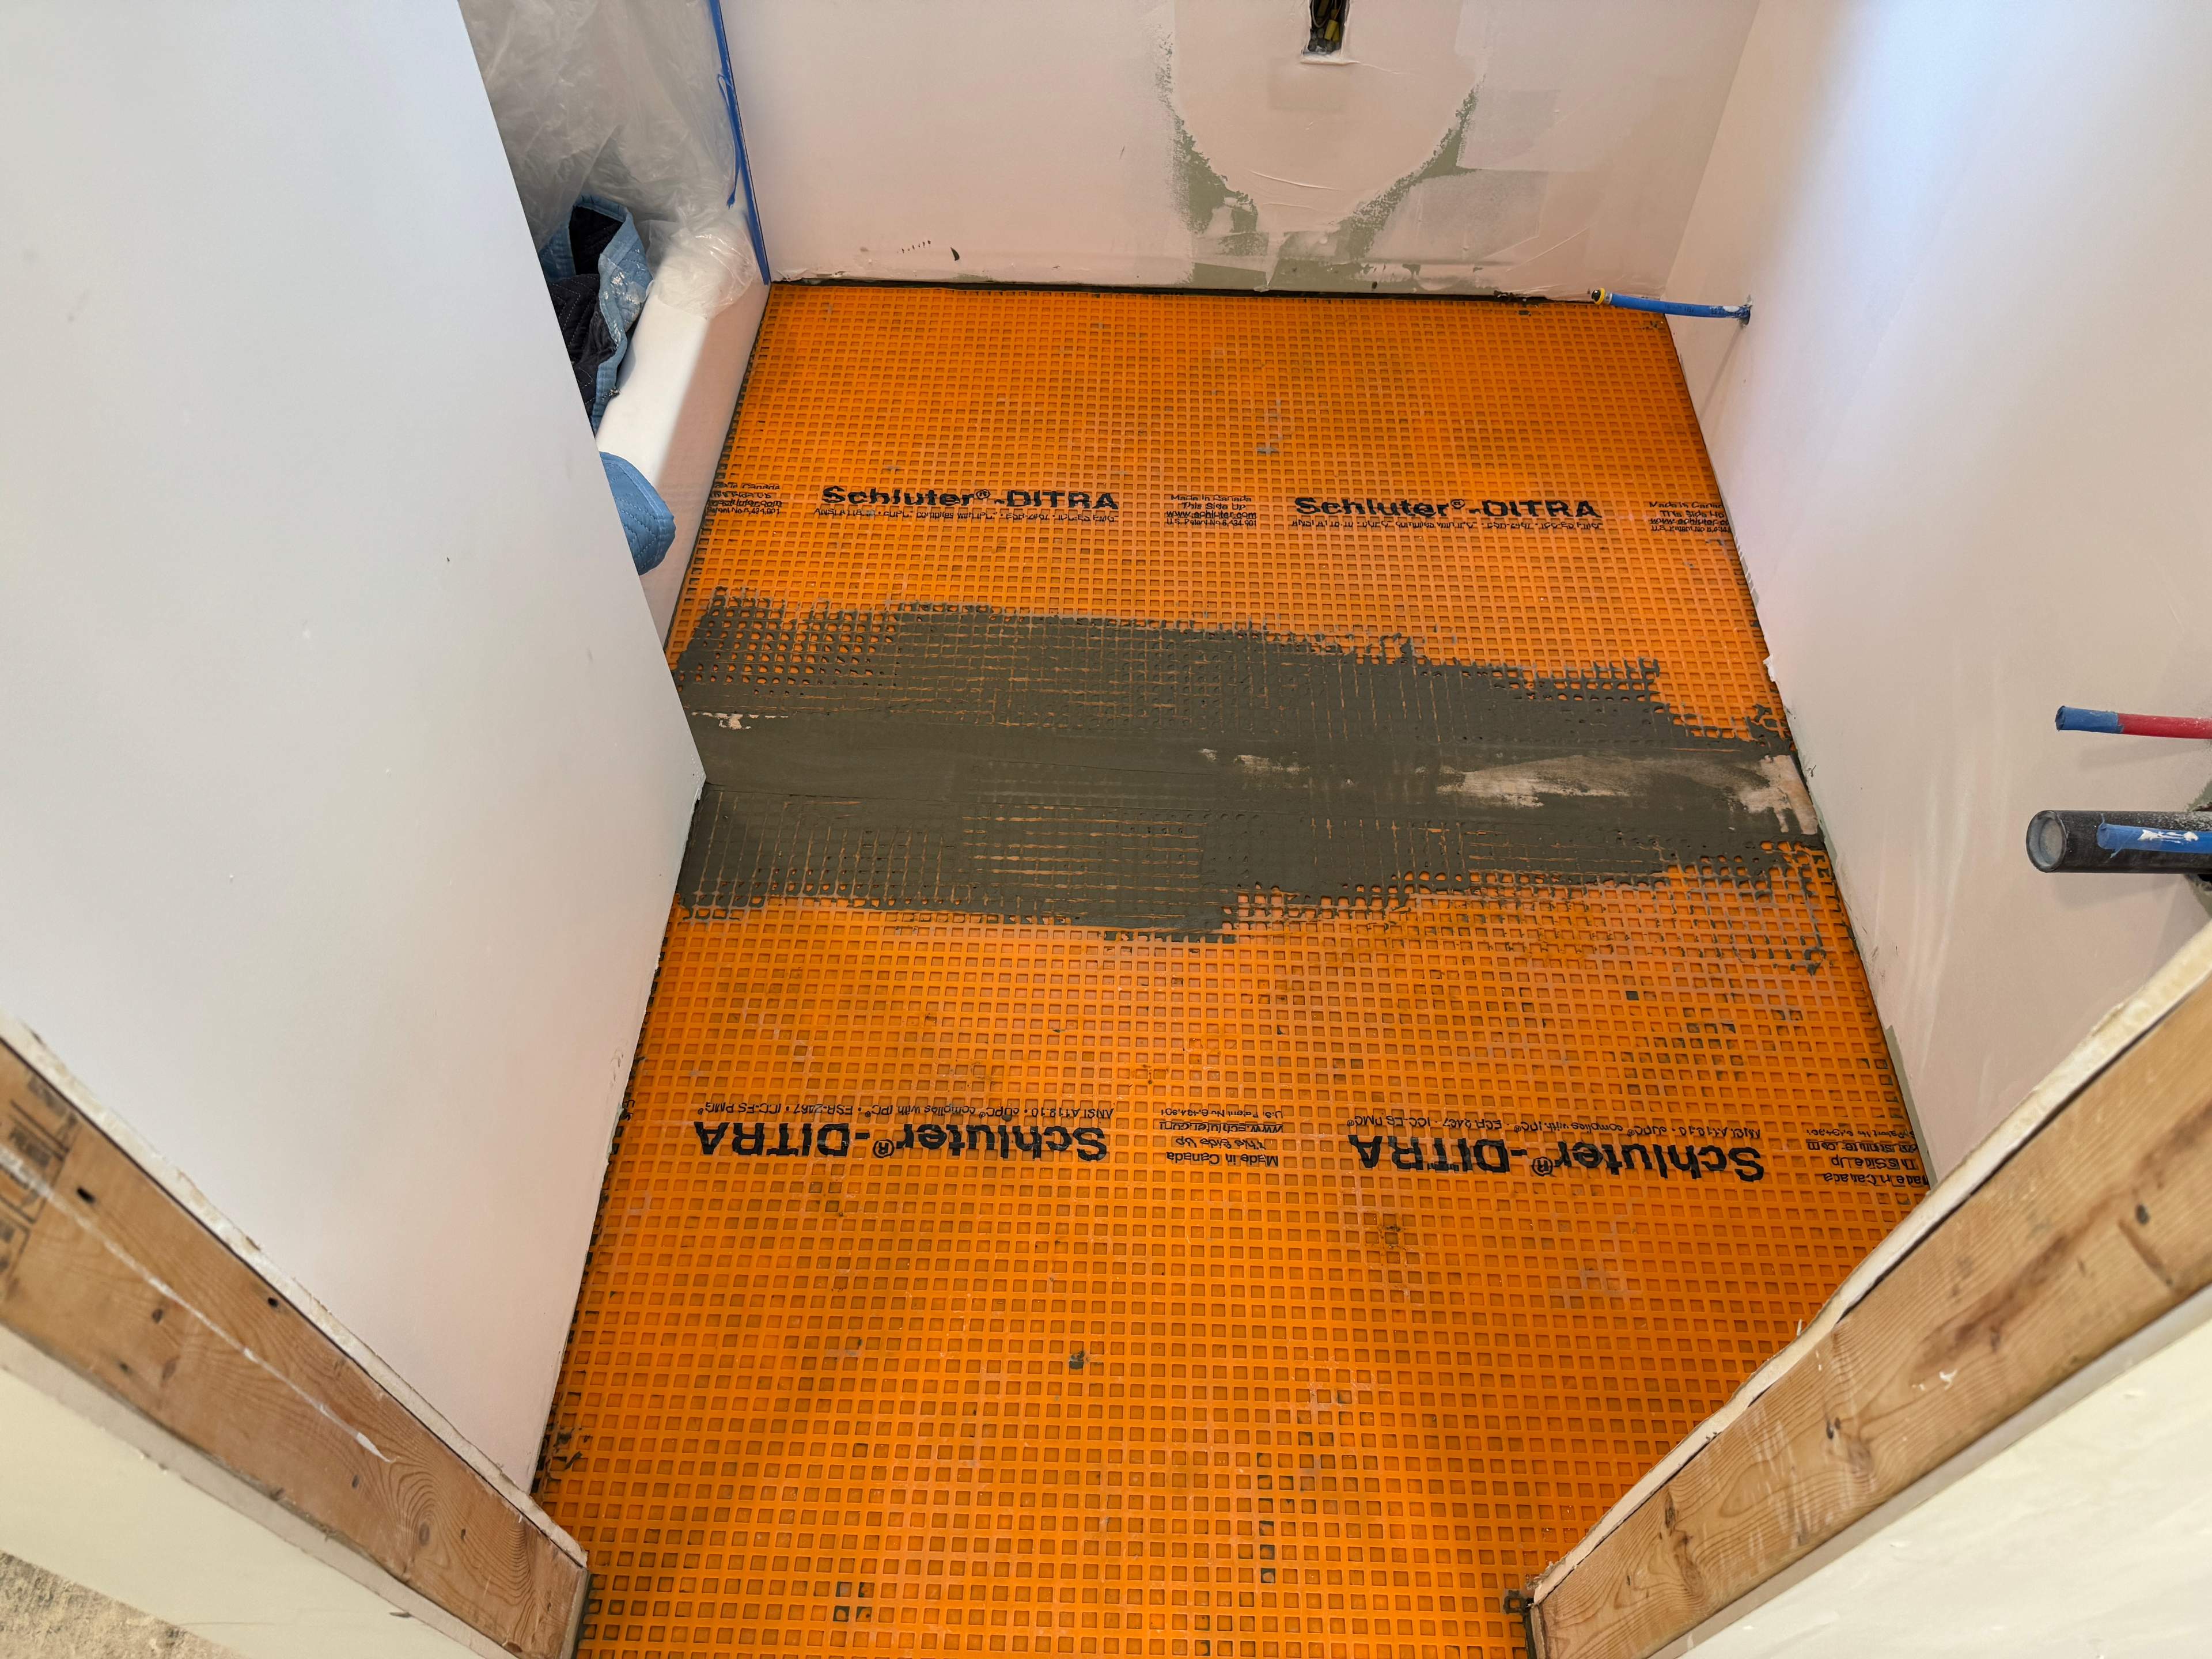
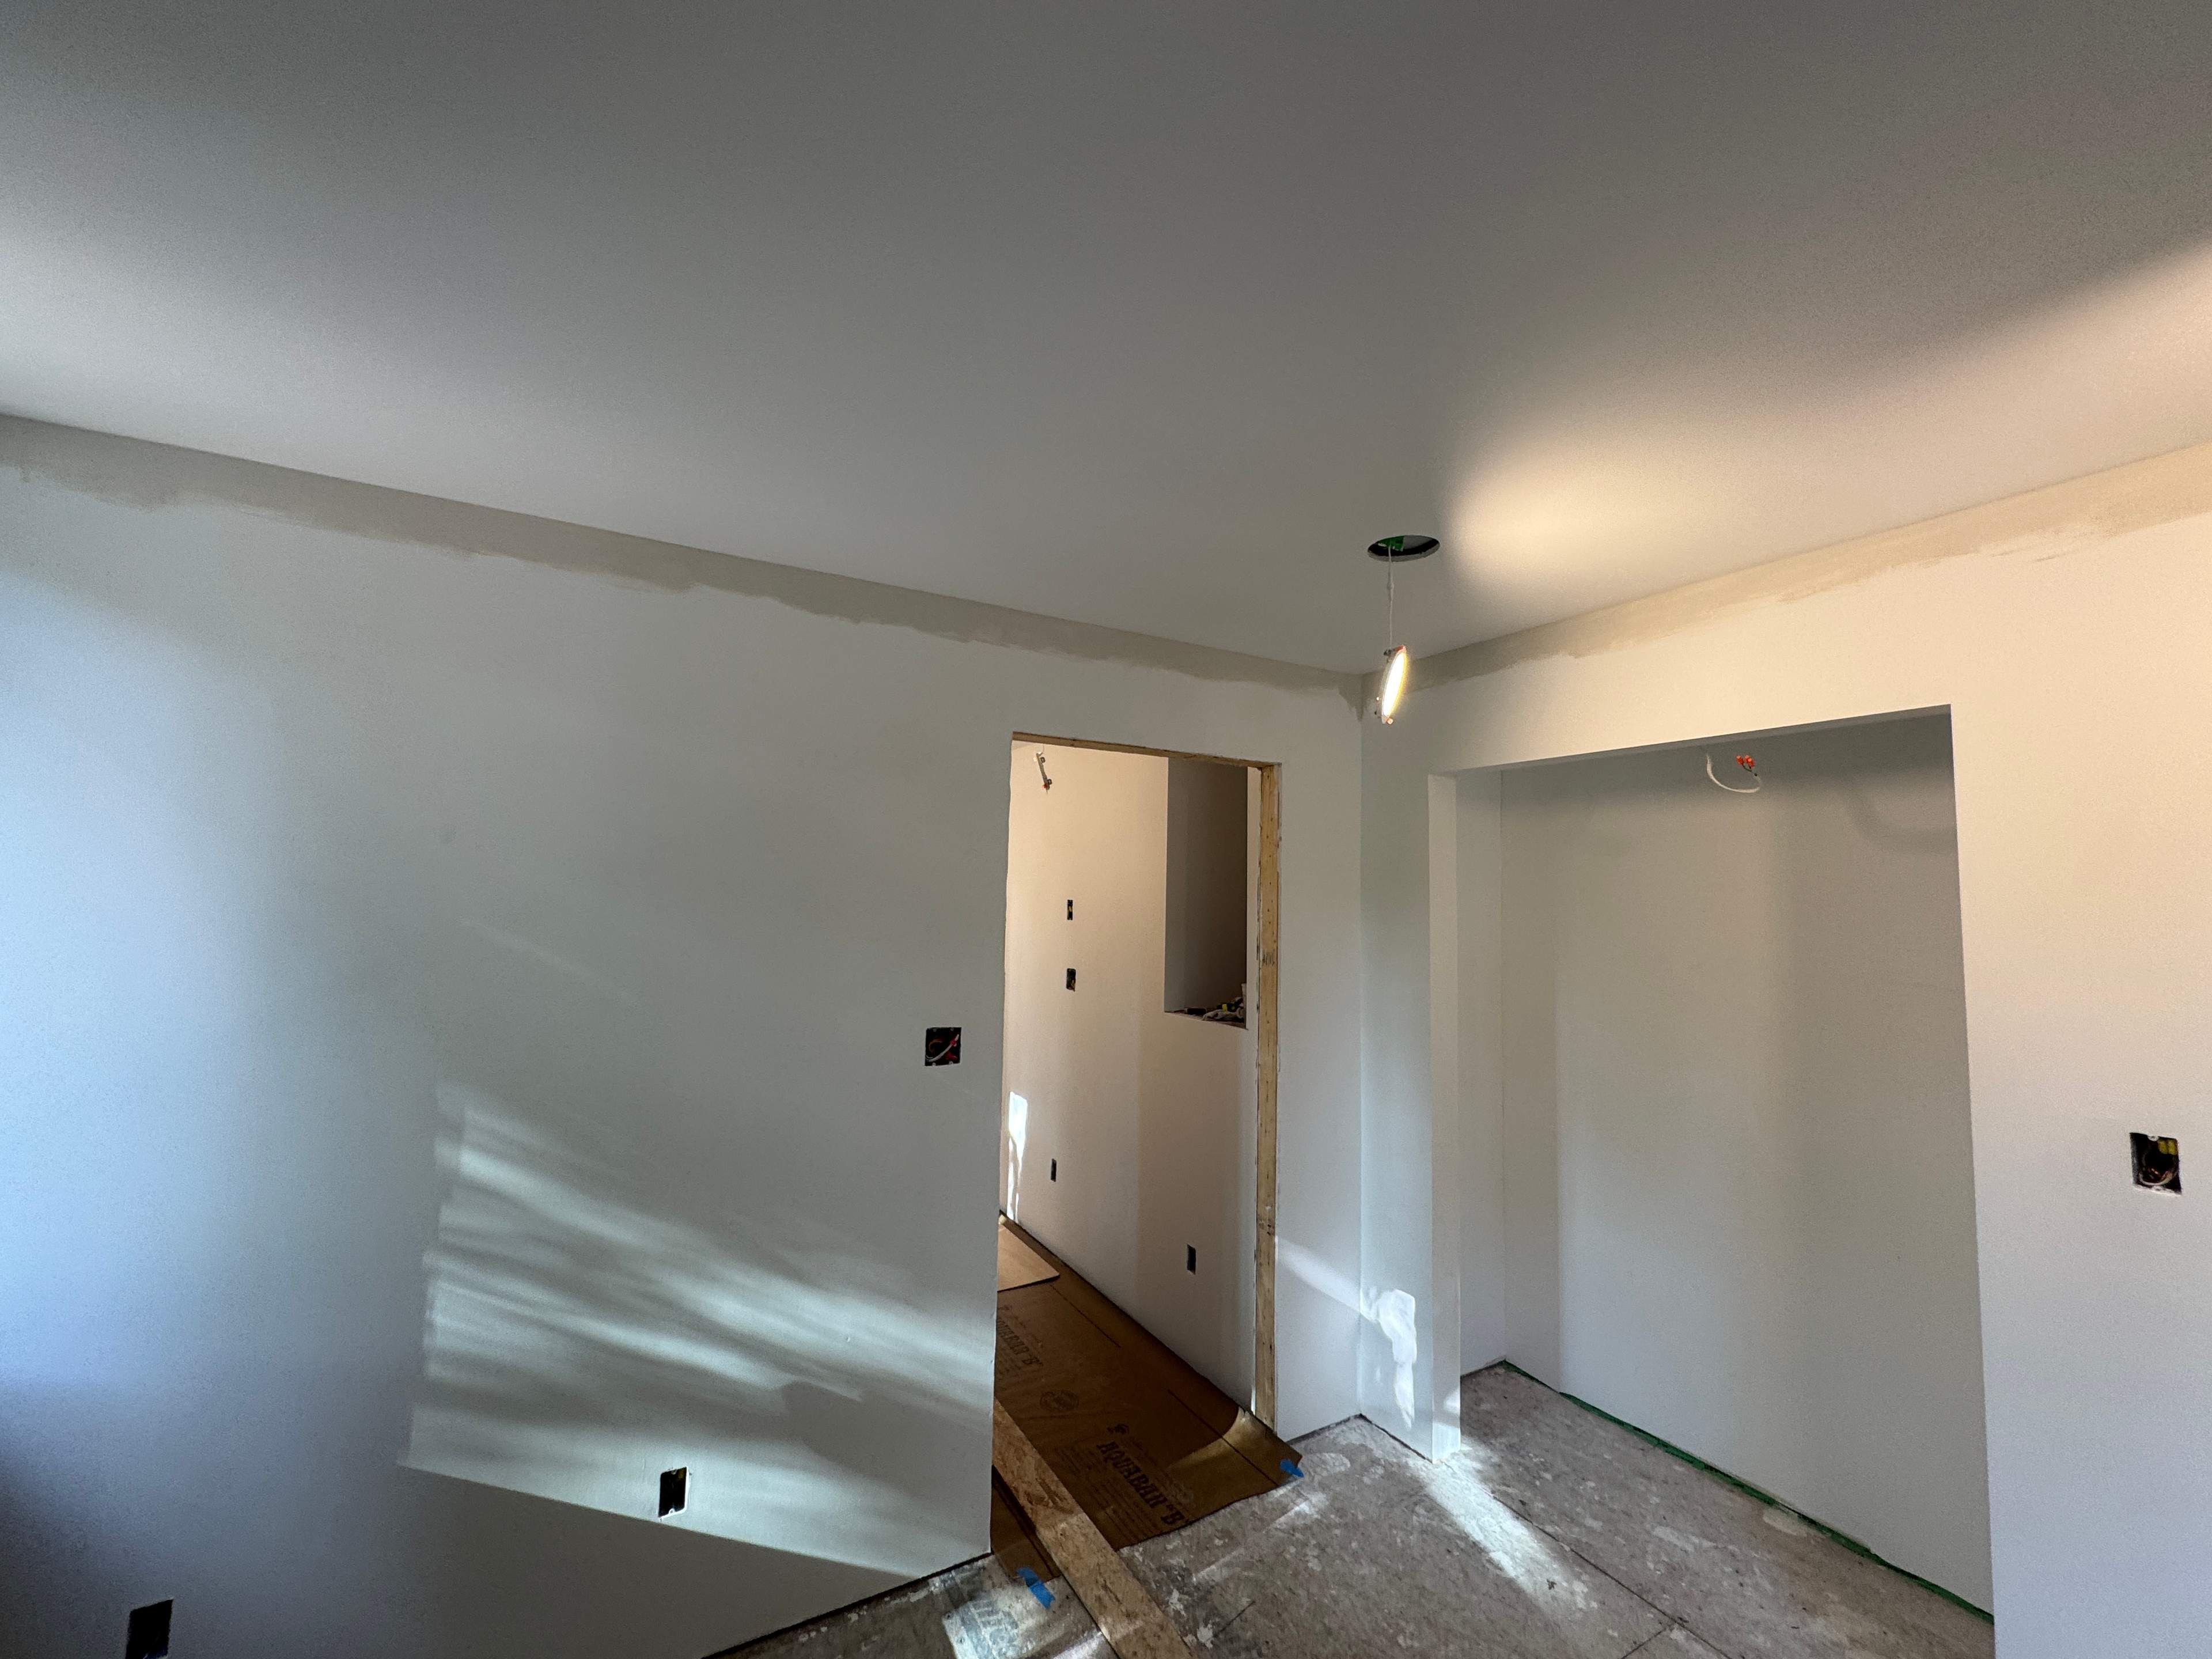
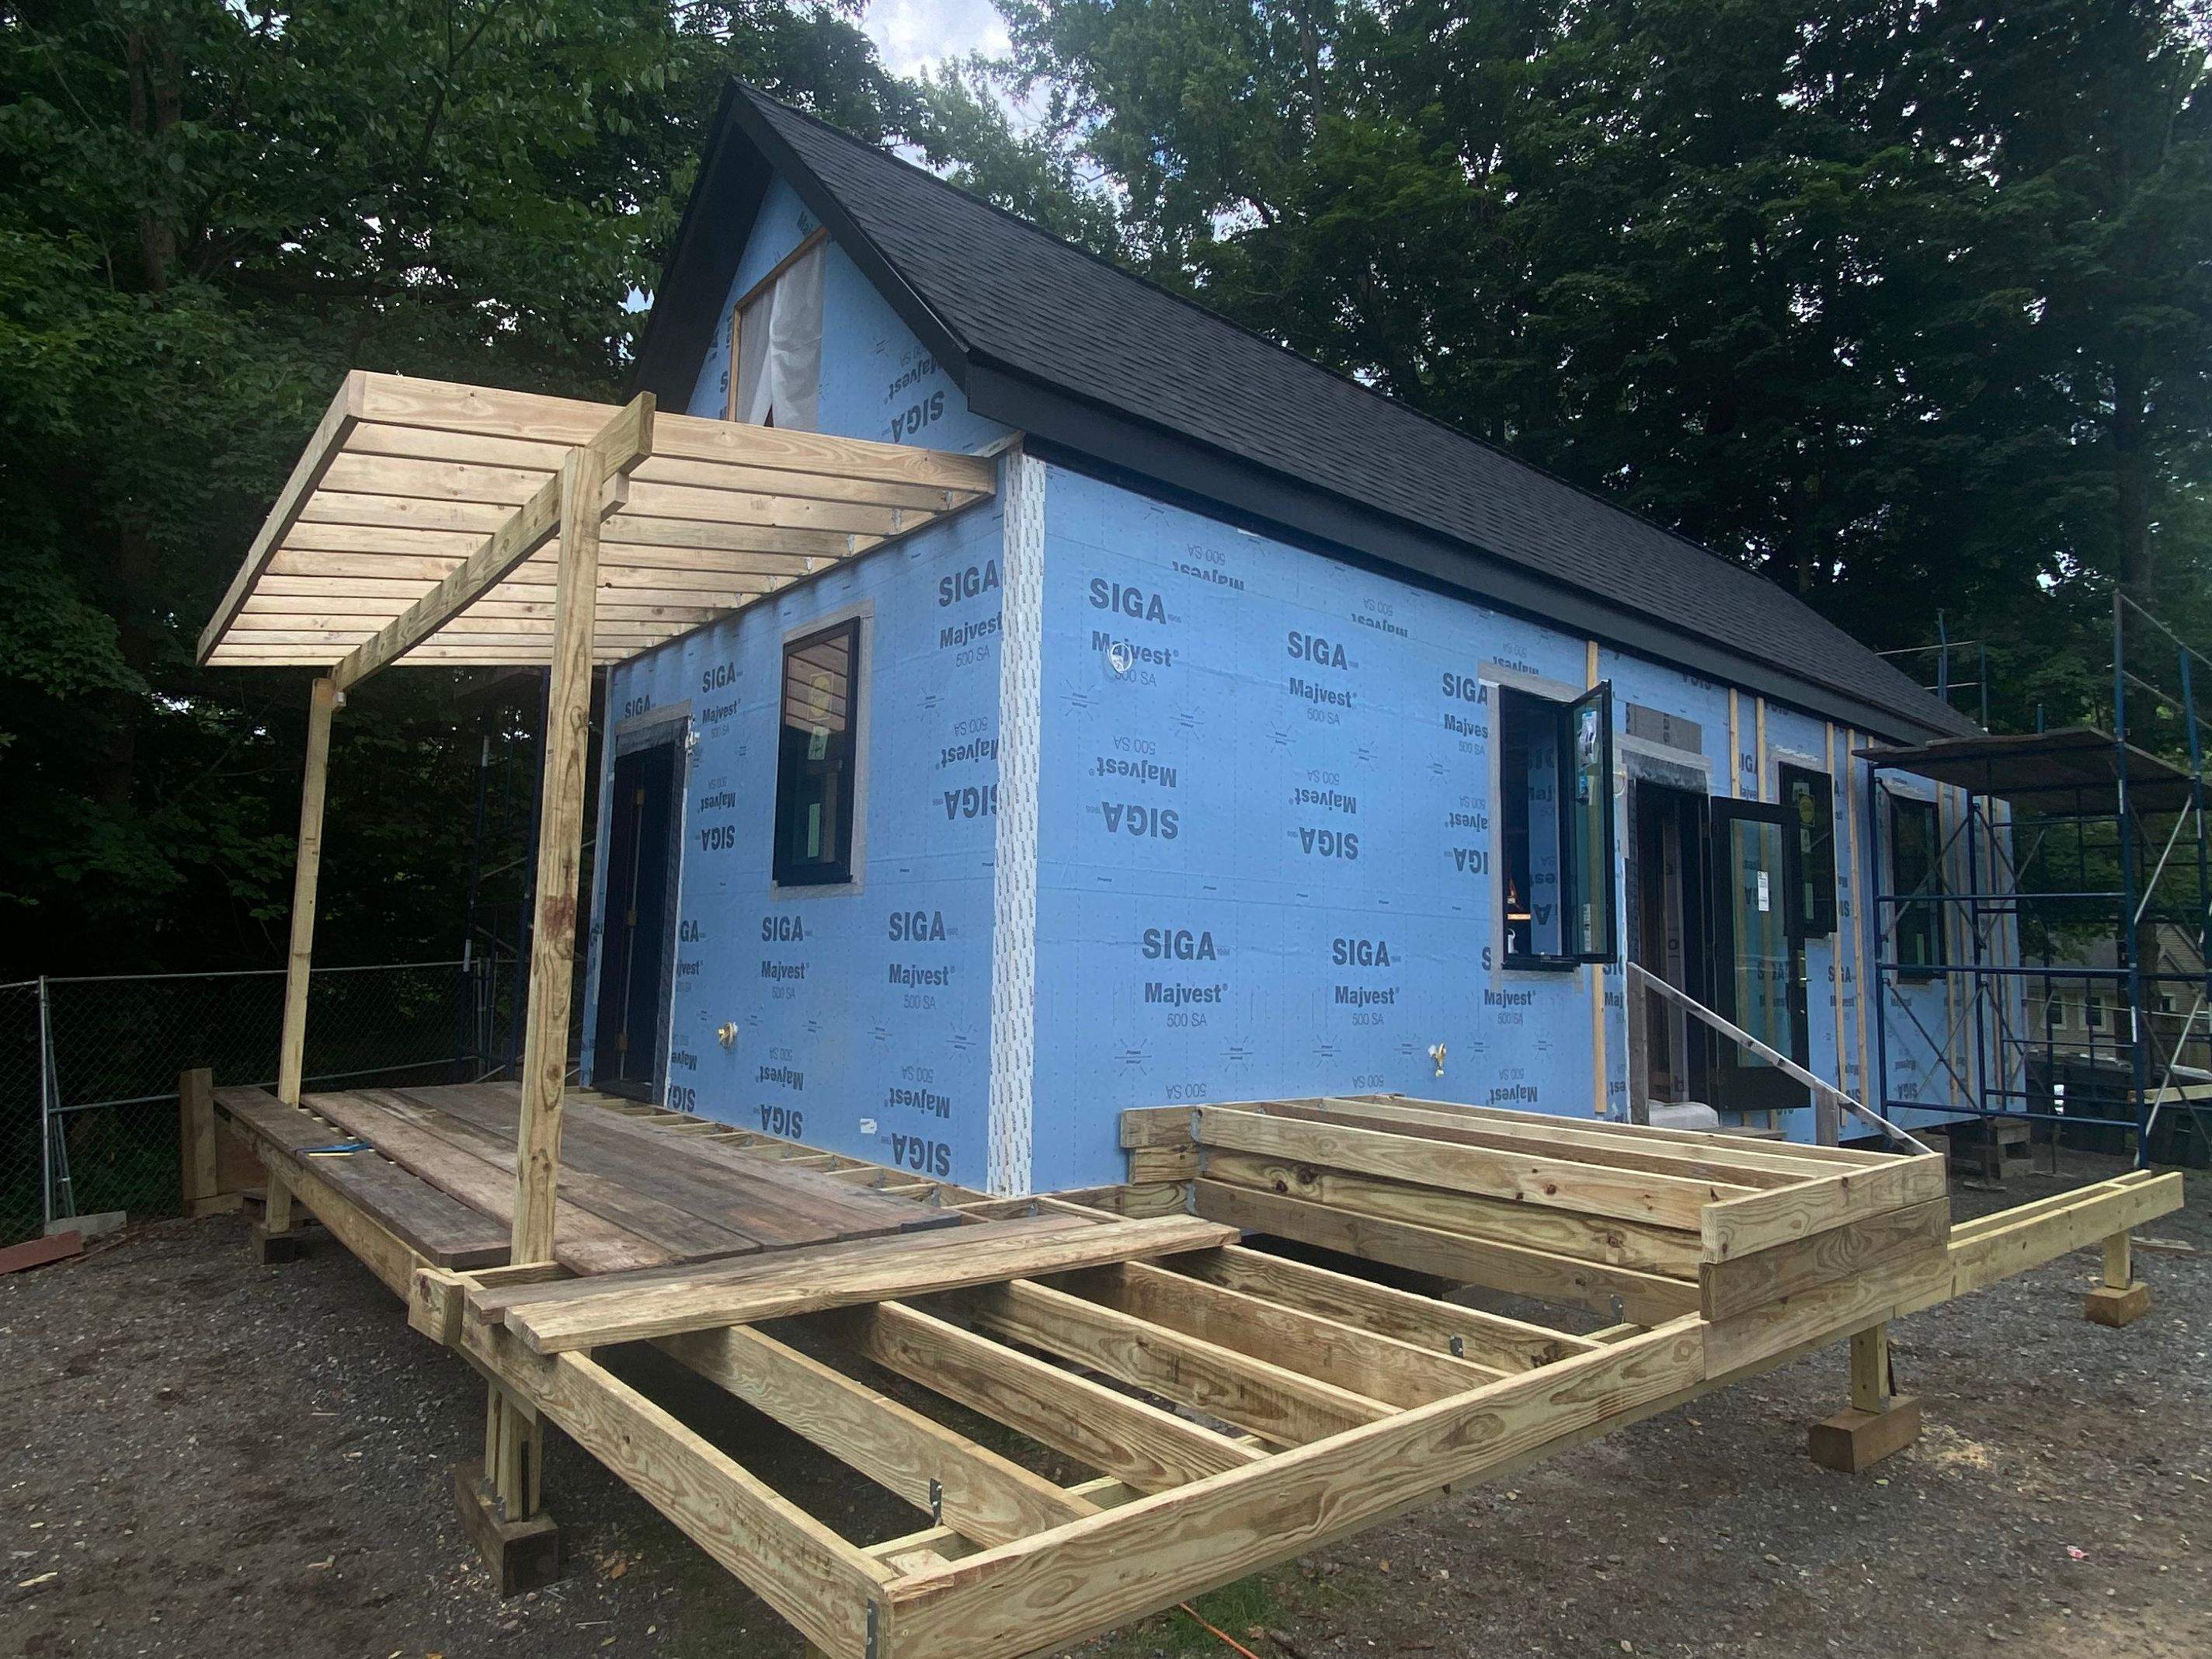
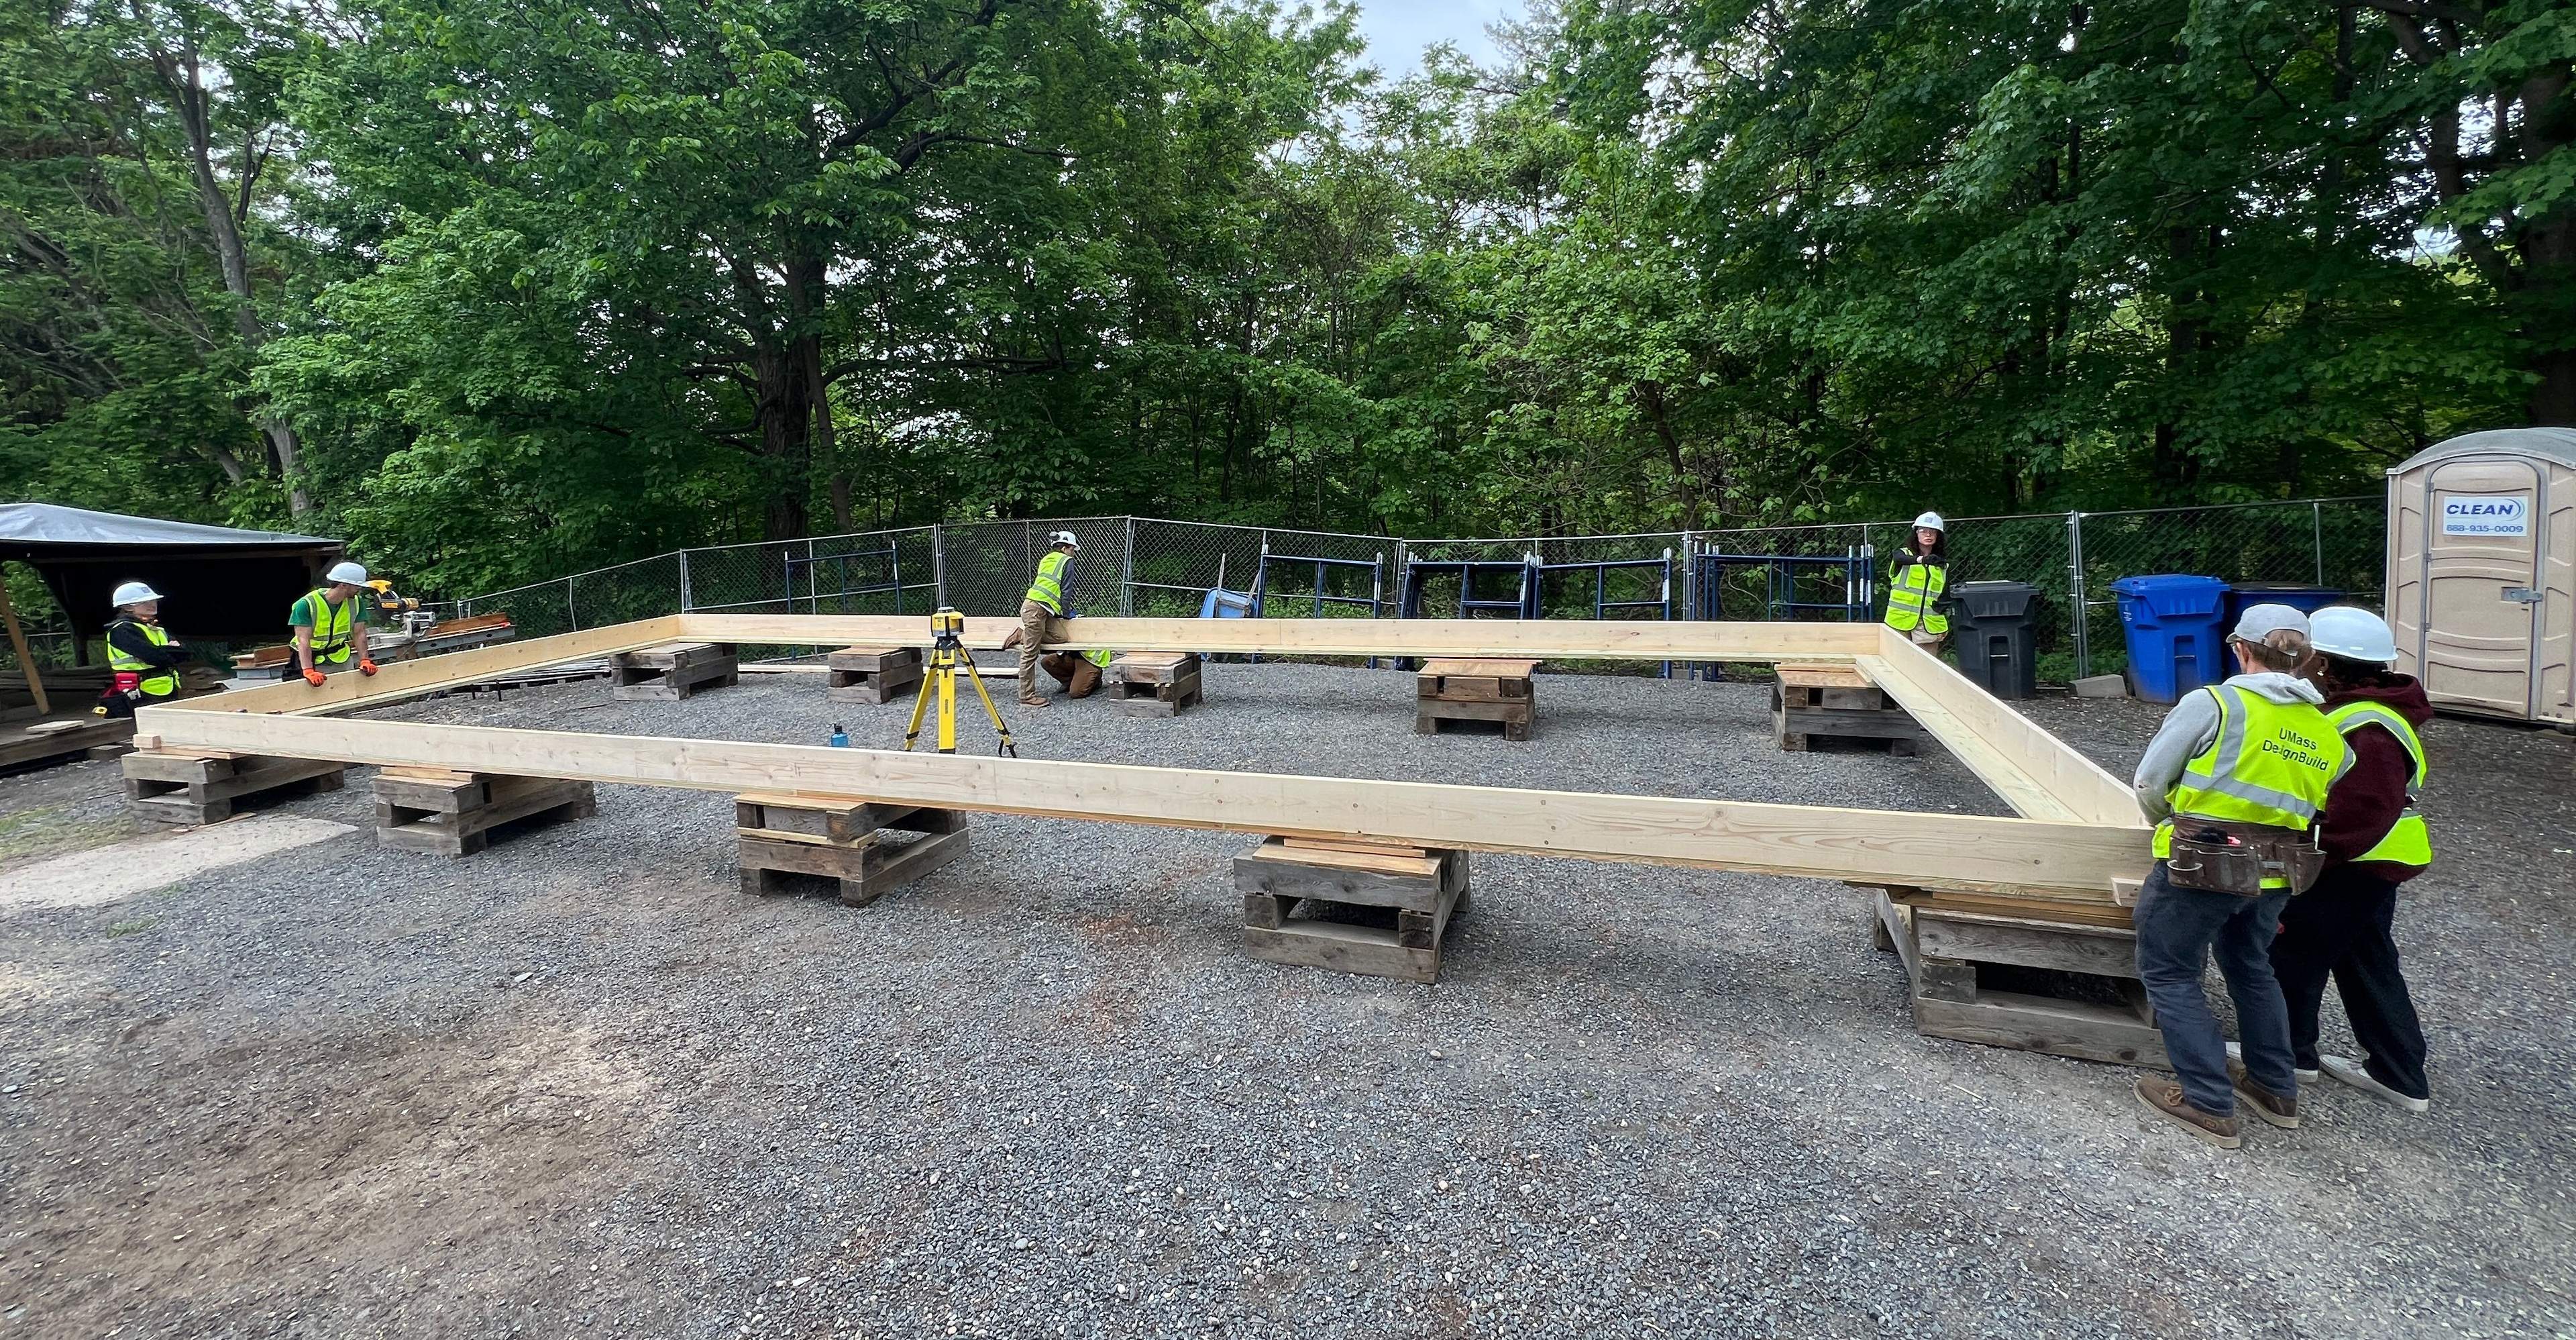
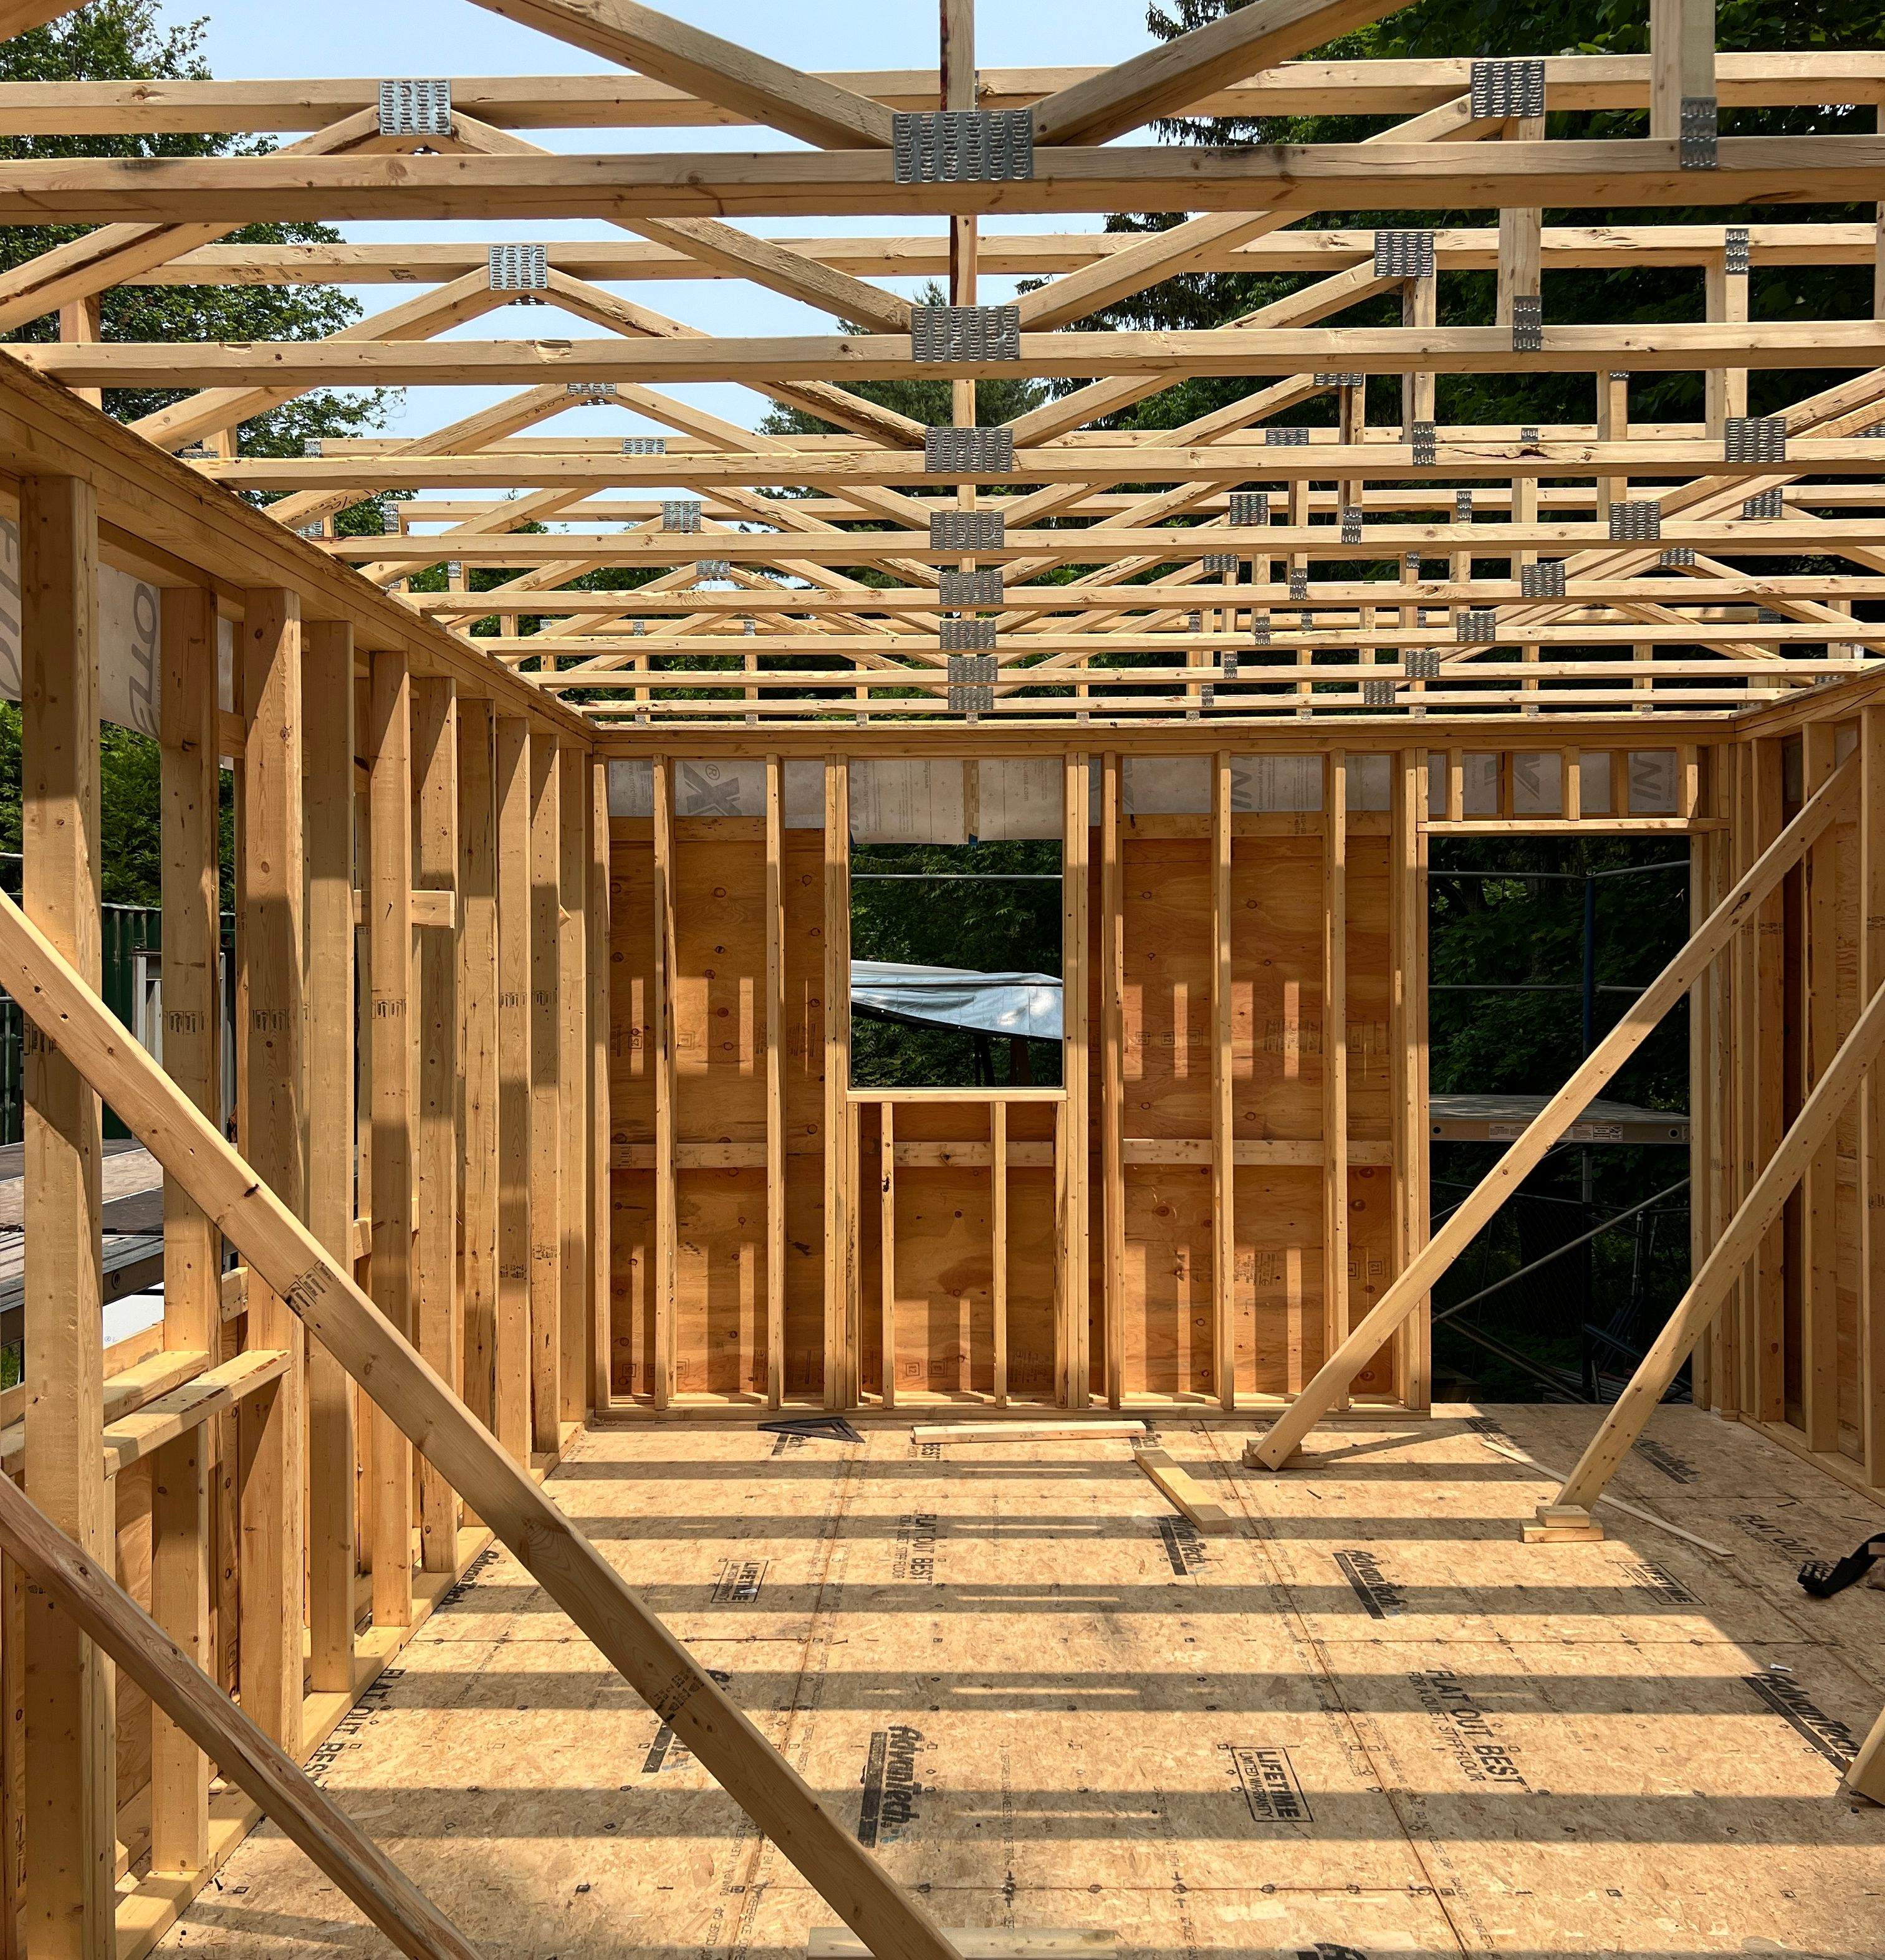
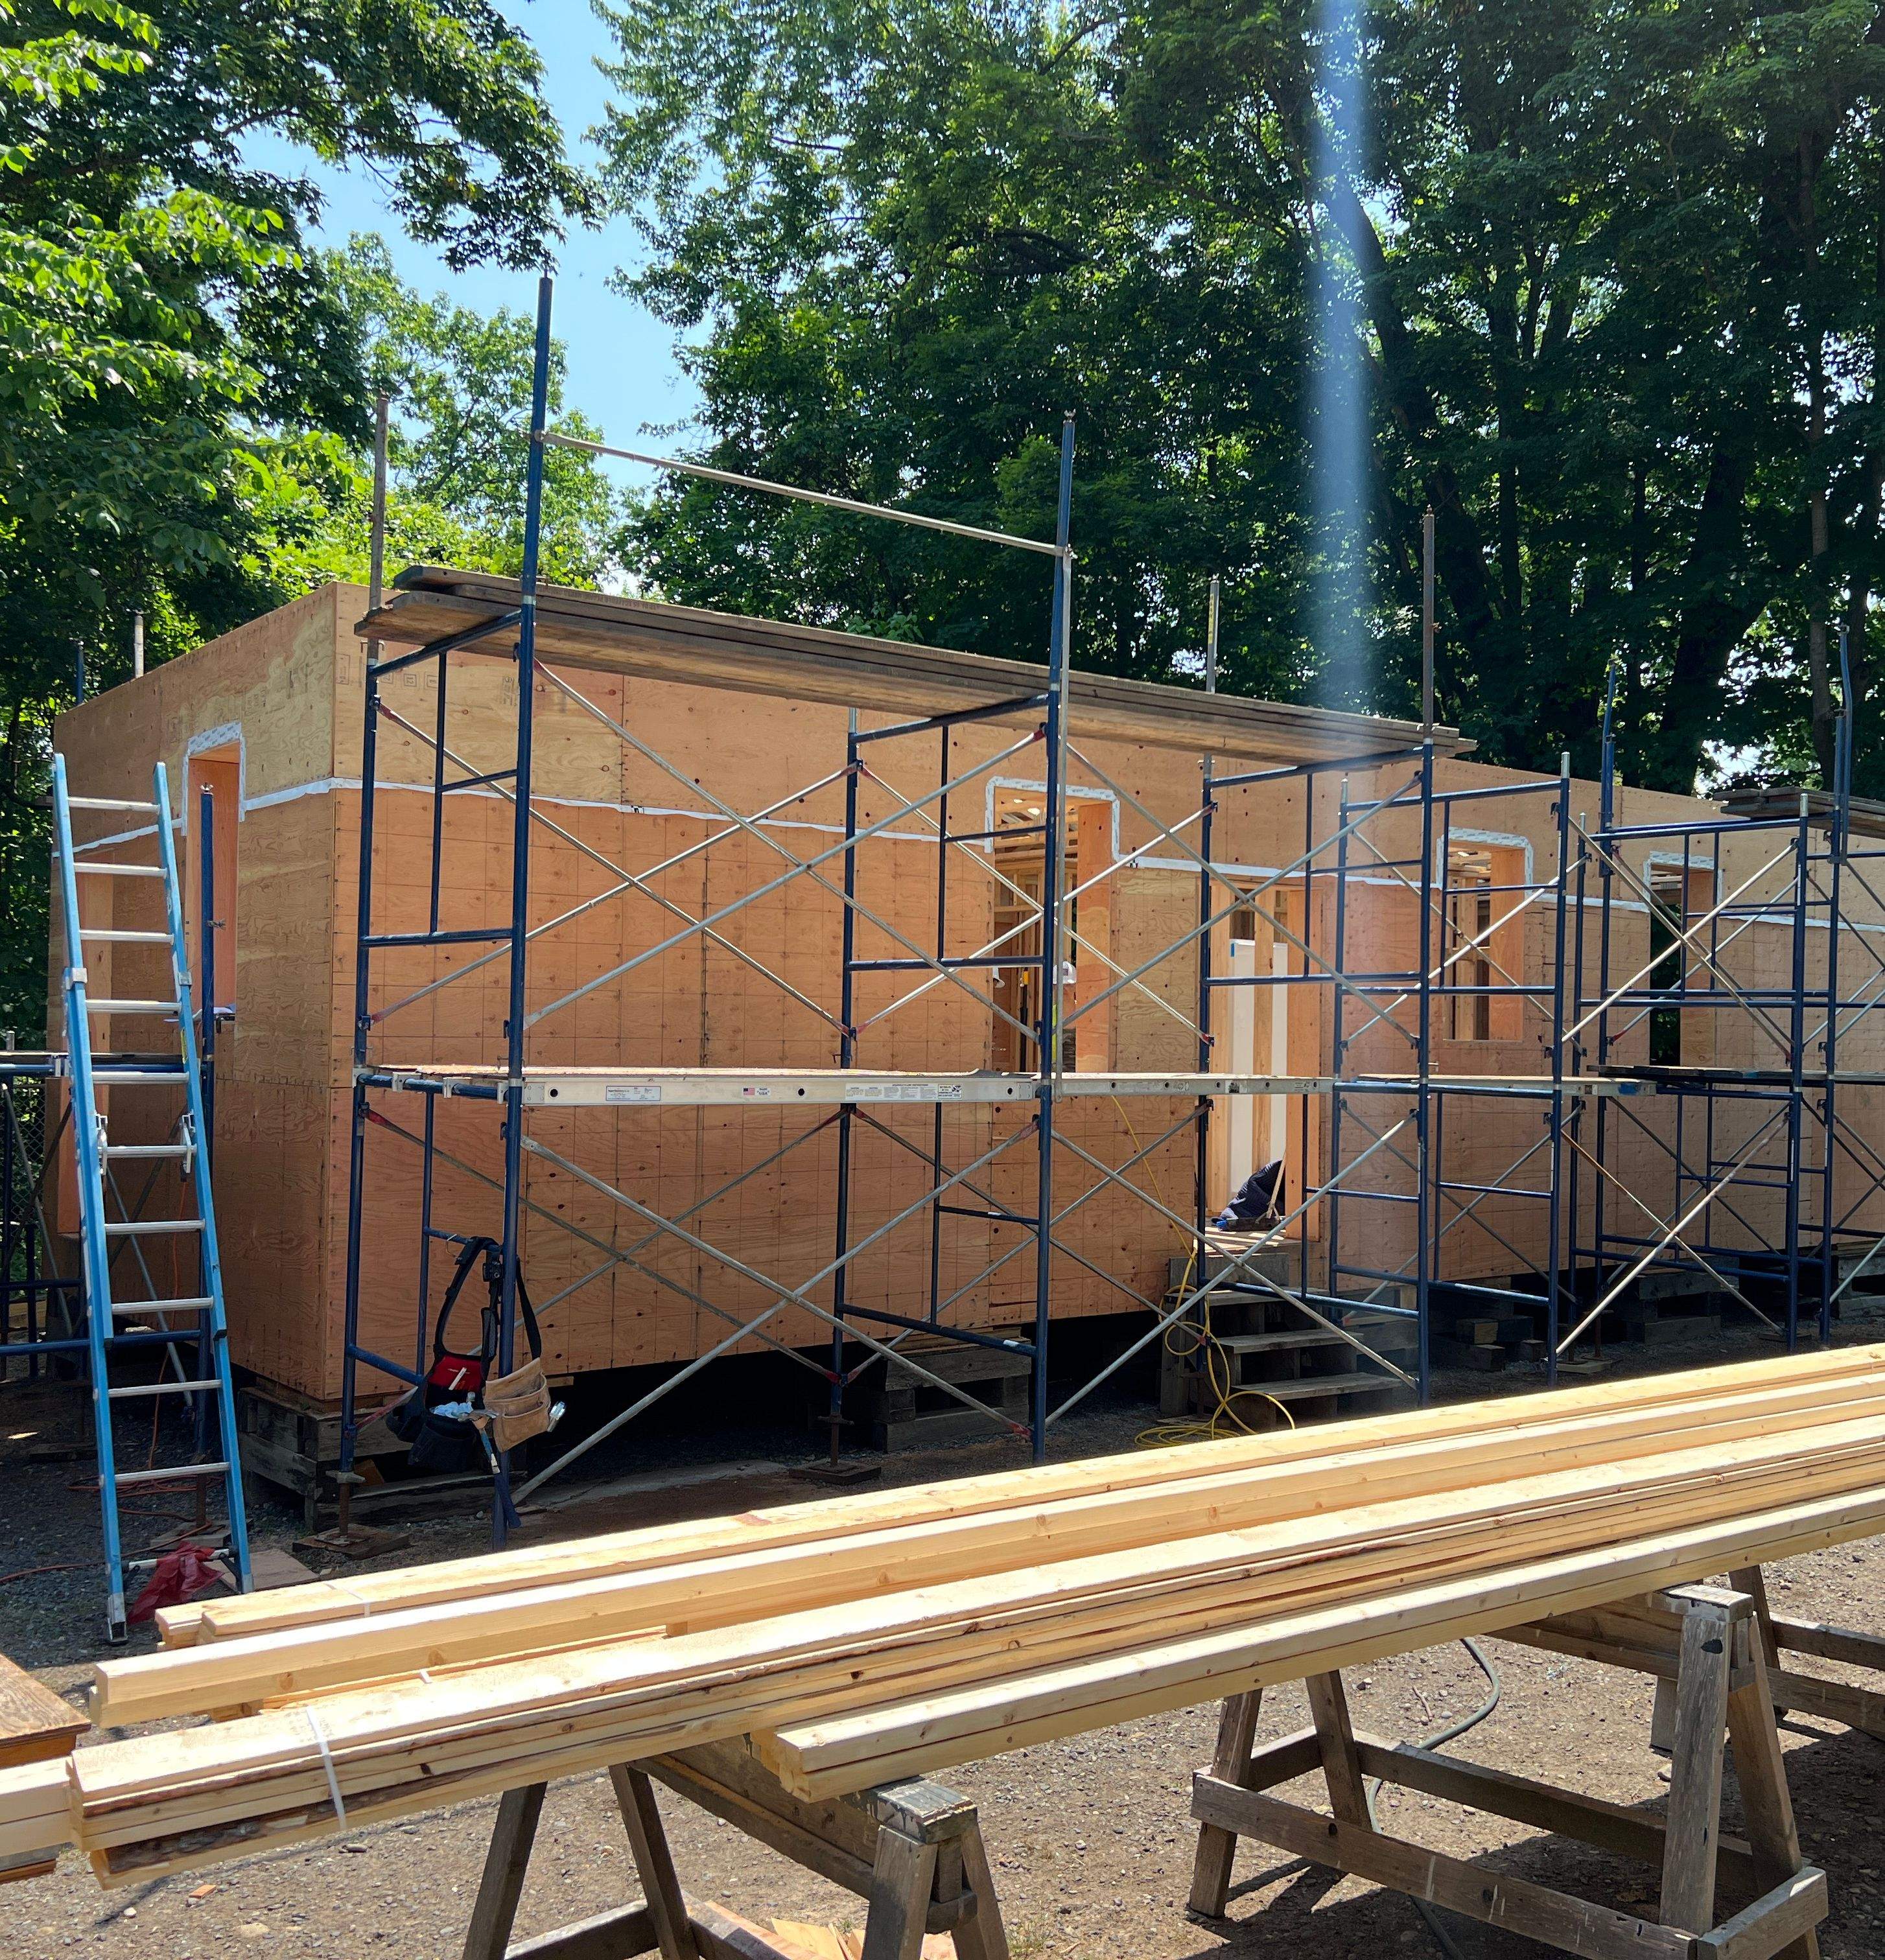
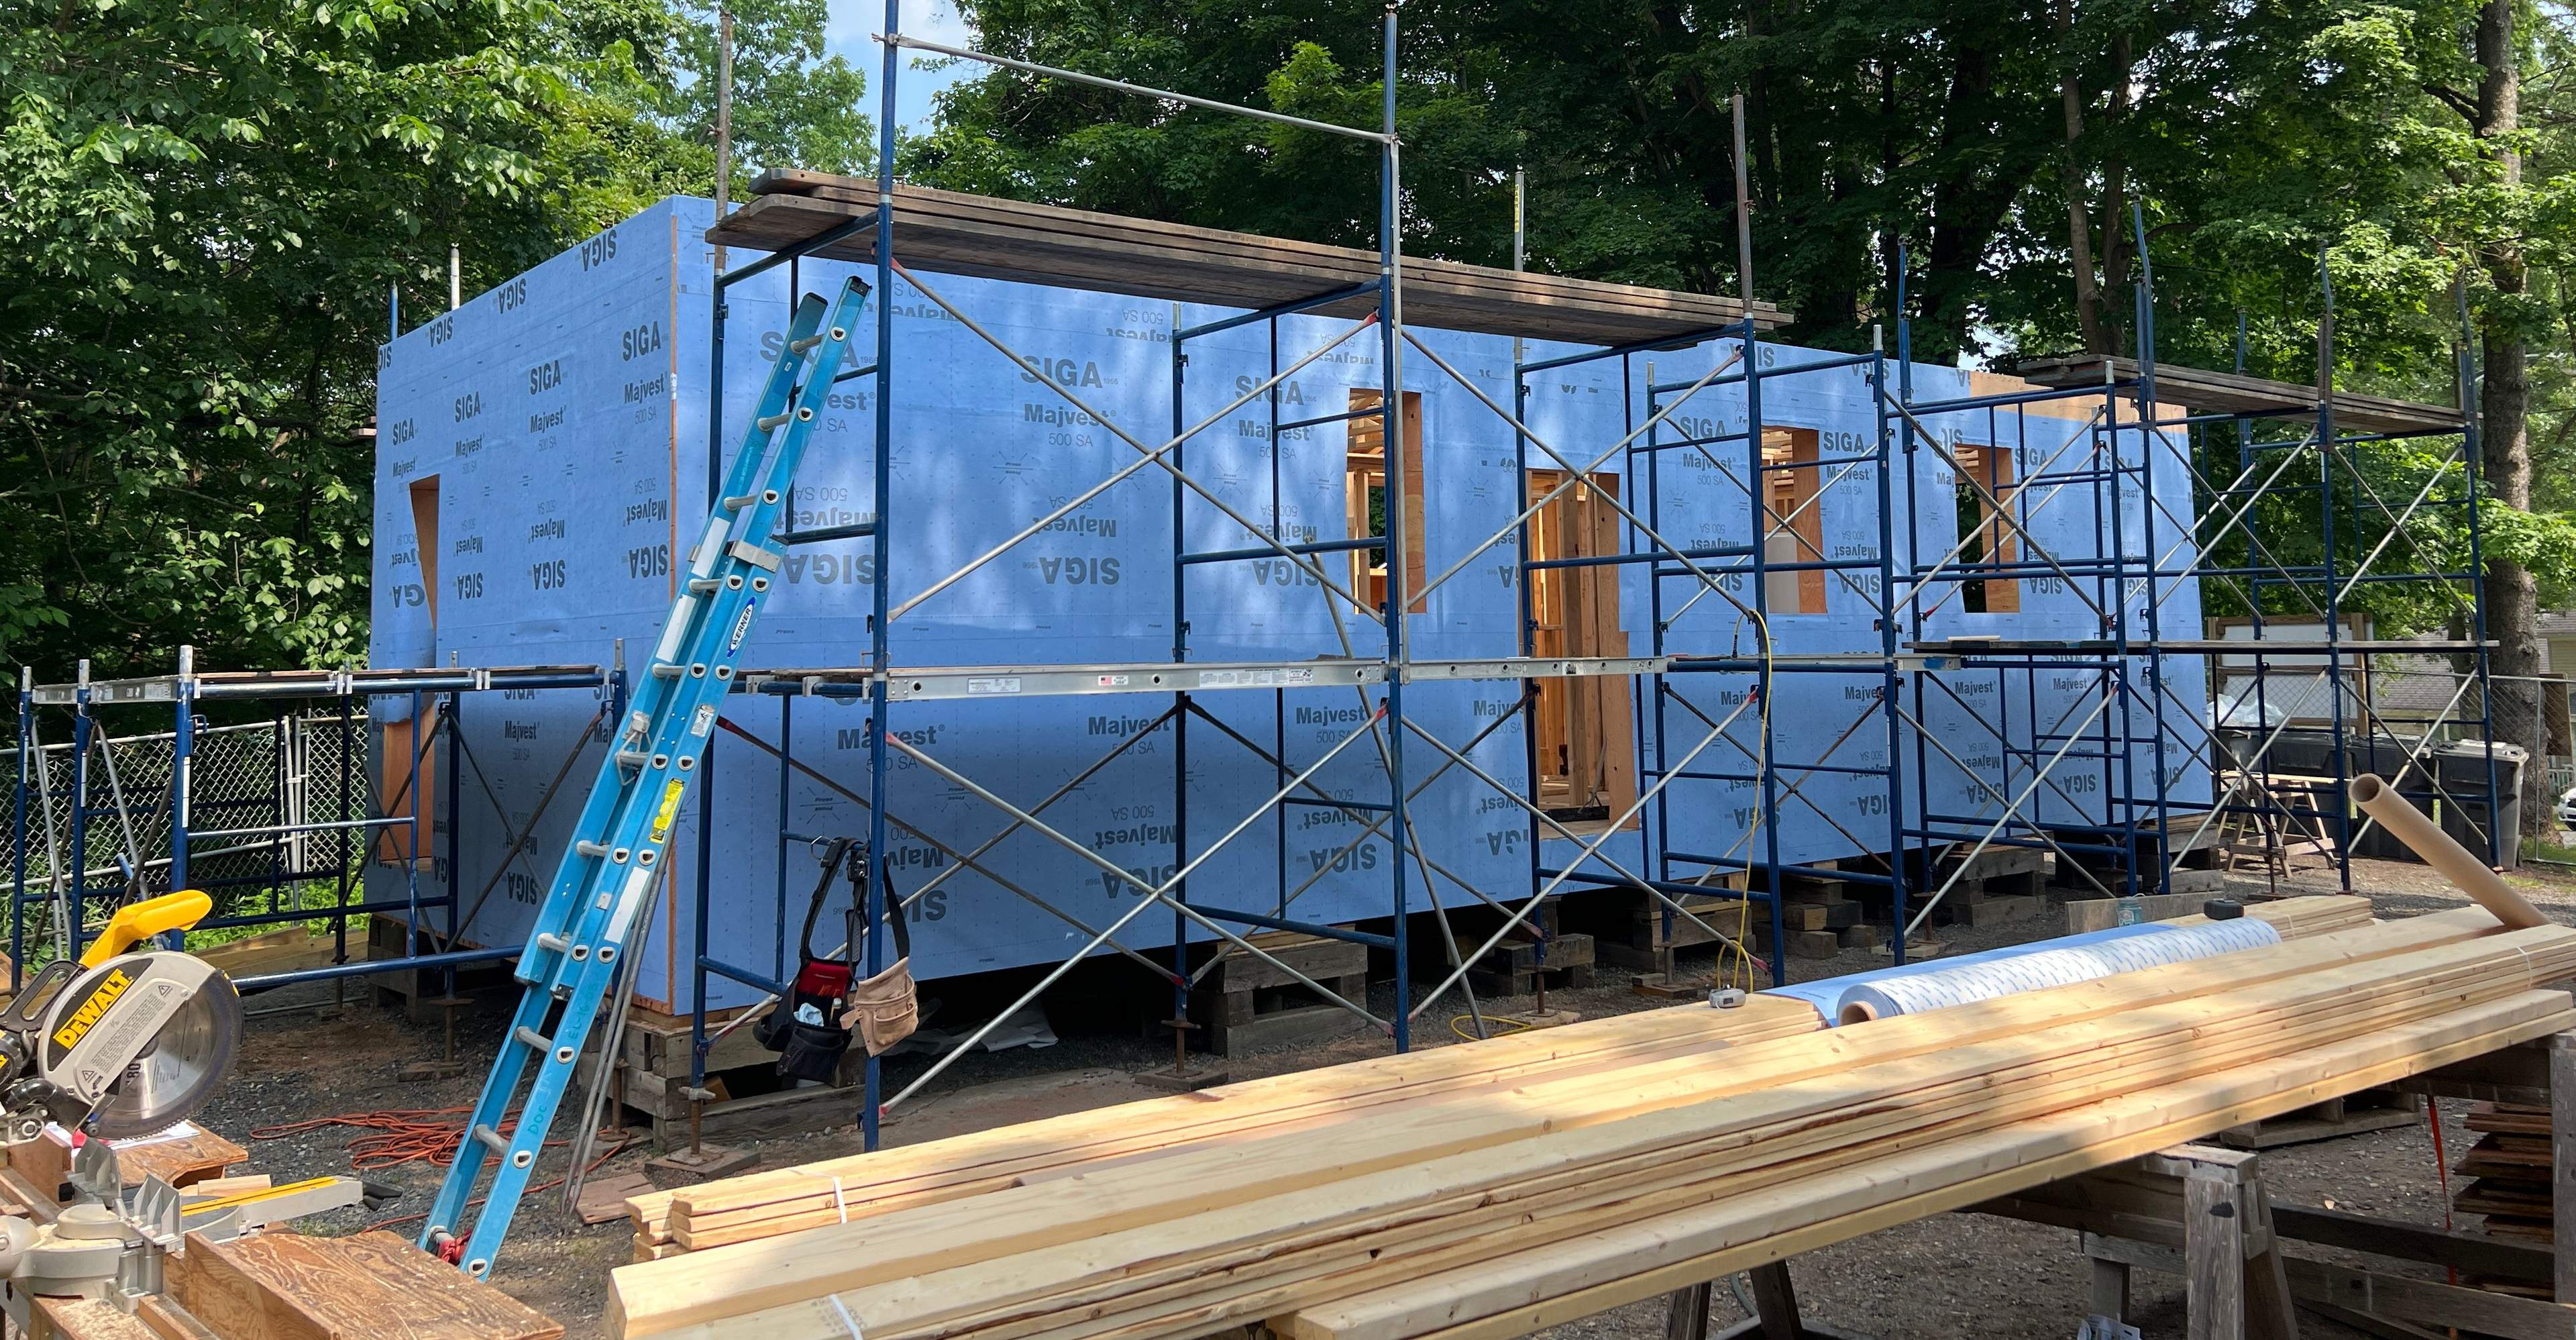
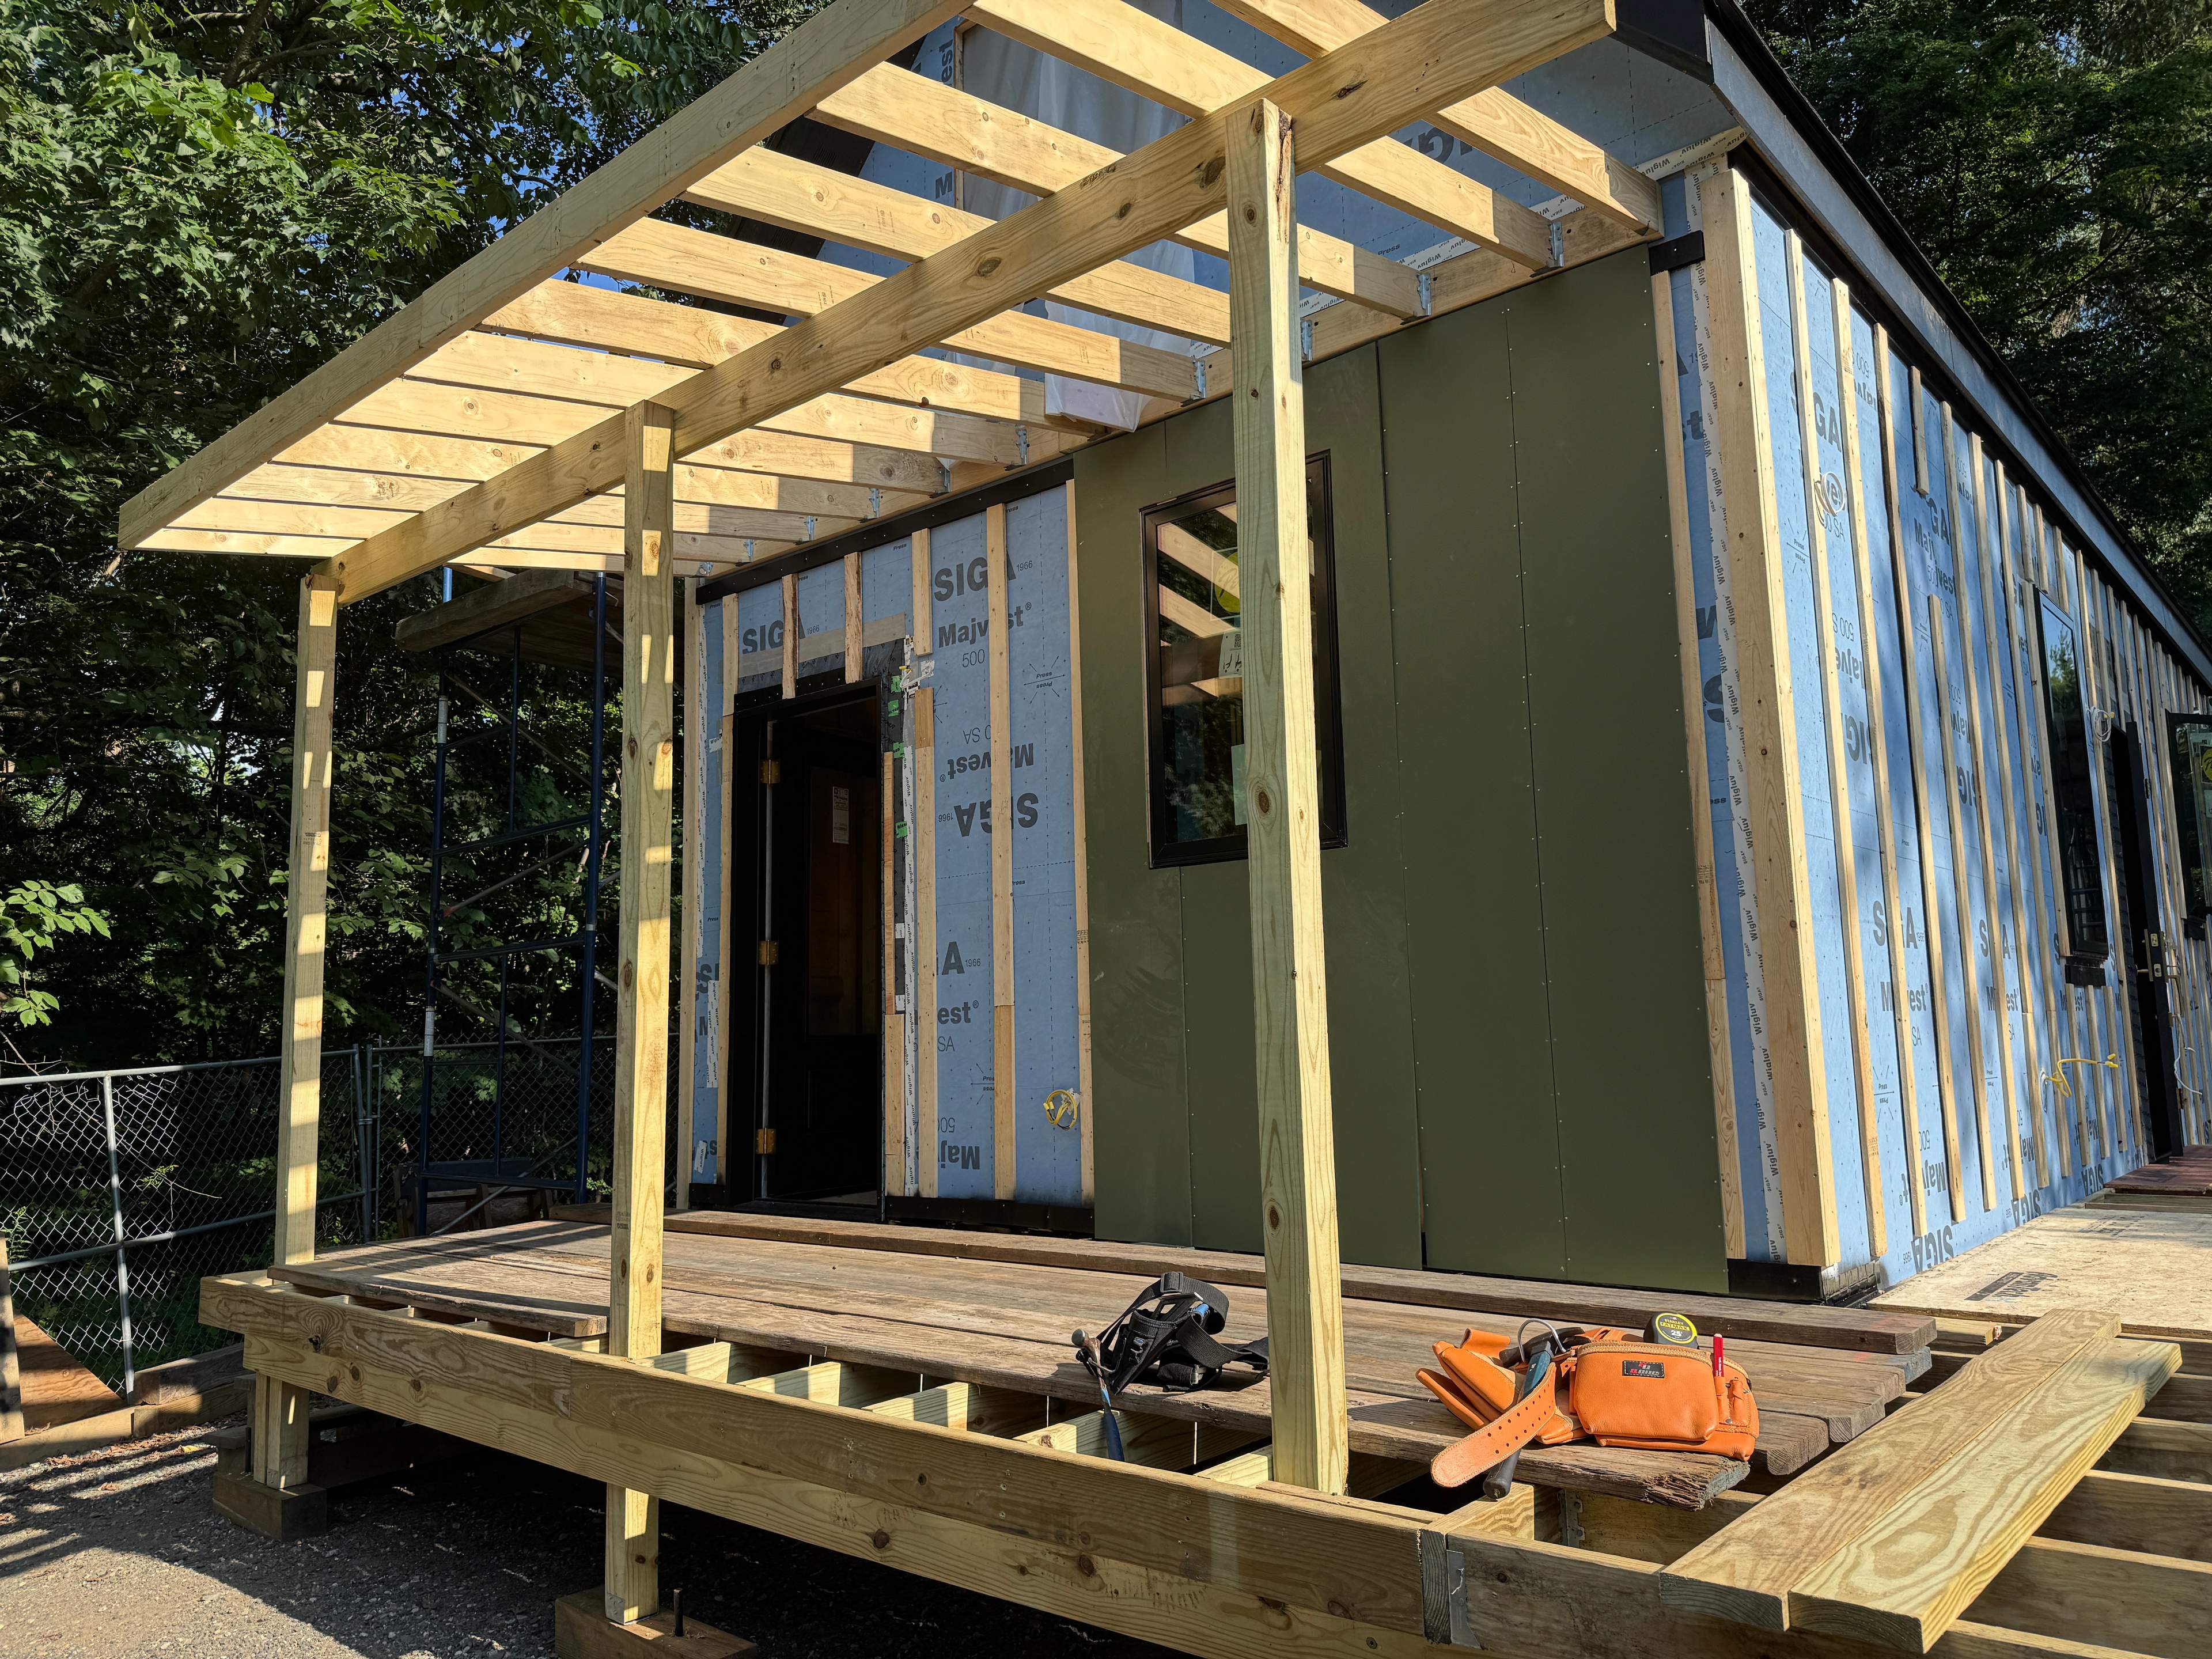
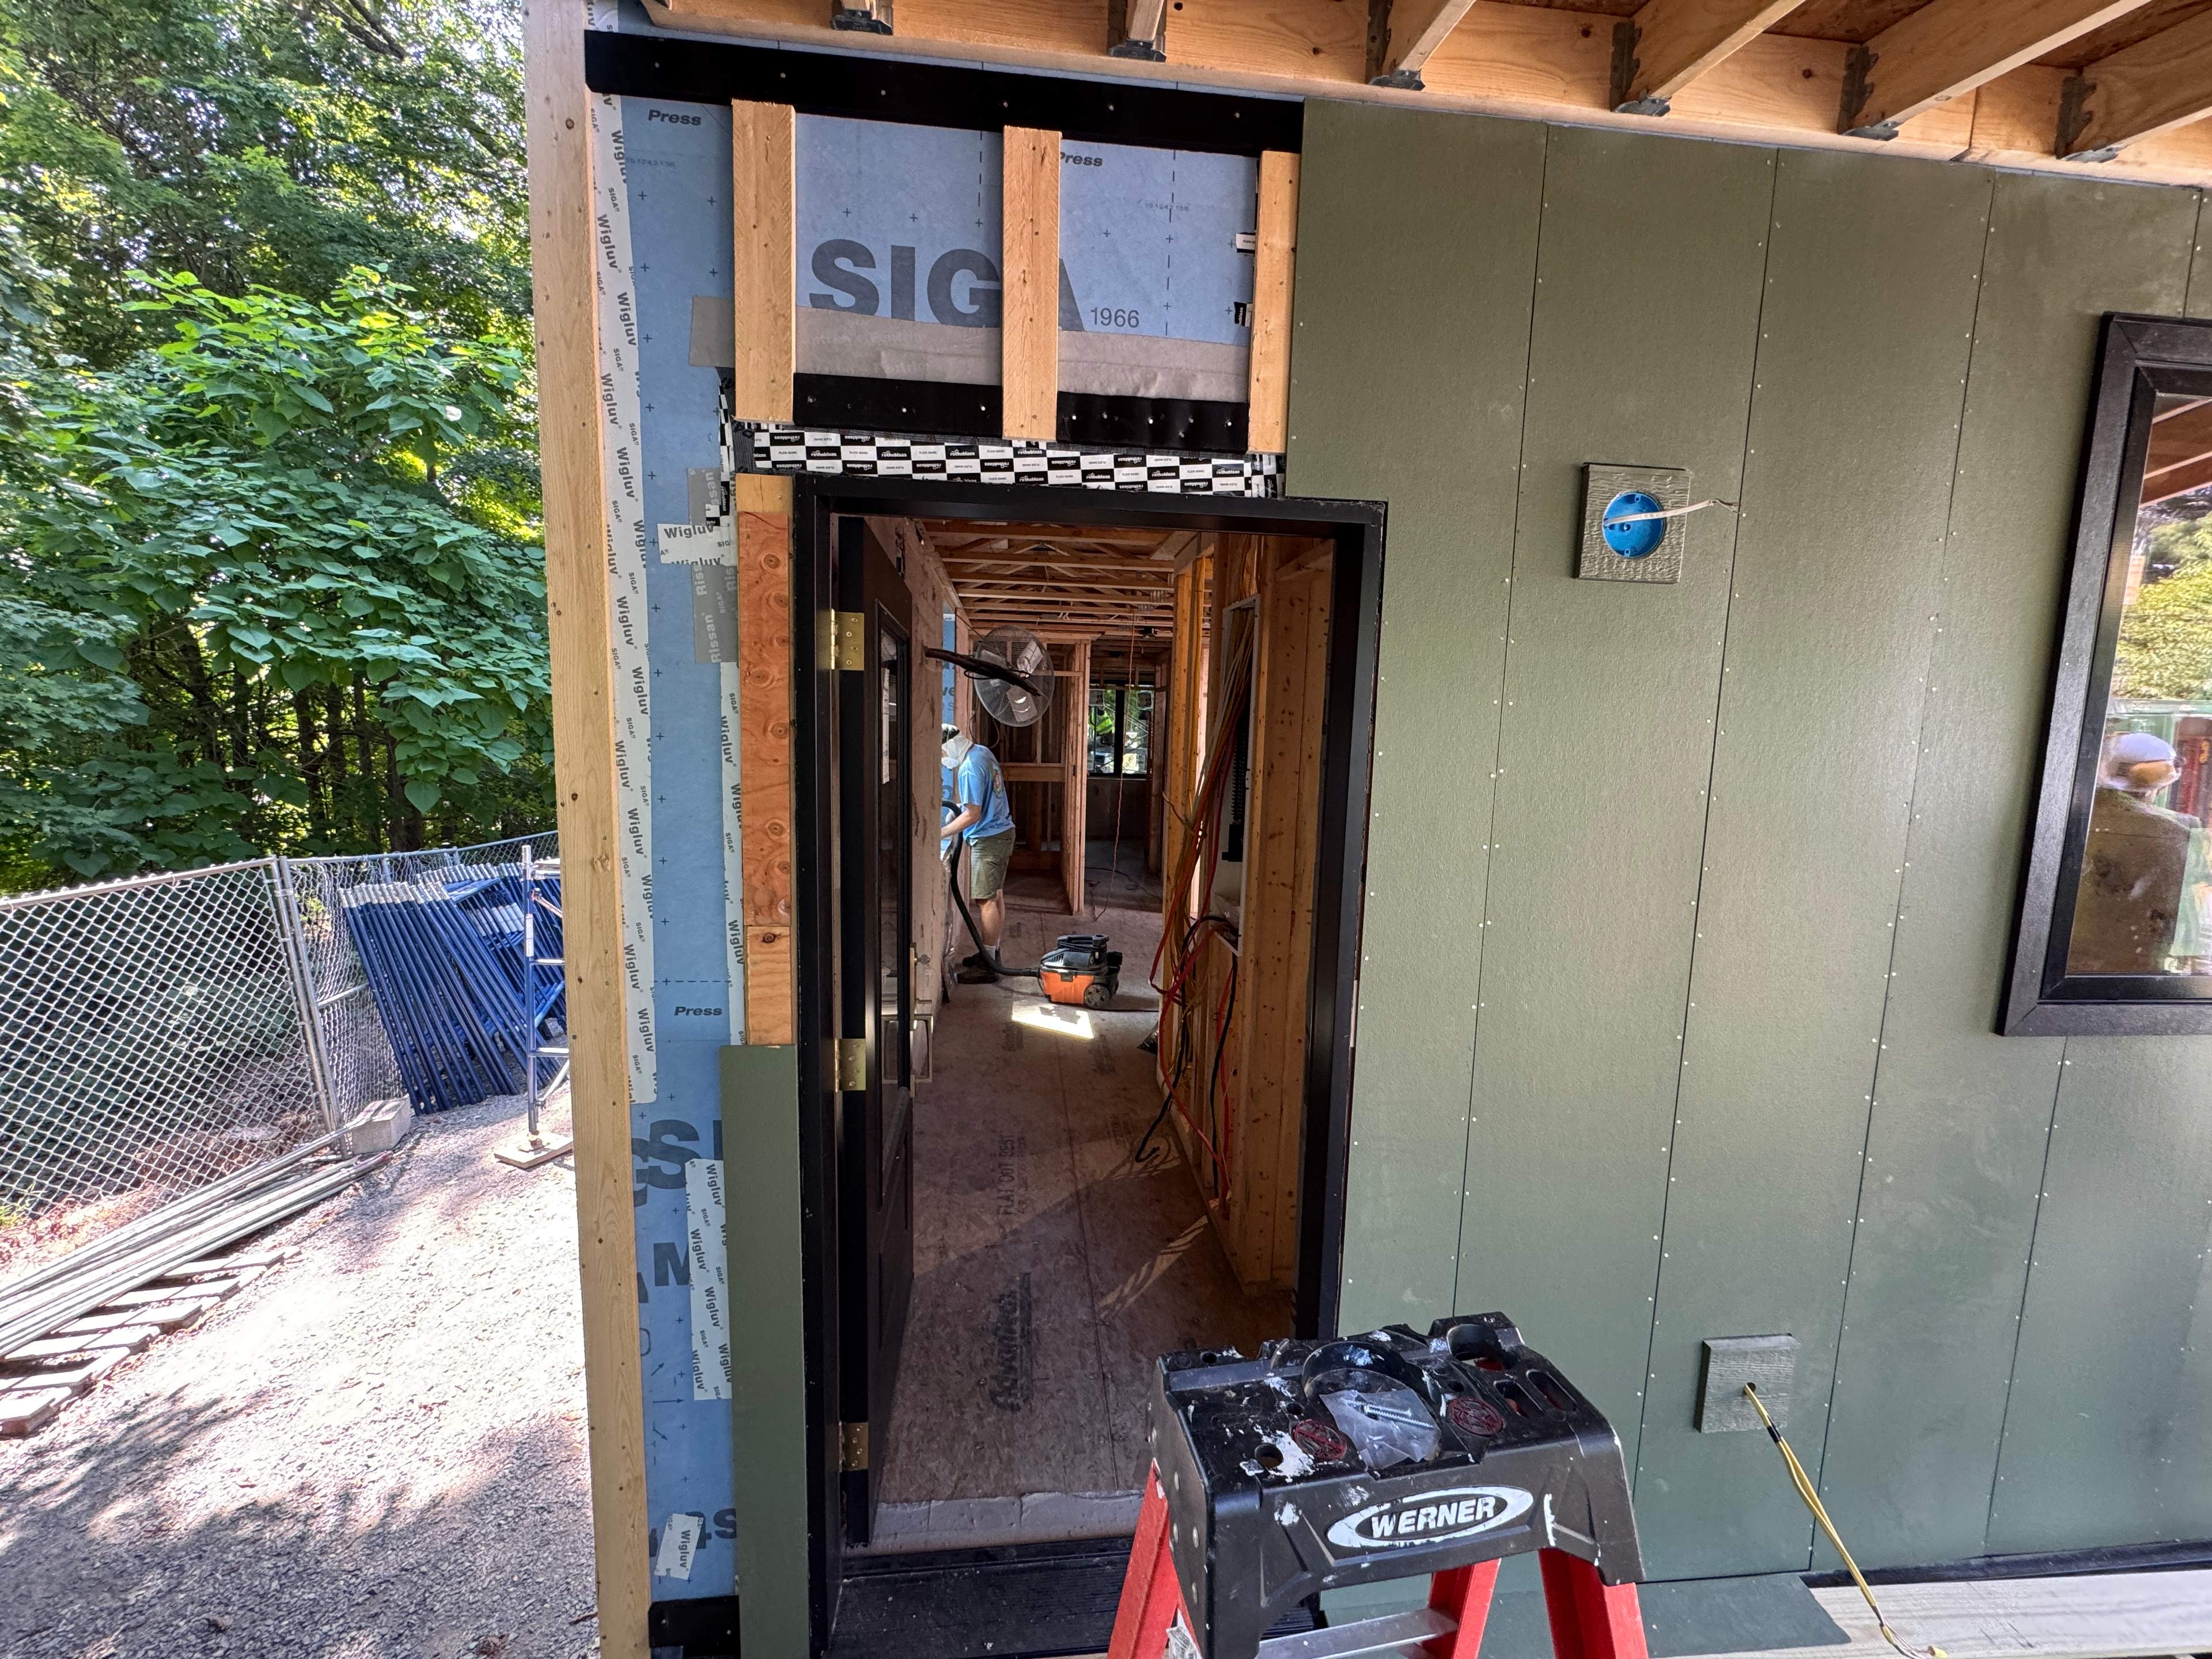
Our build sessions were divided into two six‑week phases. During Session 1, students focused on framing and constructing both the living module and the roof module. By the end of the six weeks, the modules were successfully assembled and made water‑tight. The walls and structural framework were completed, windows and exterior plywood and membrane were installed, and the roof was finished with shingles.
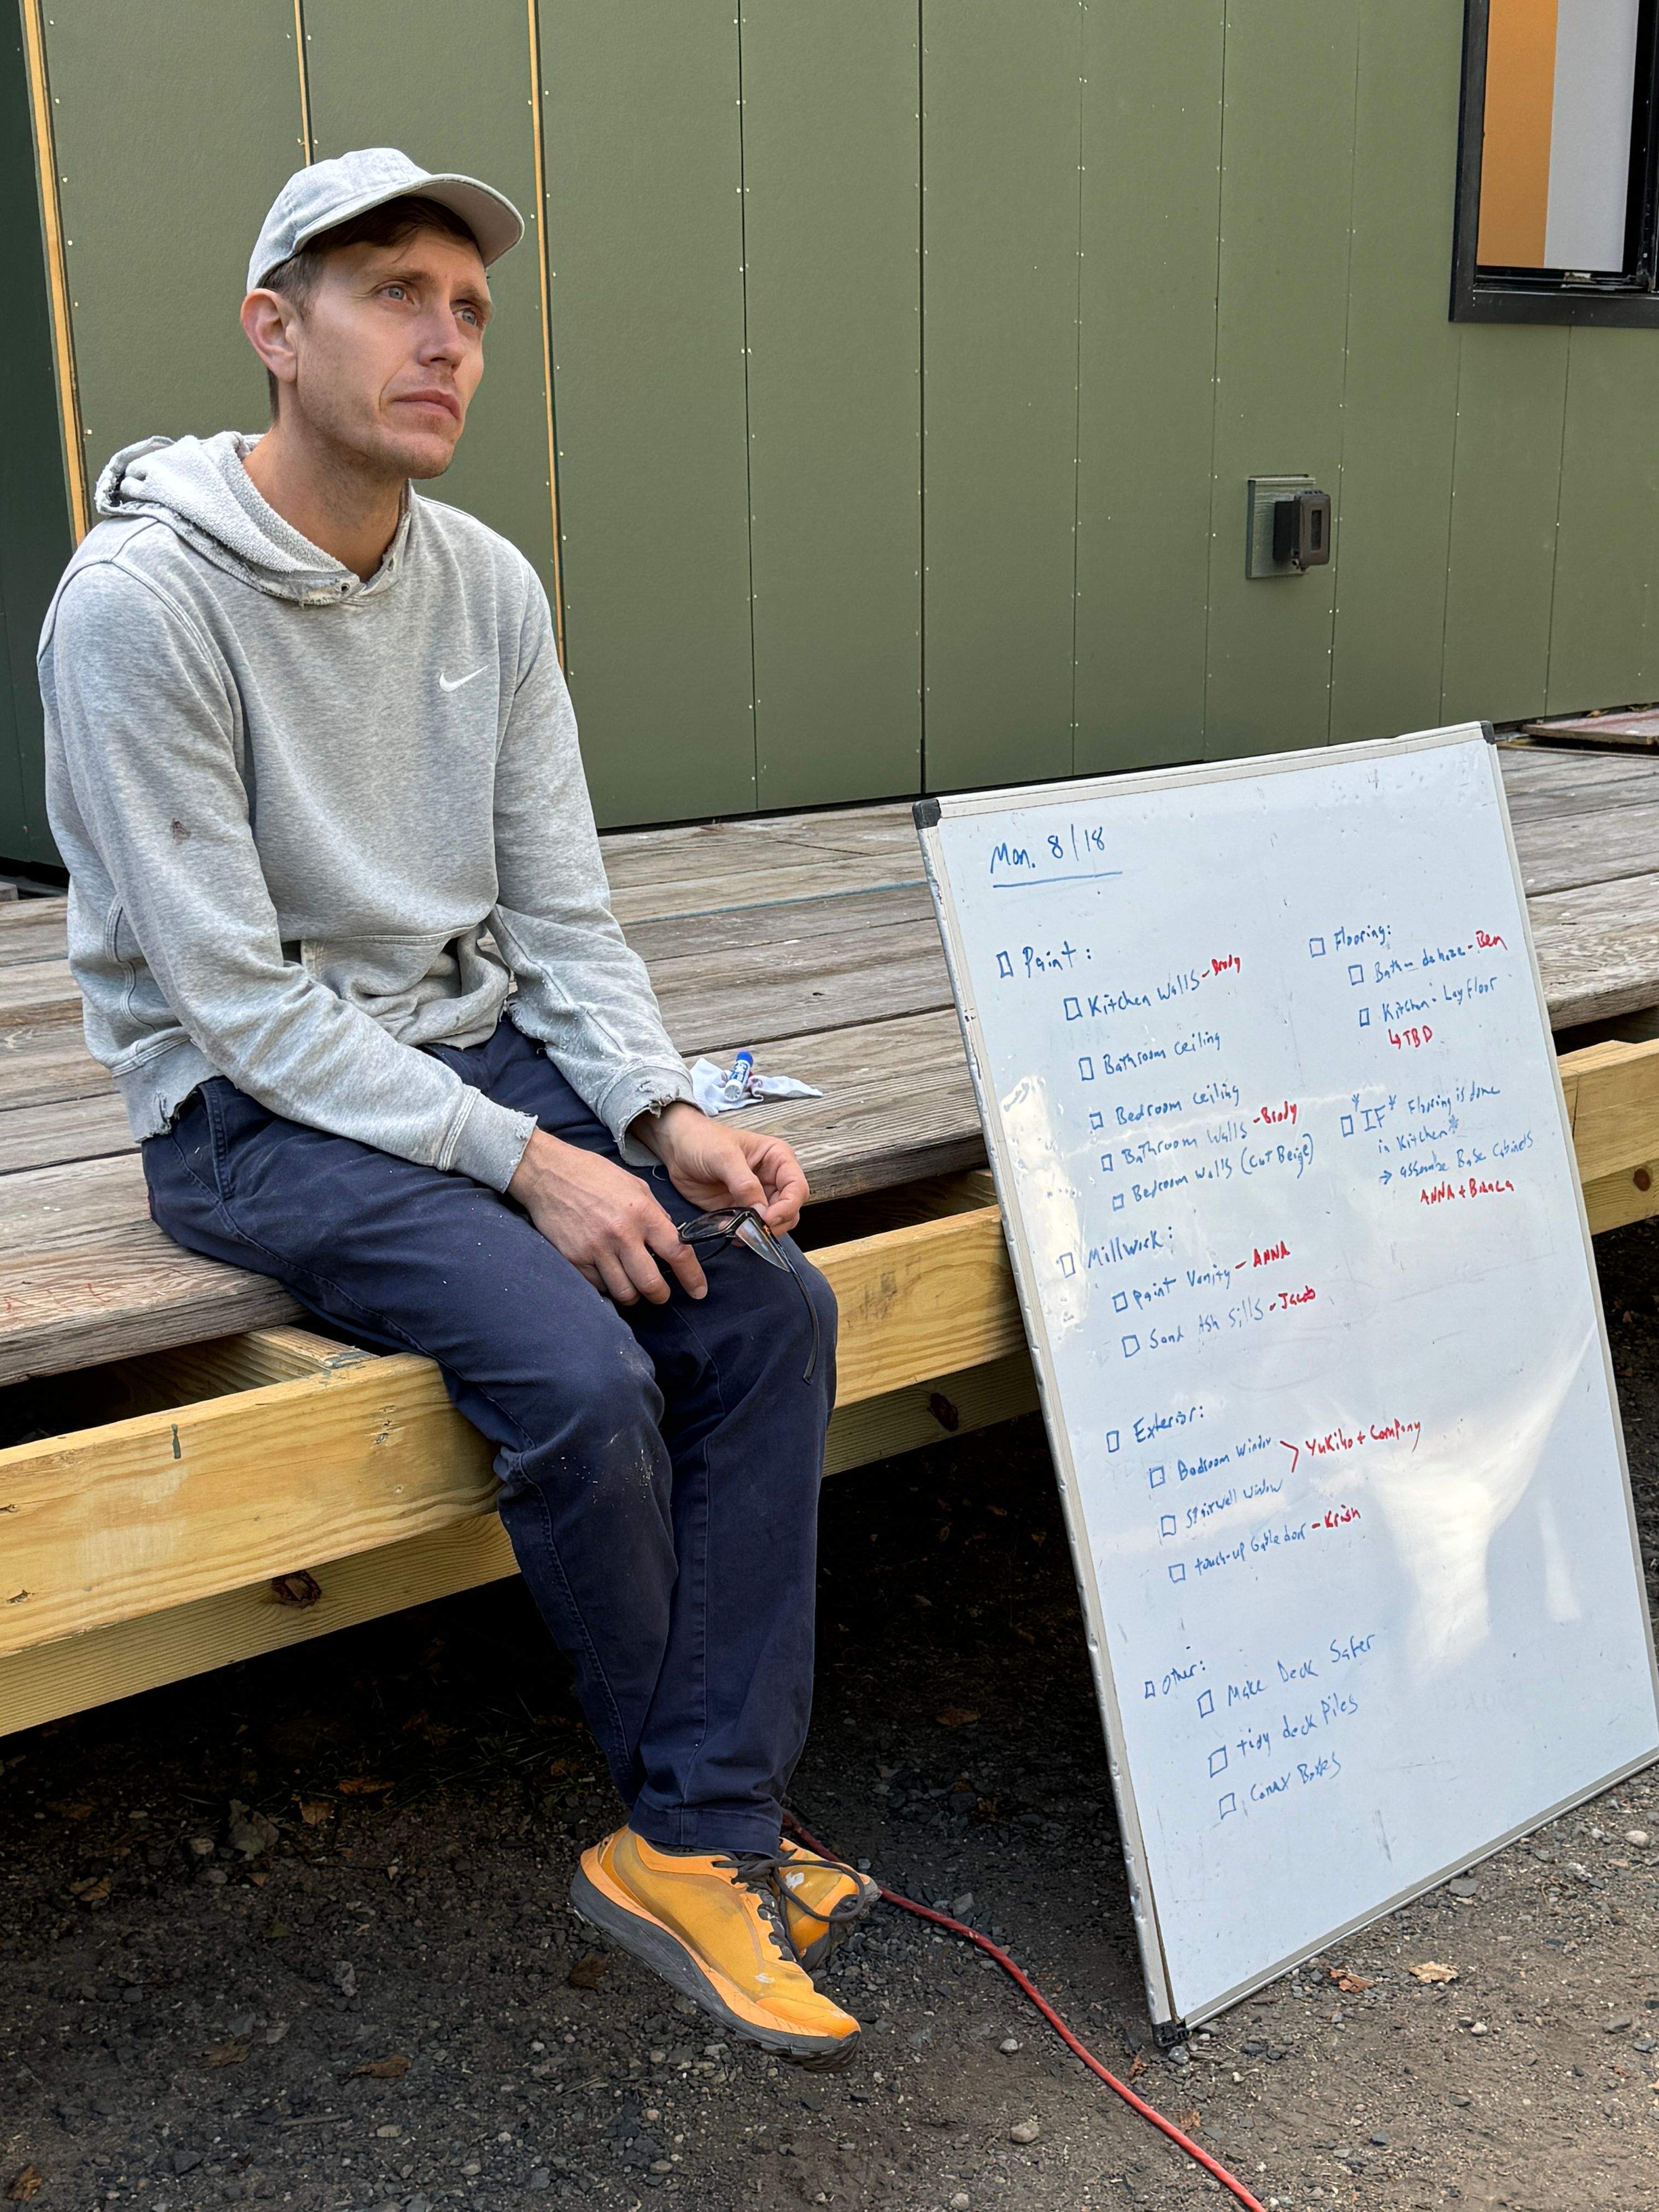
Second Build Session
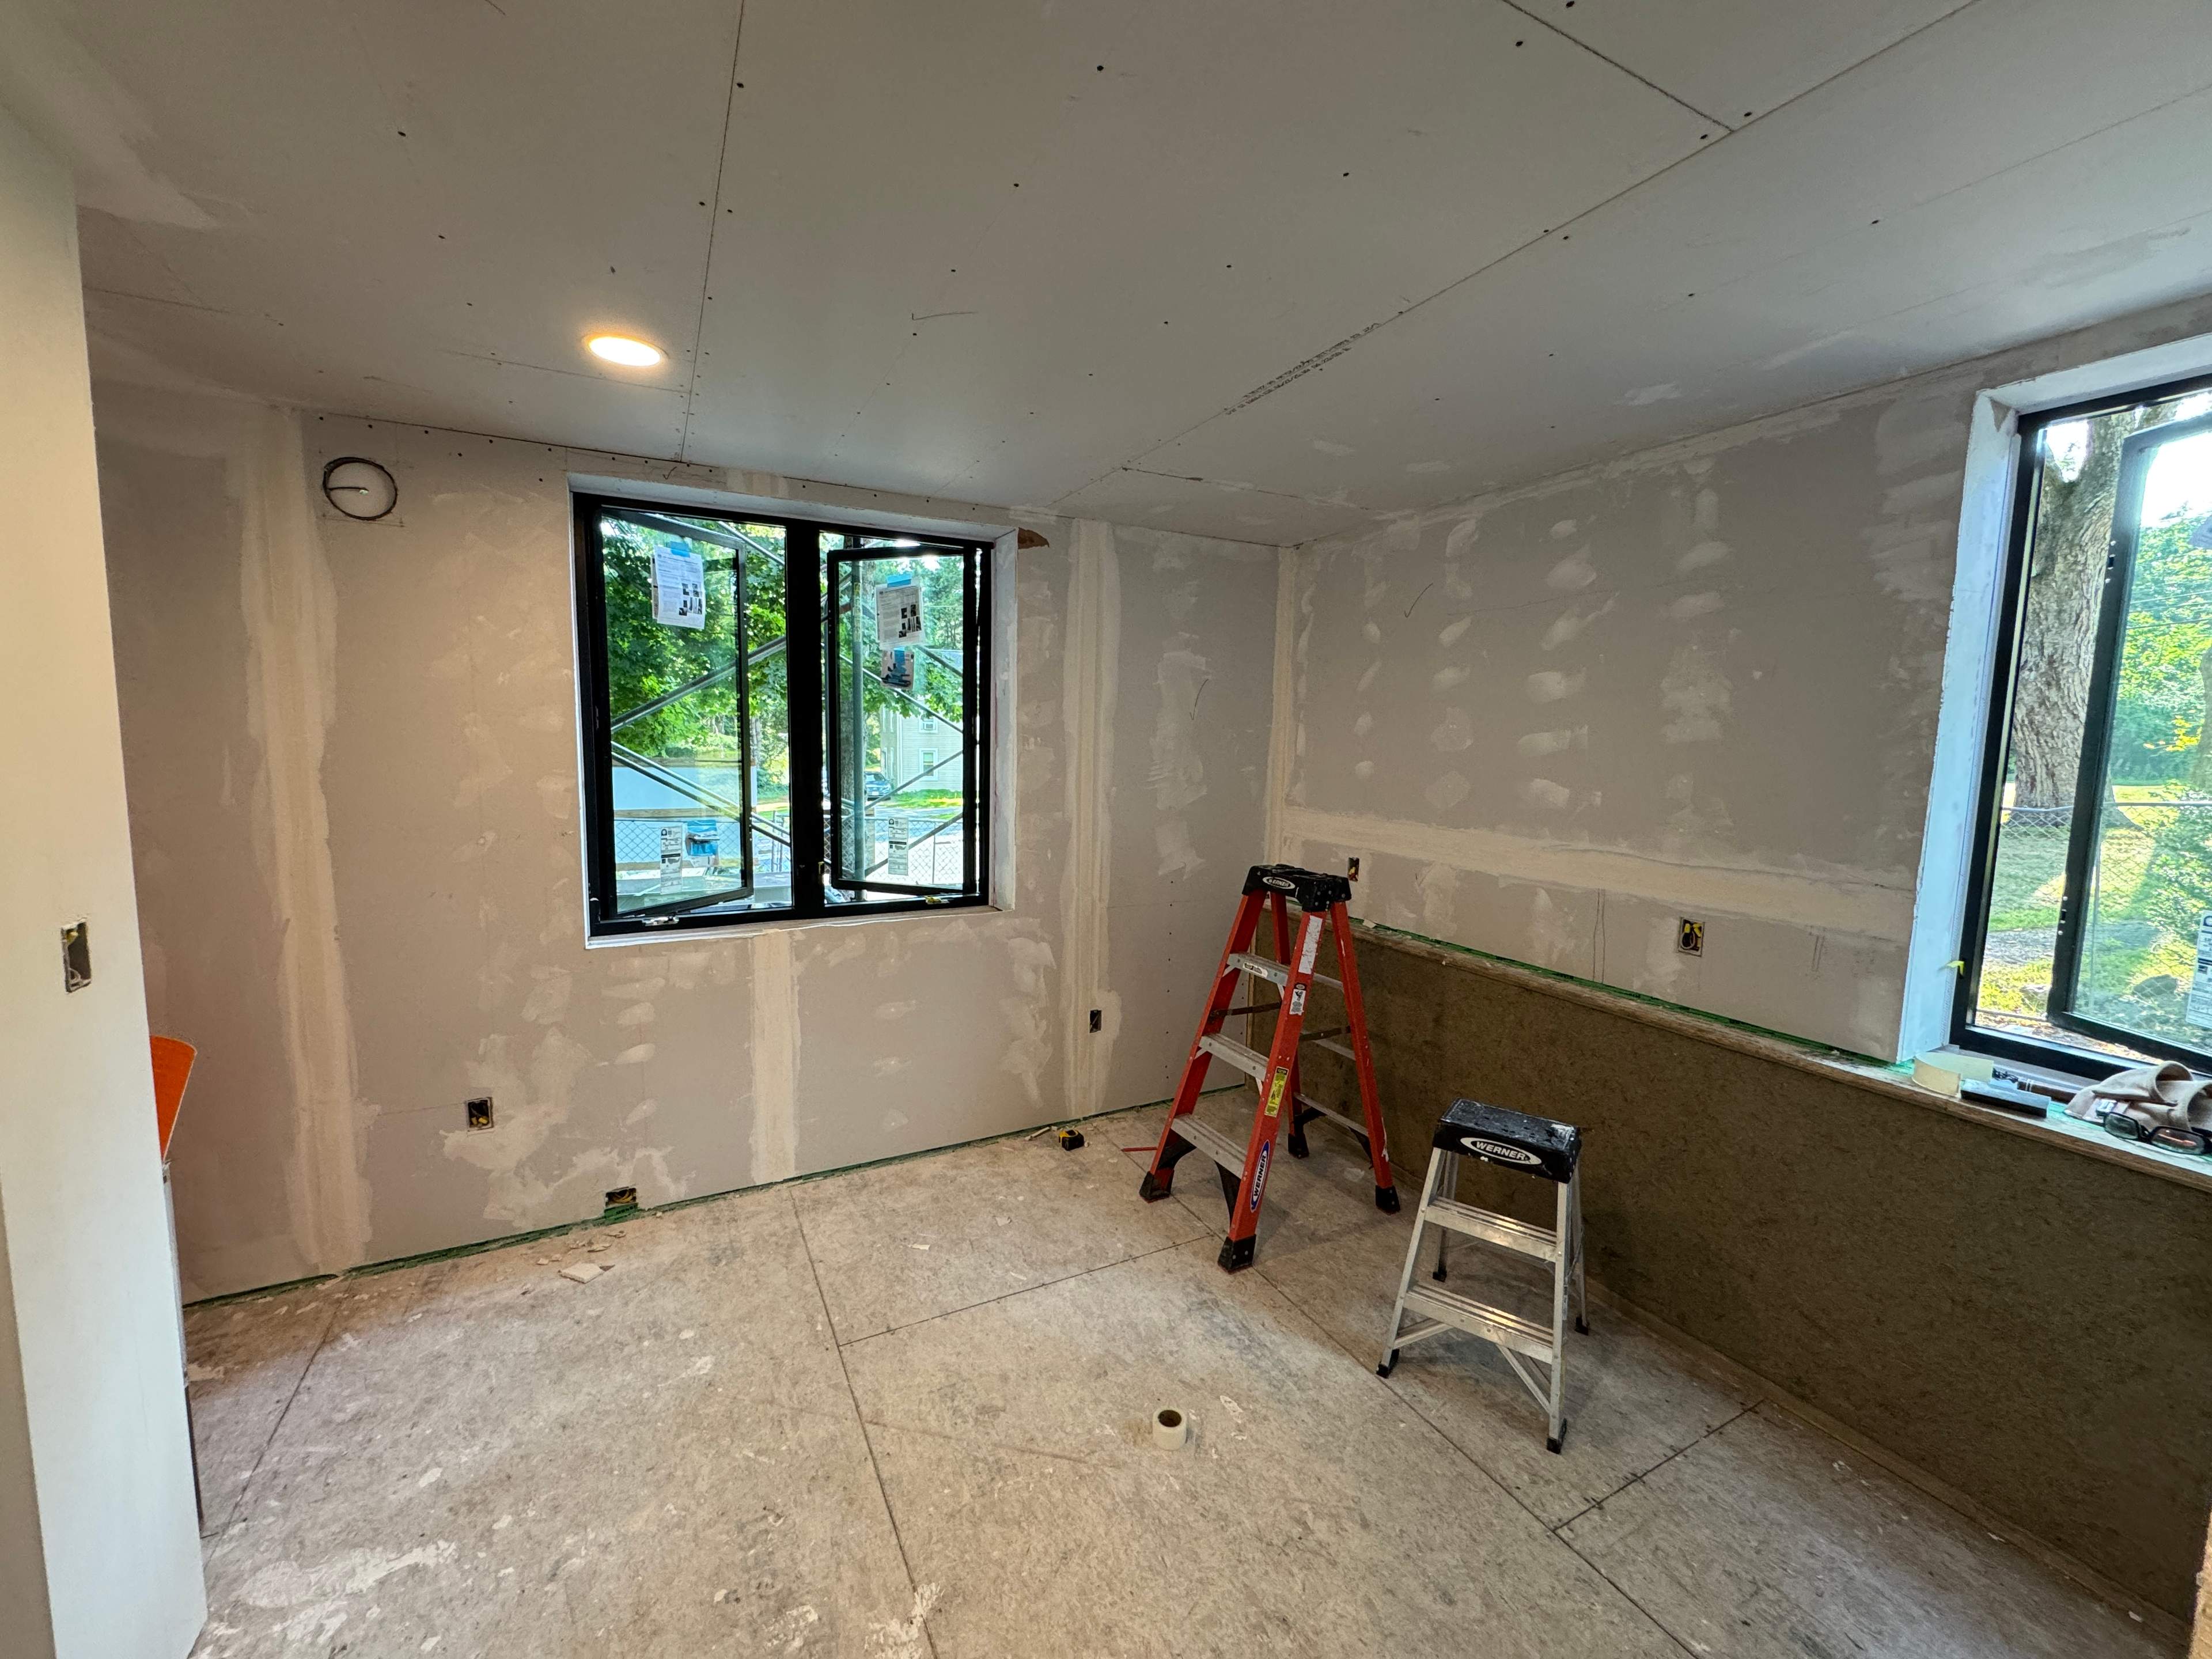
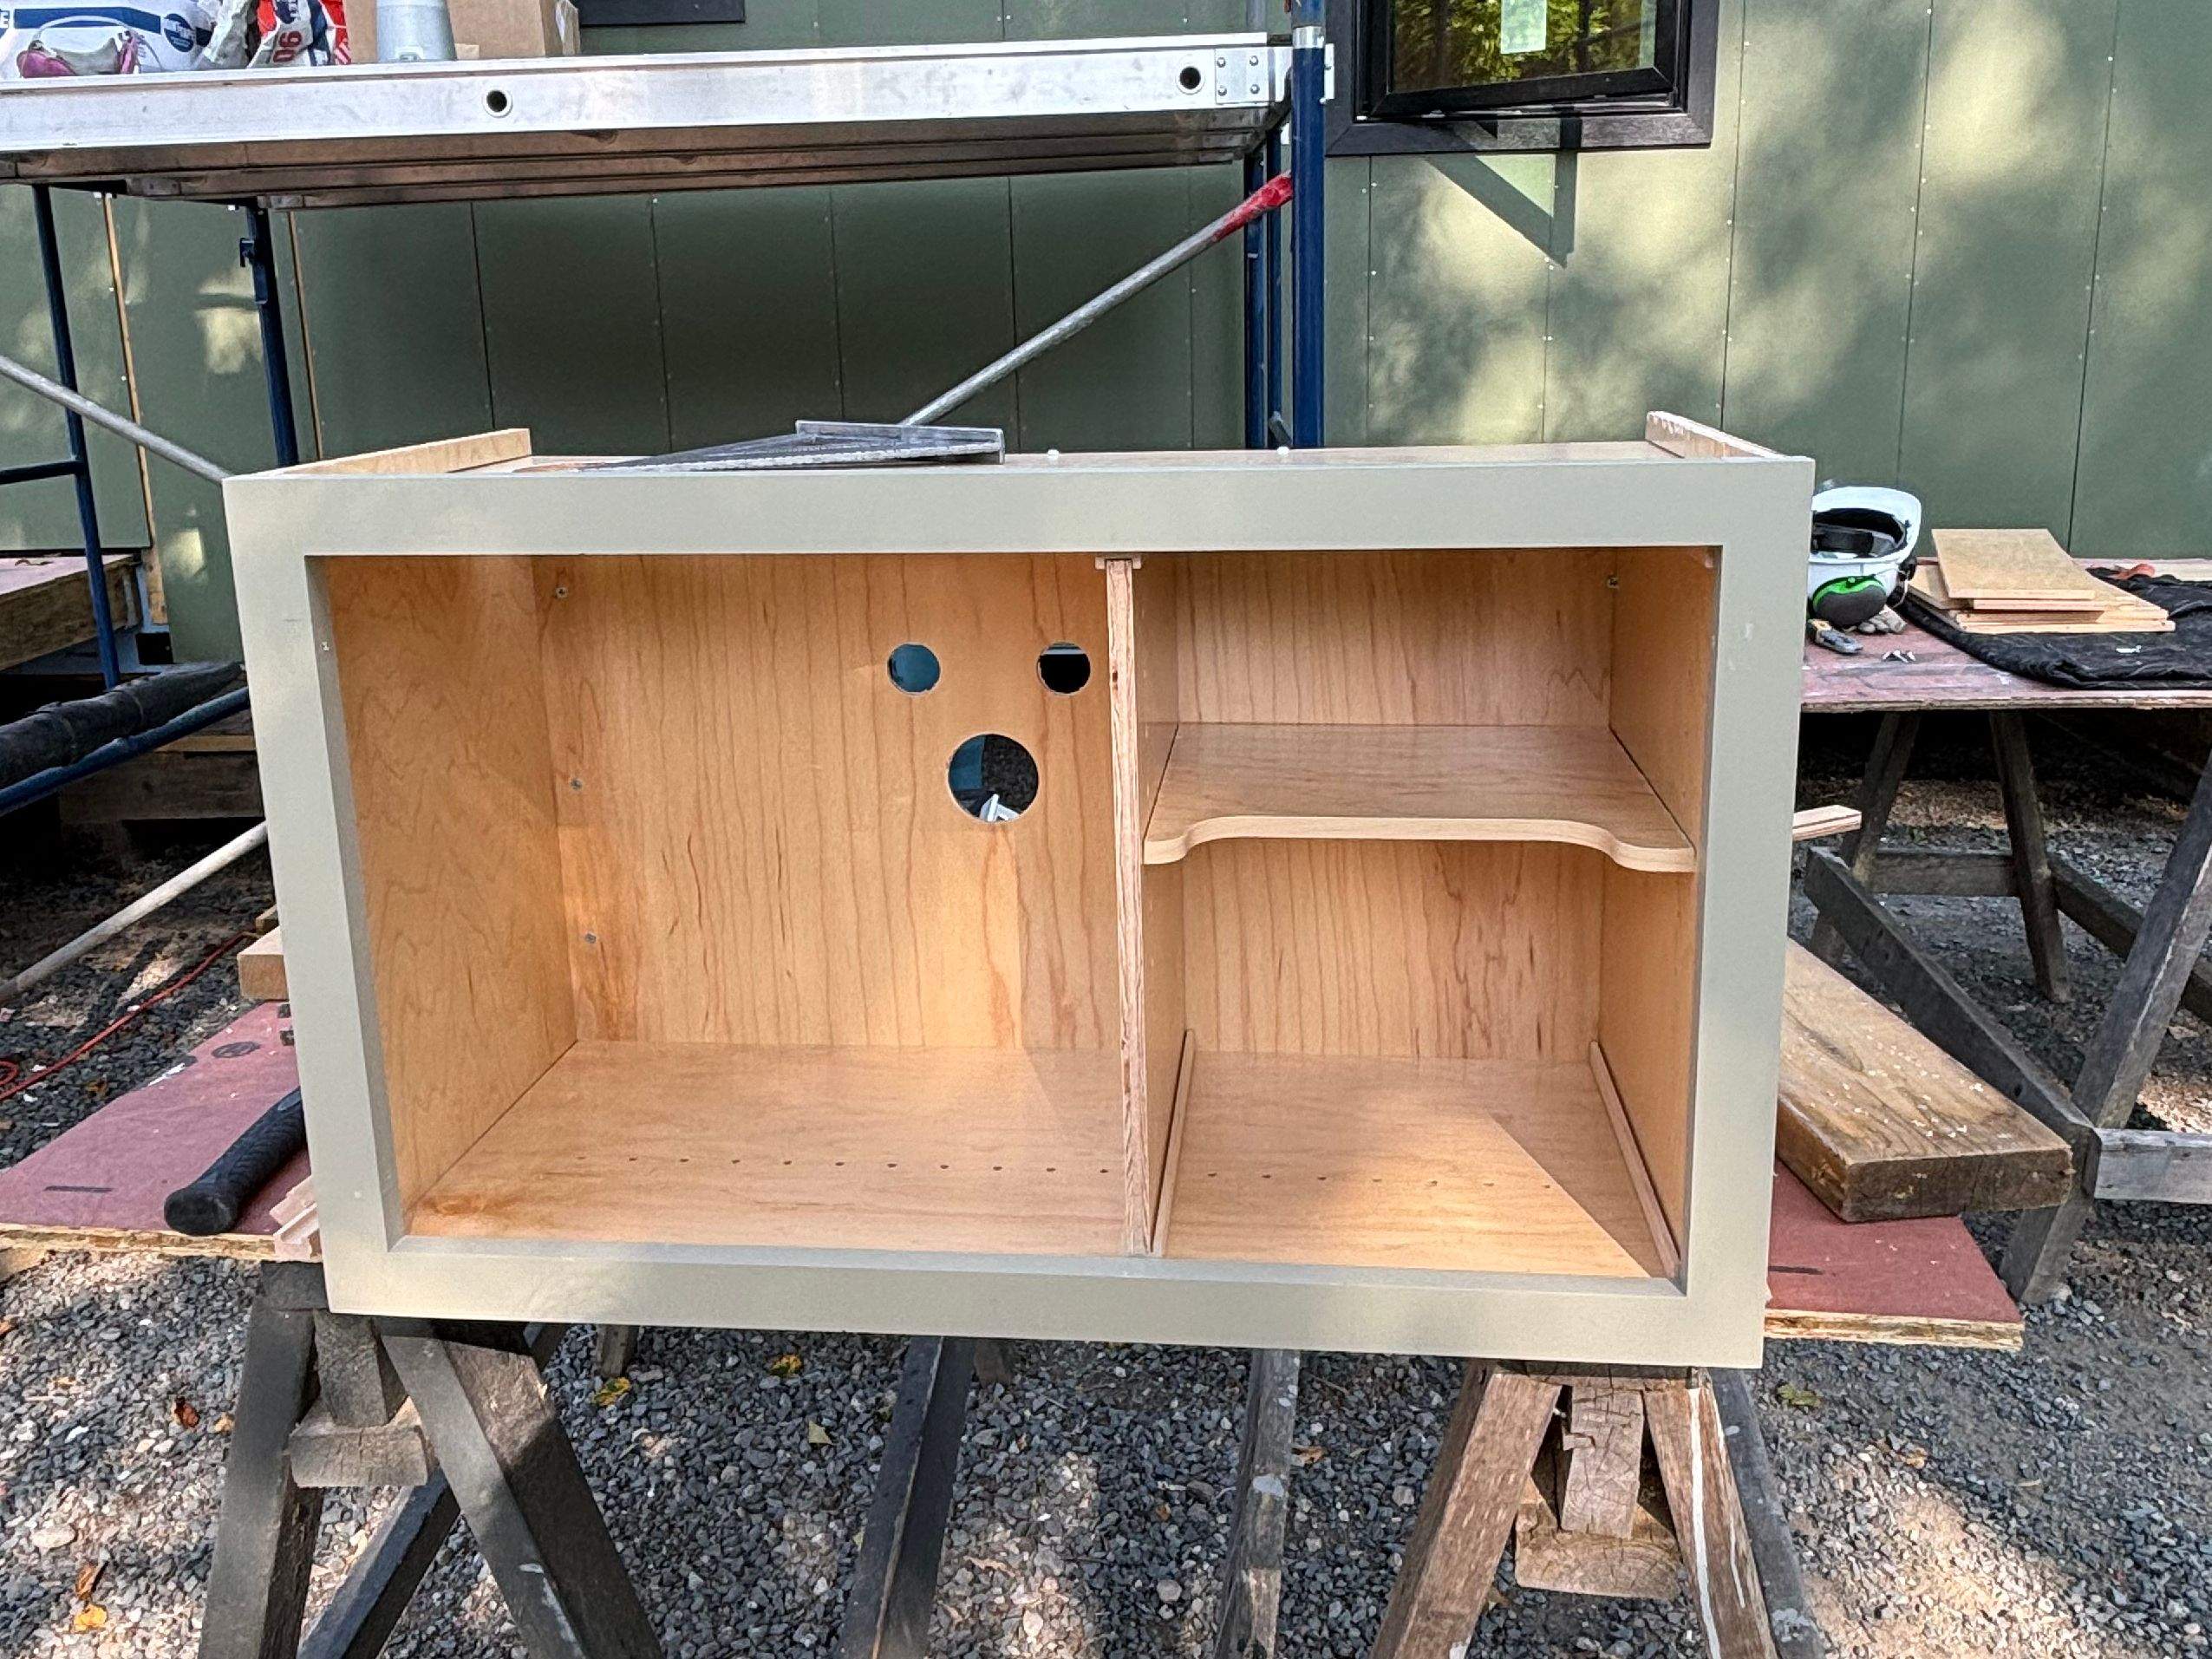
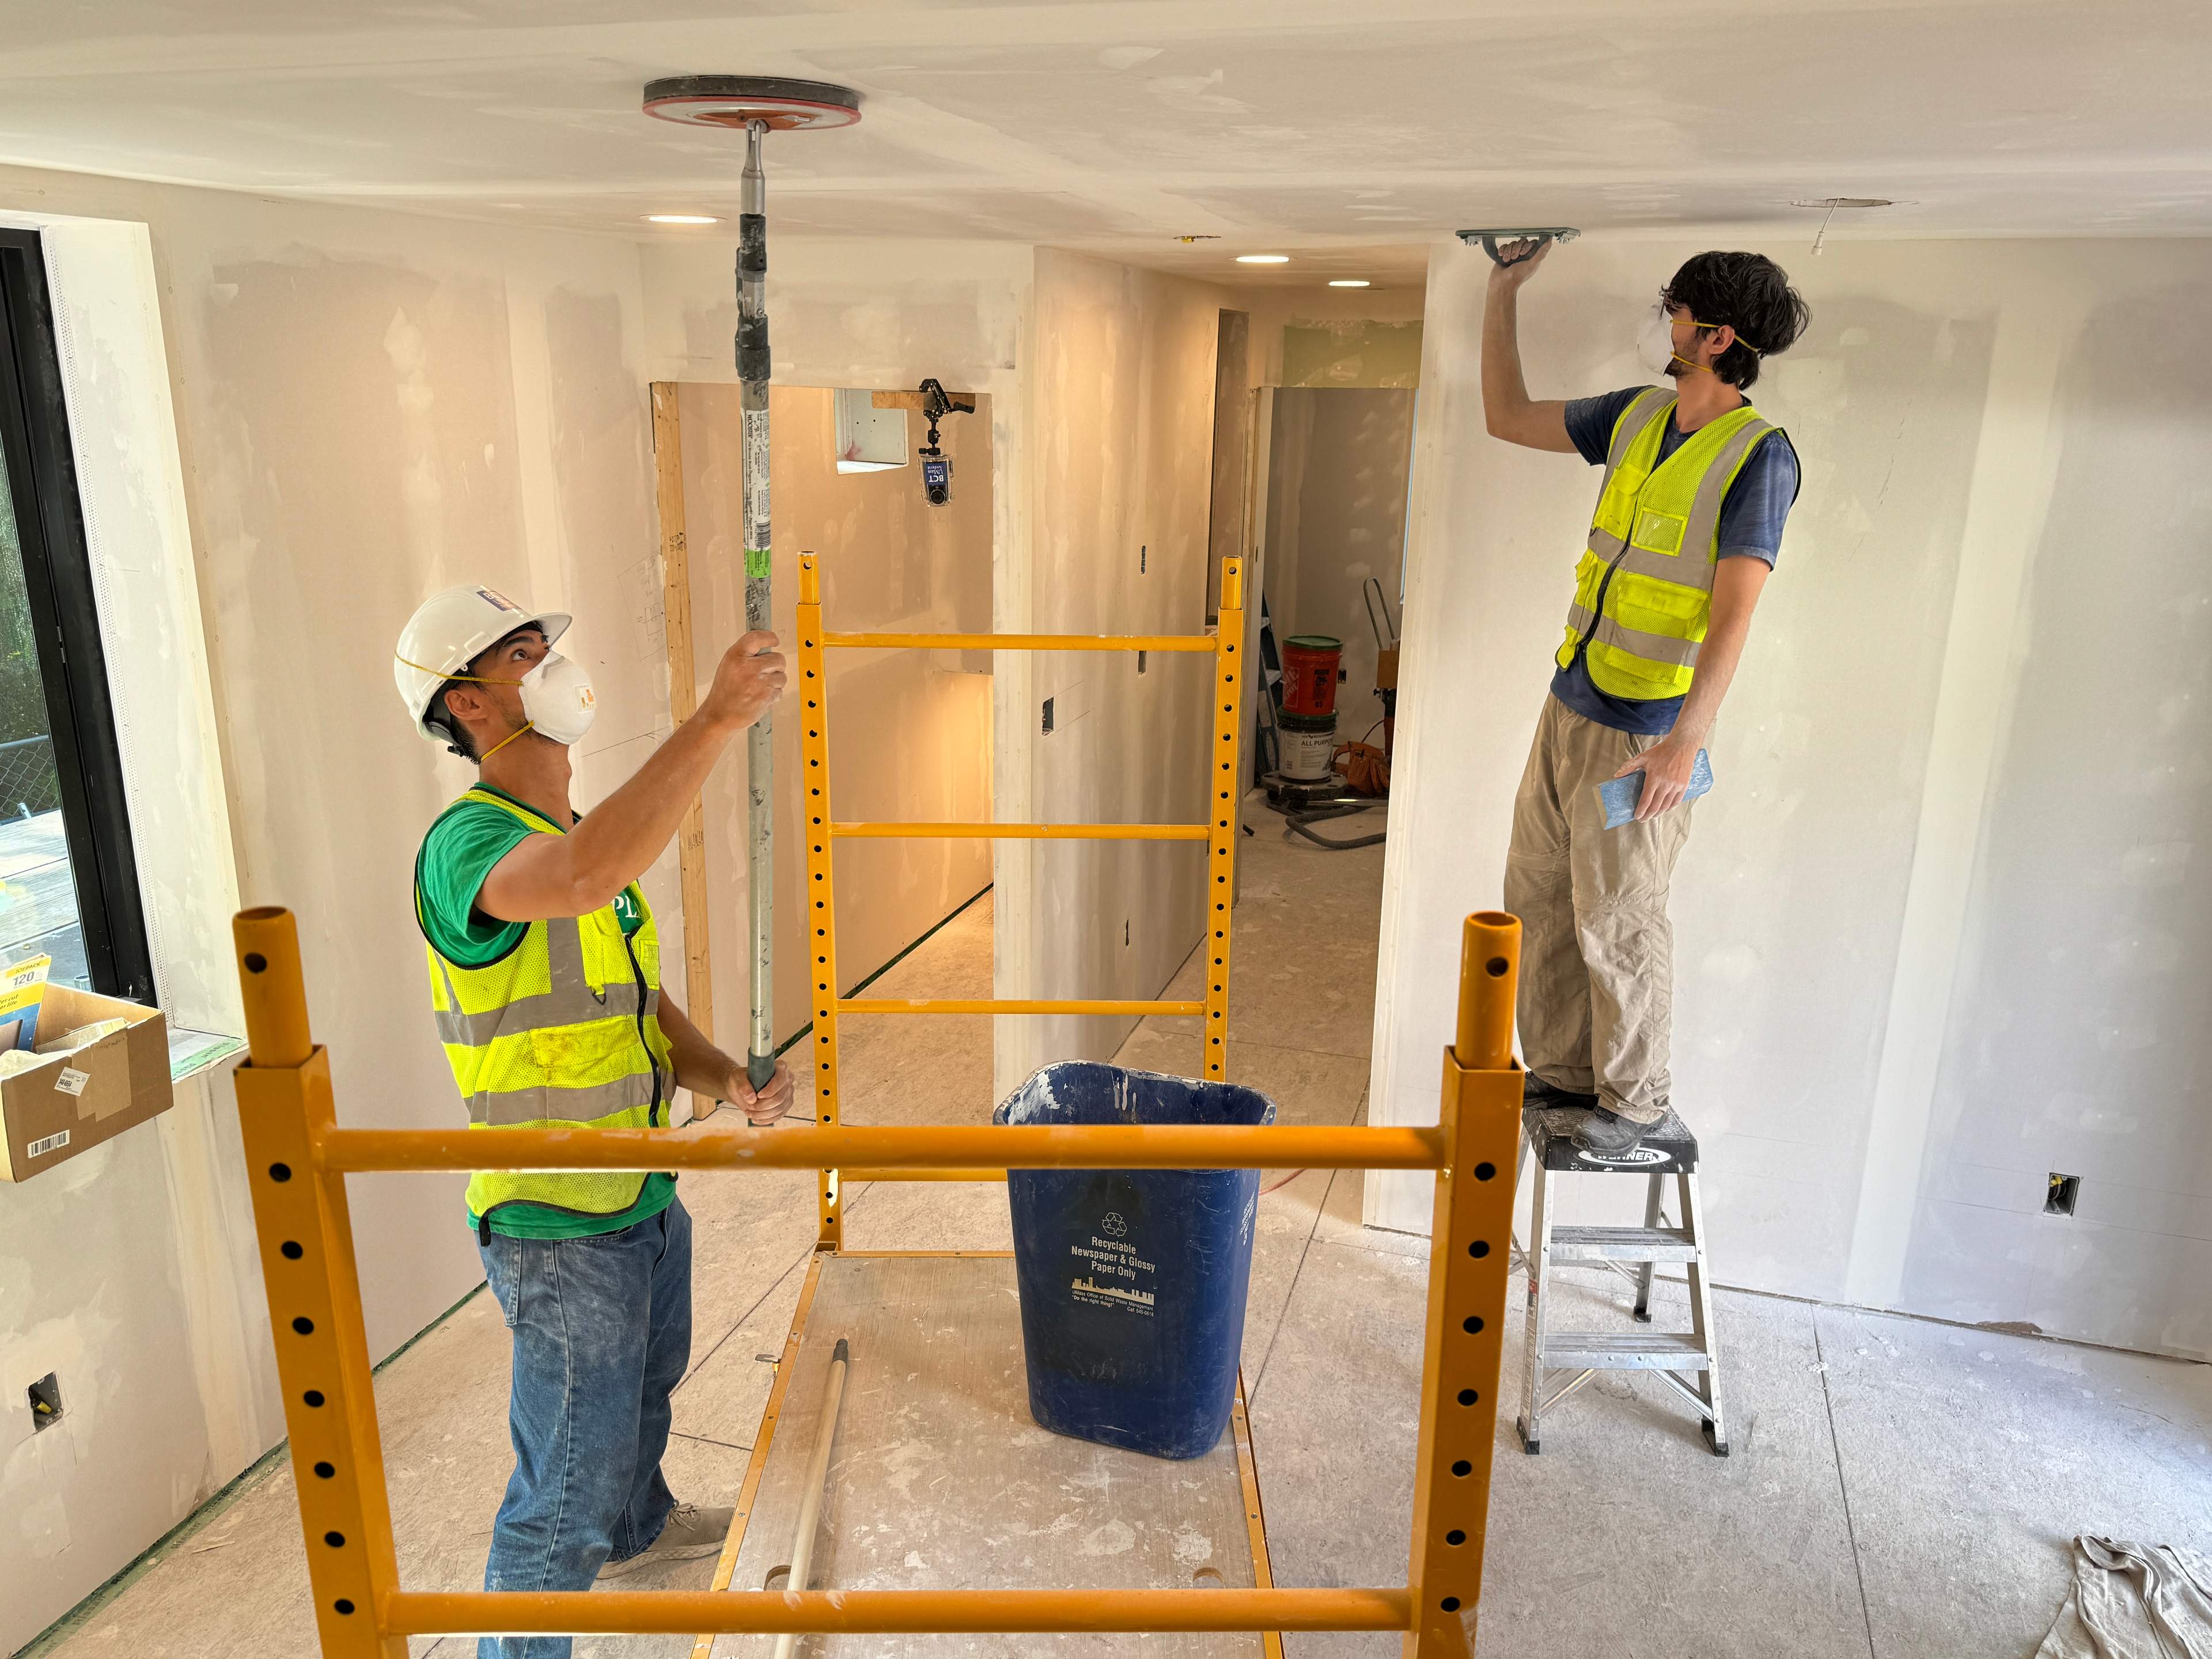
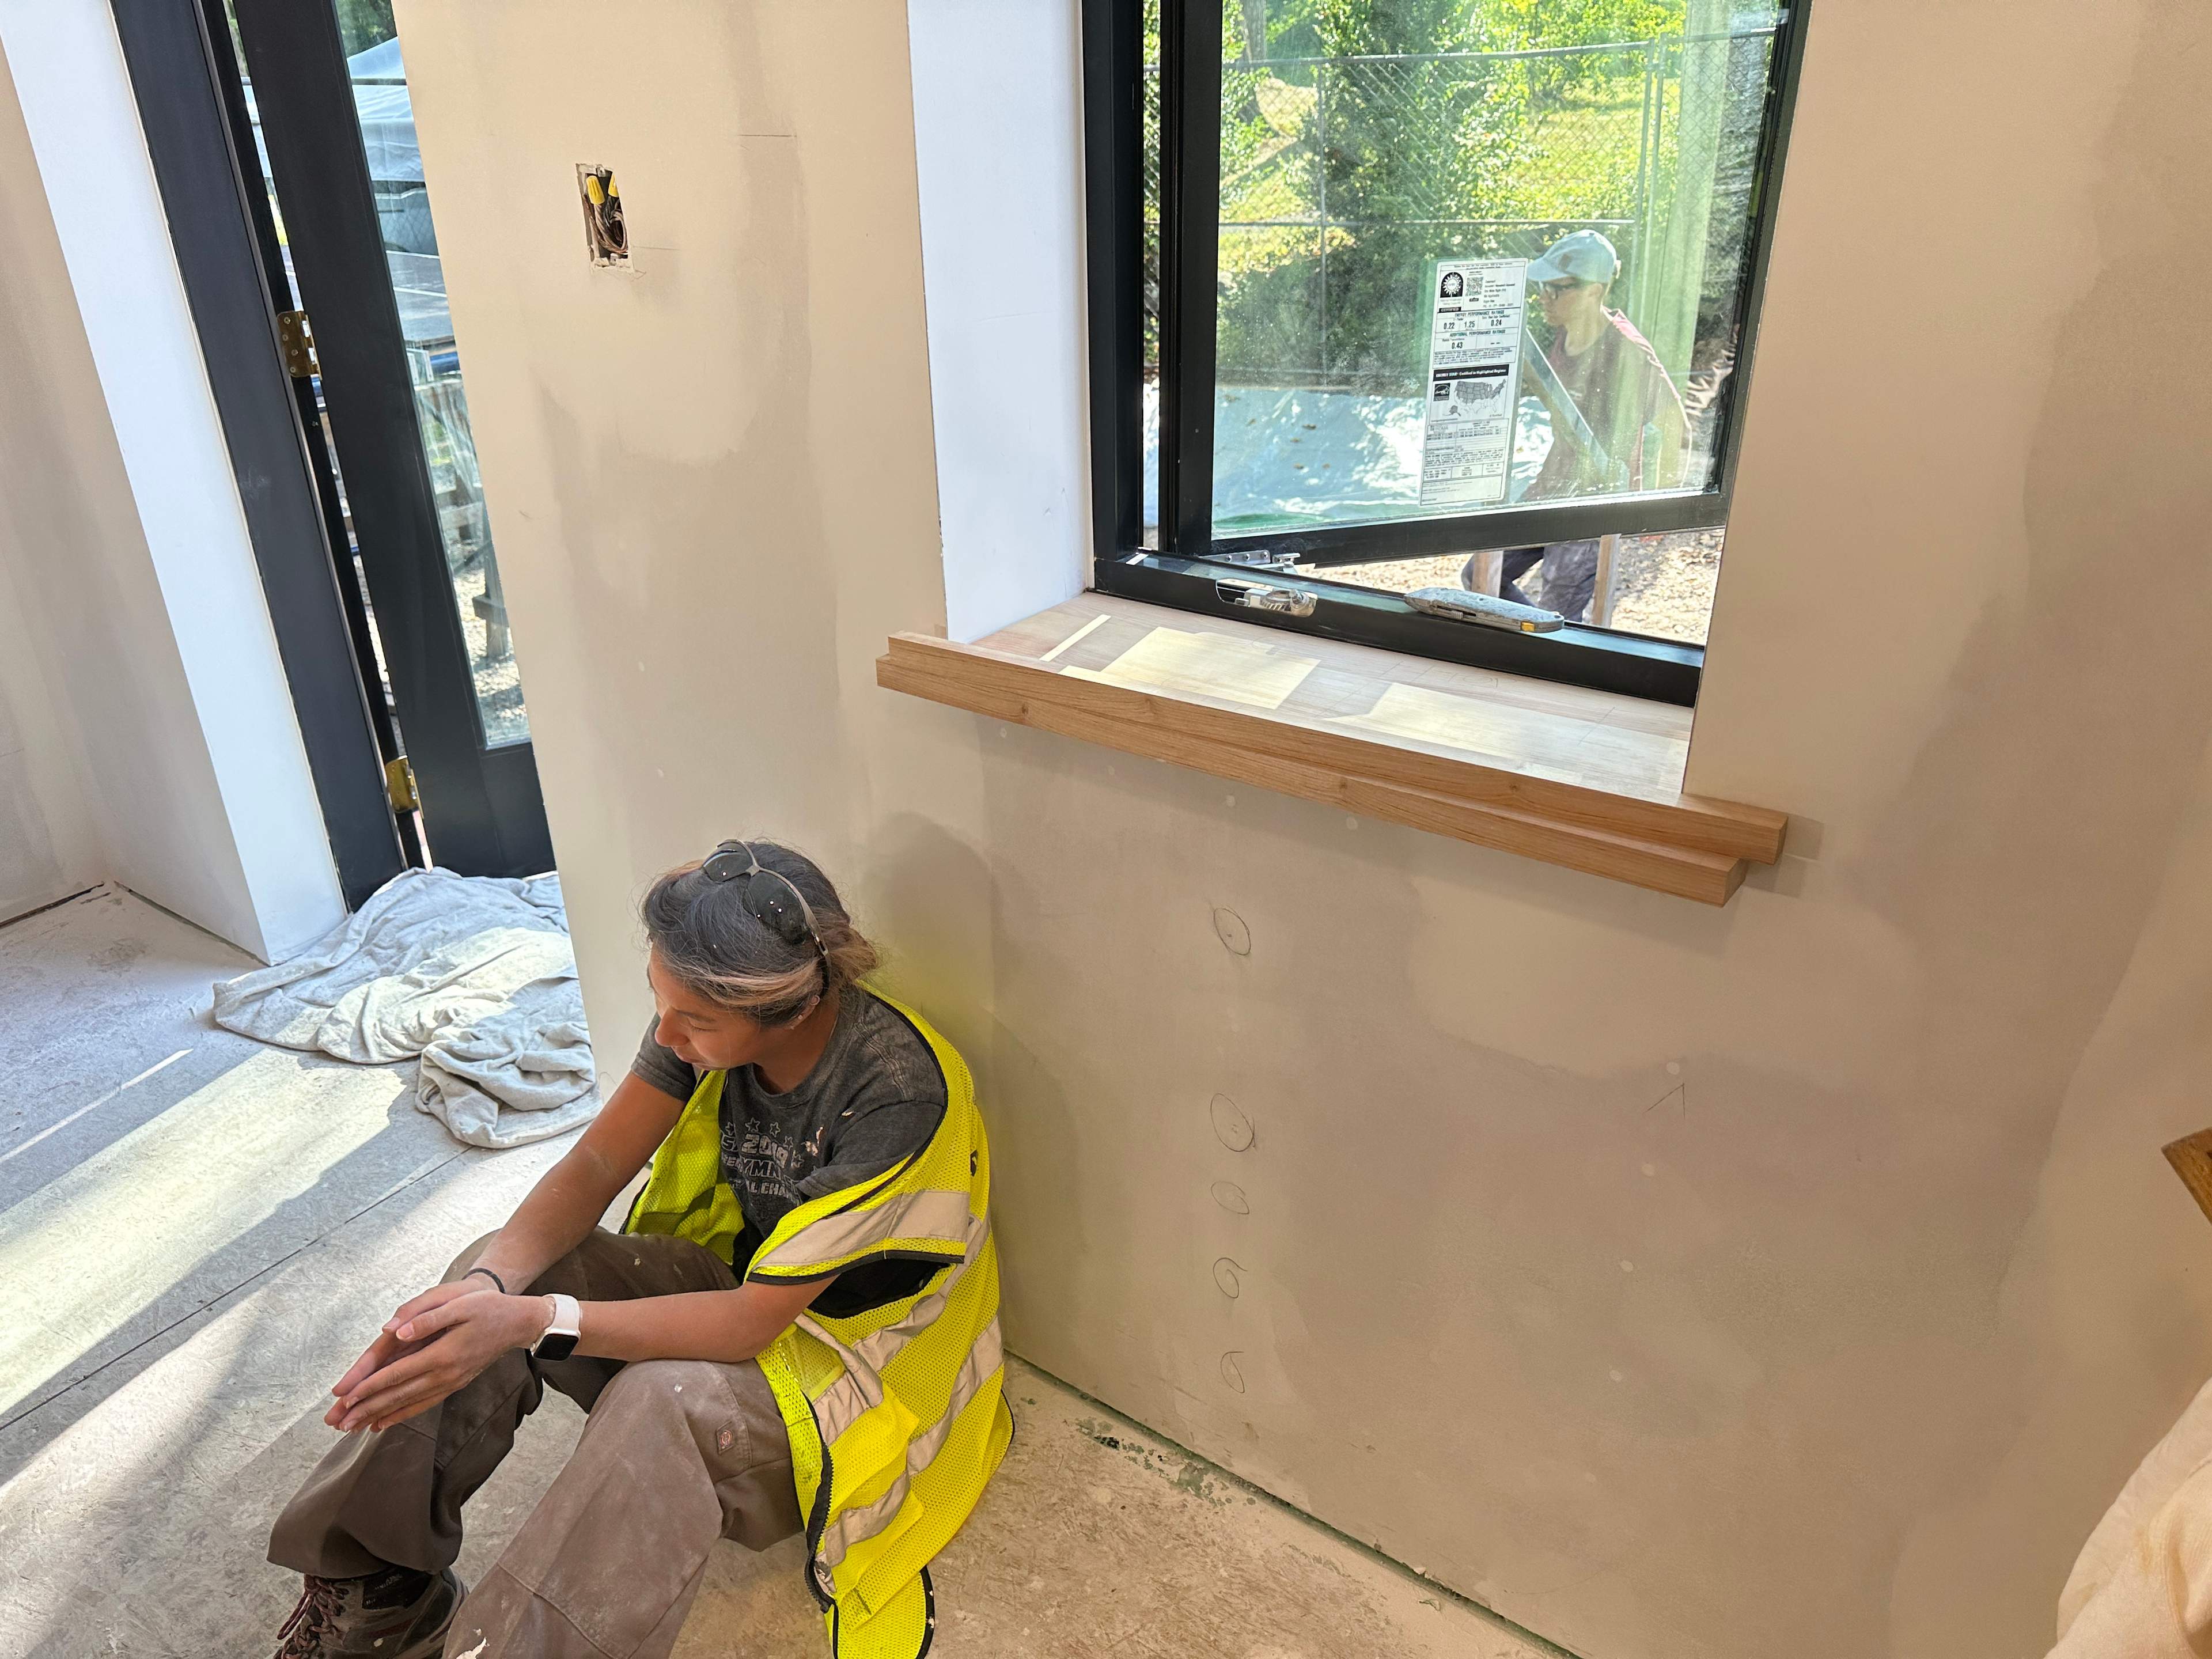
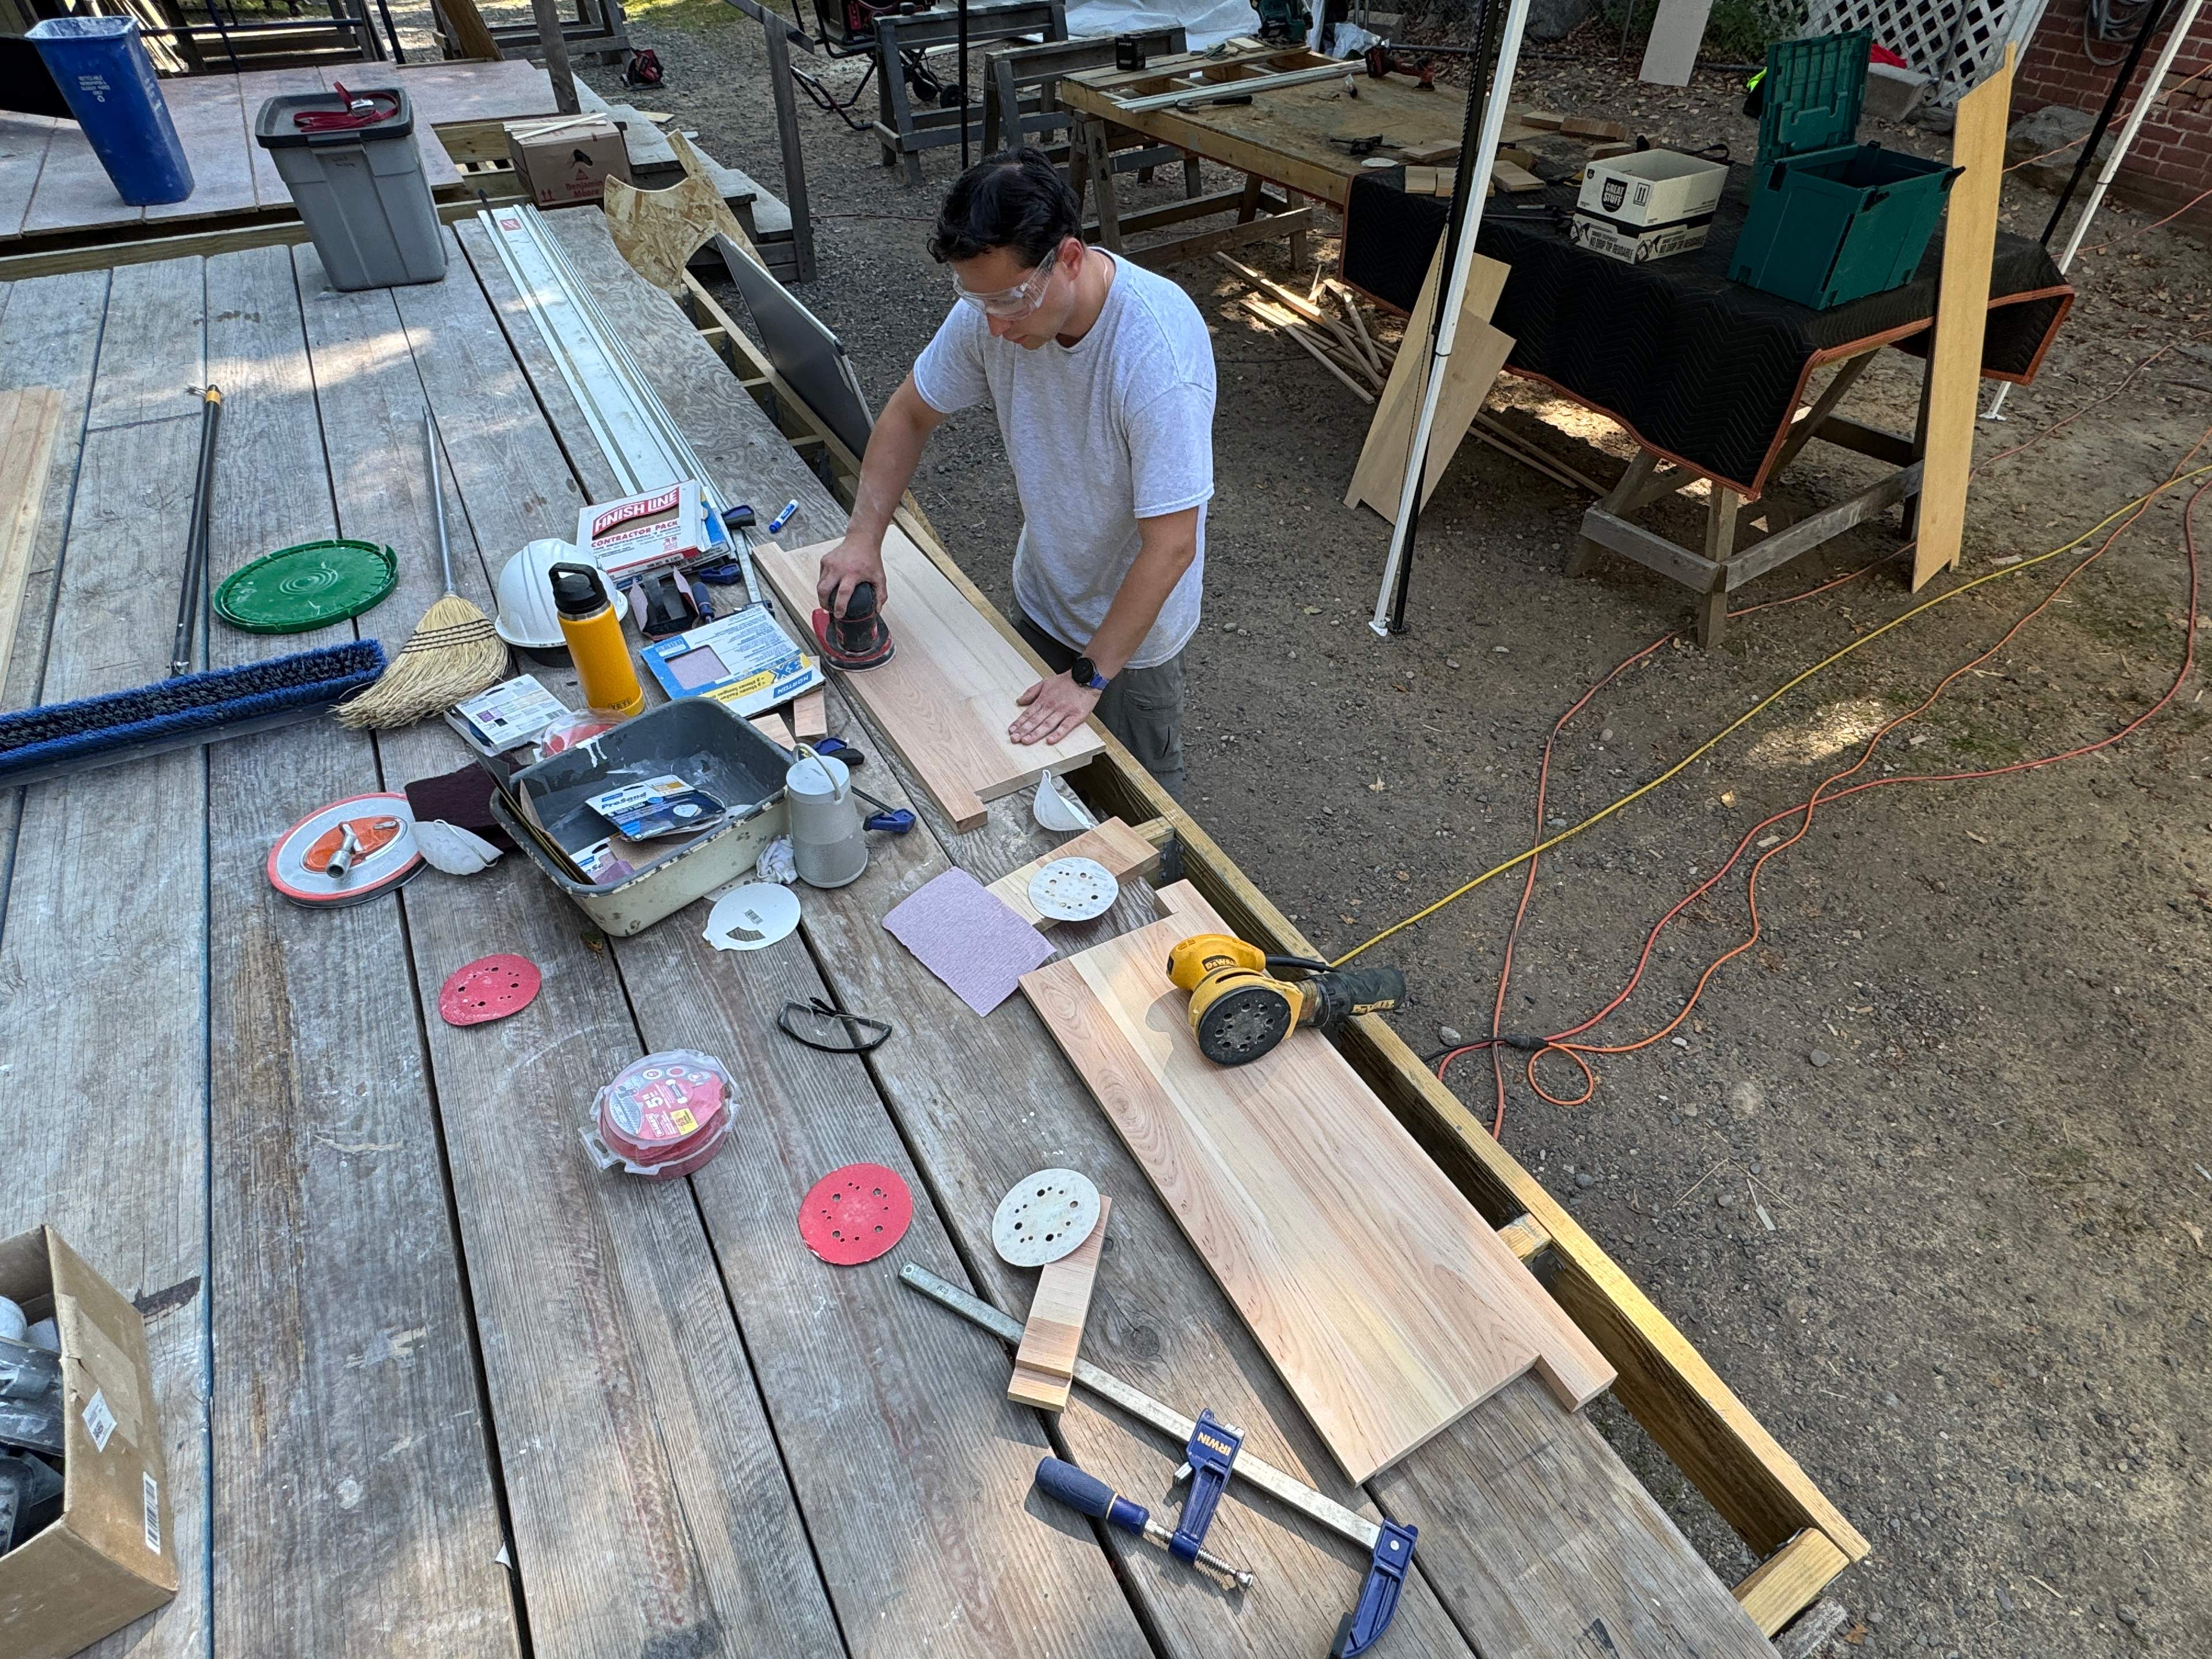
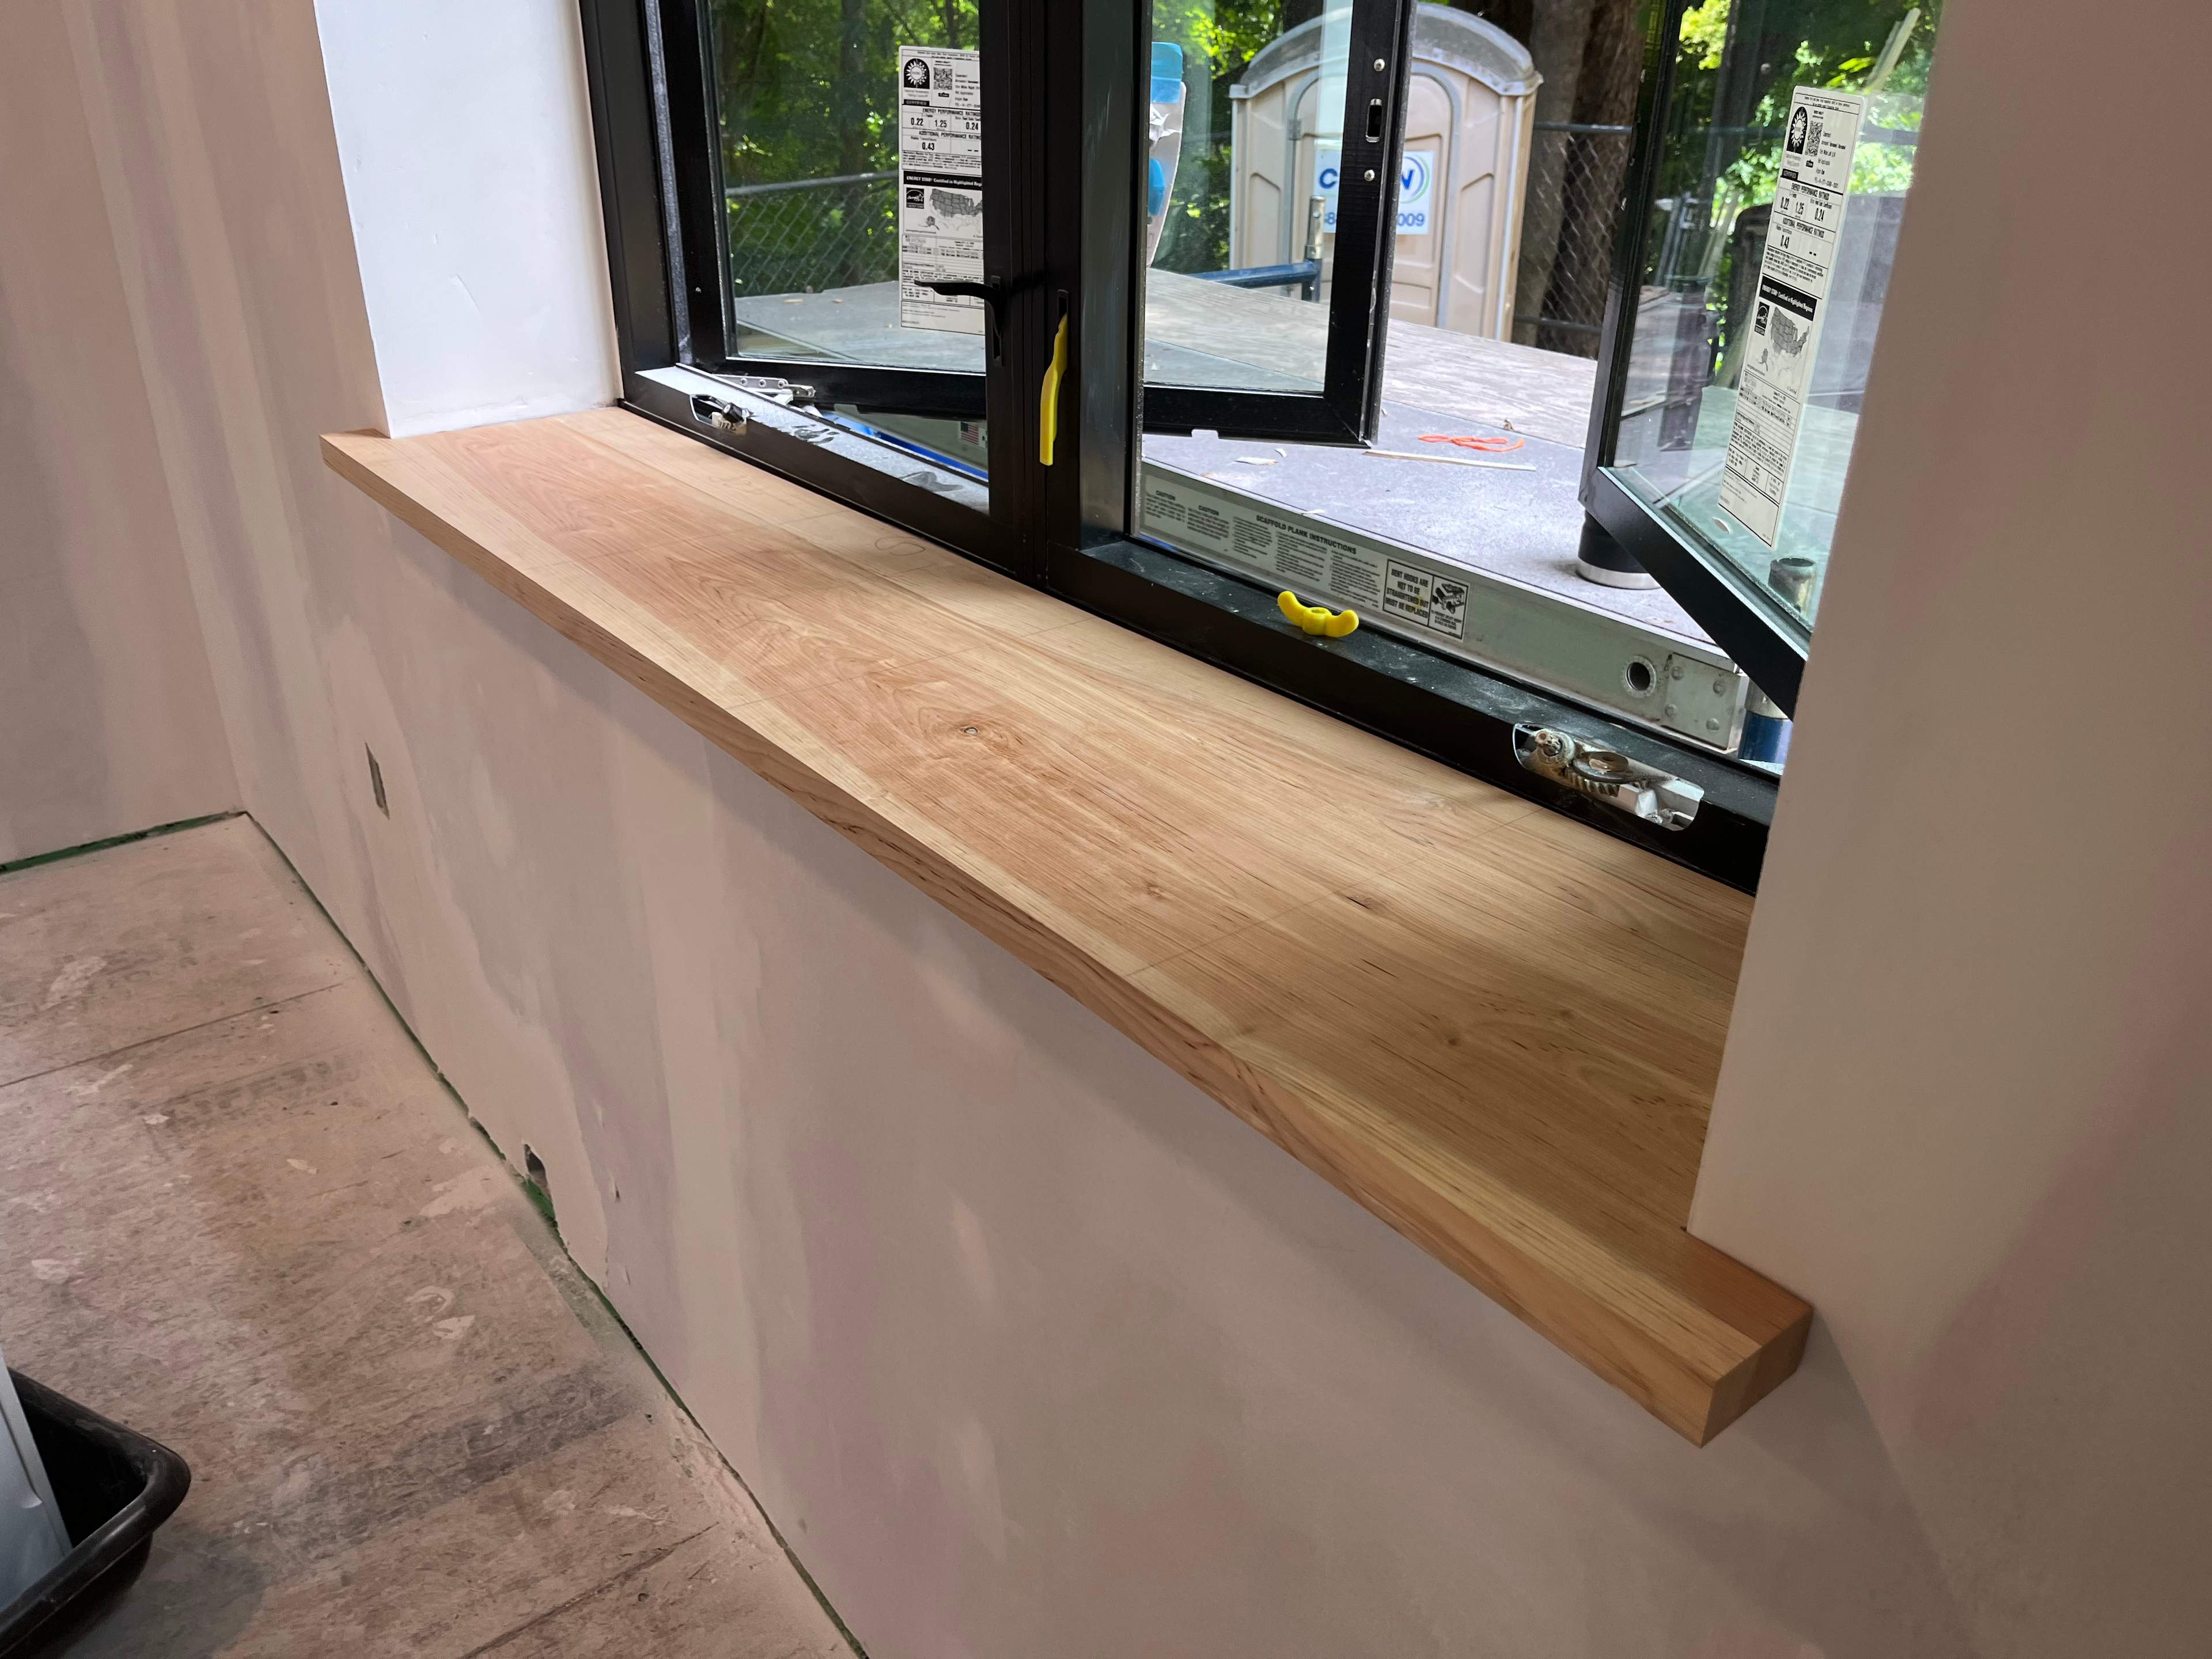
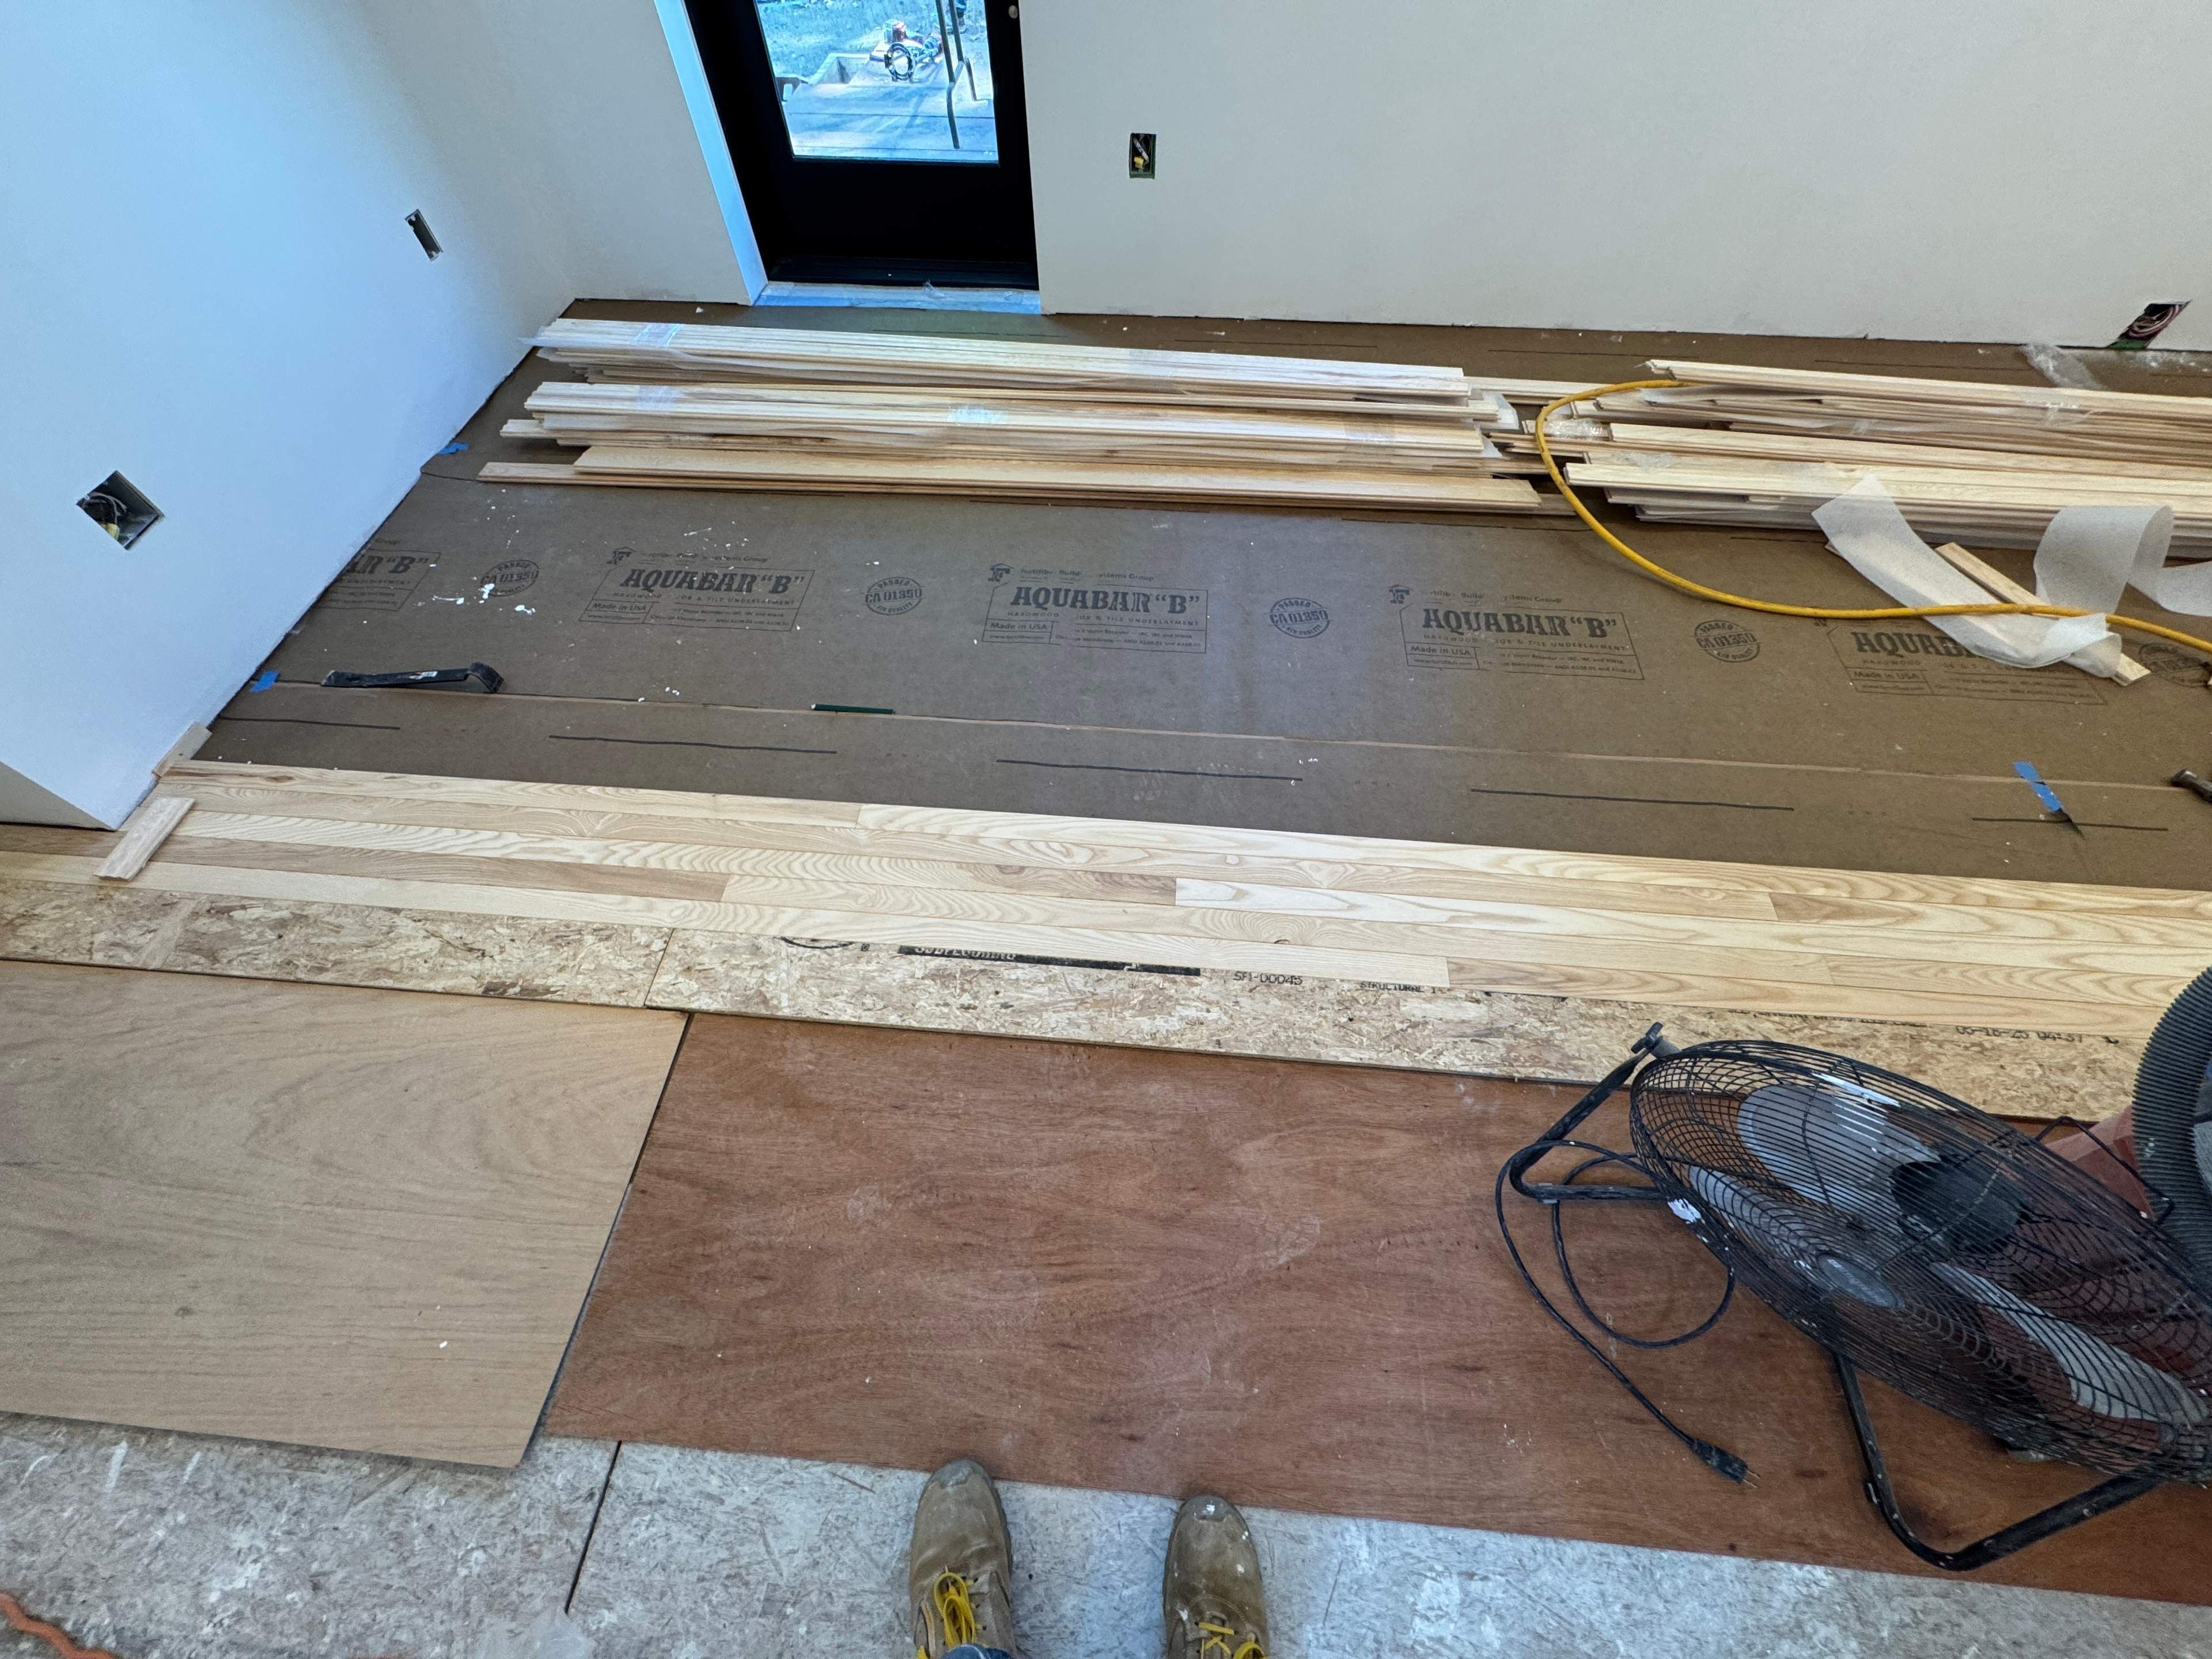
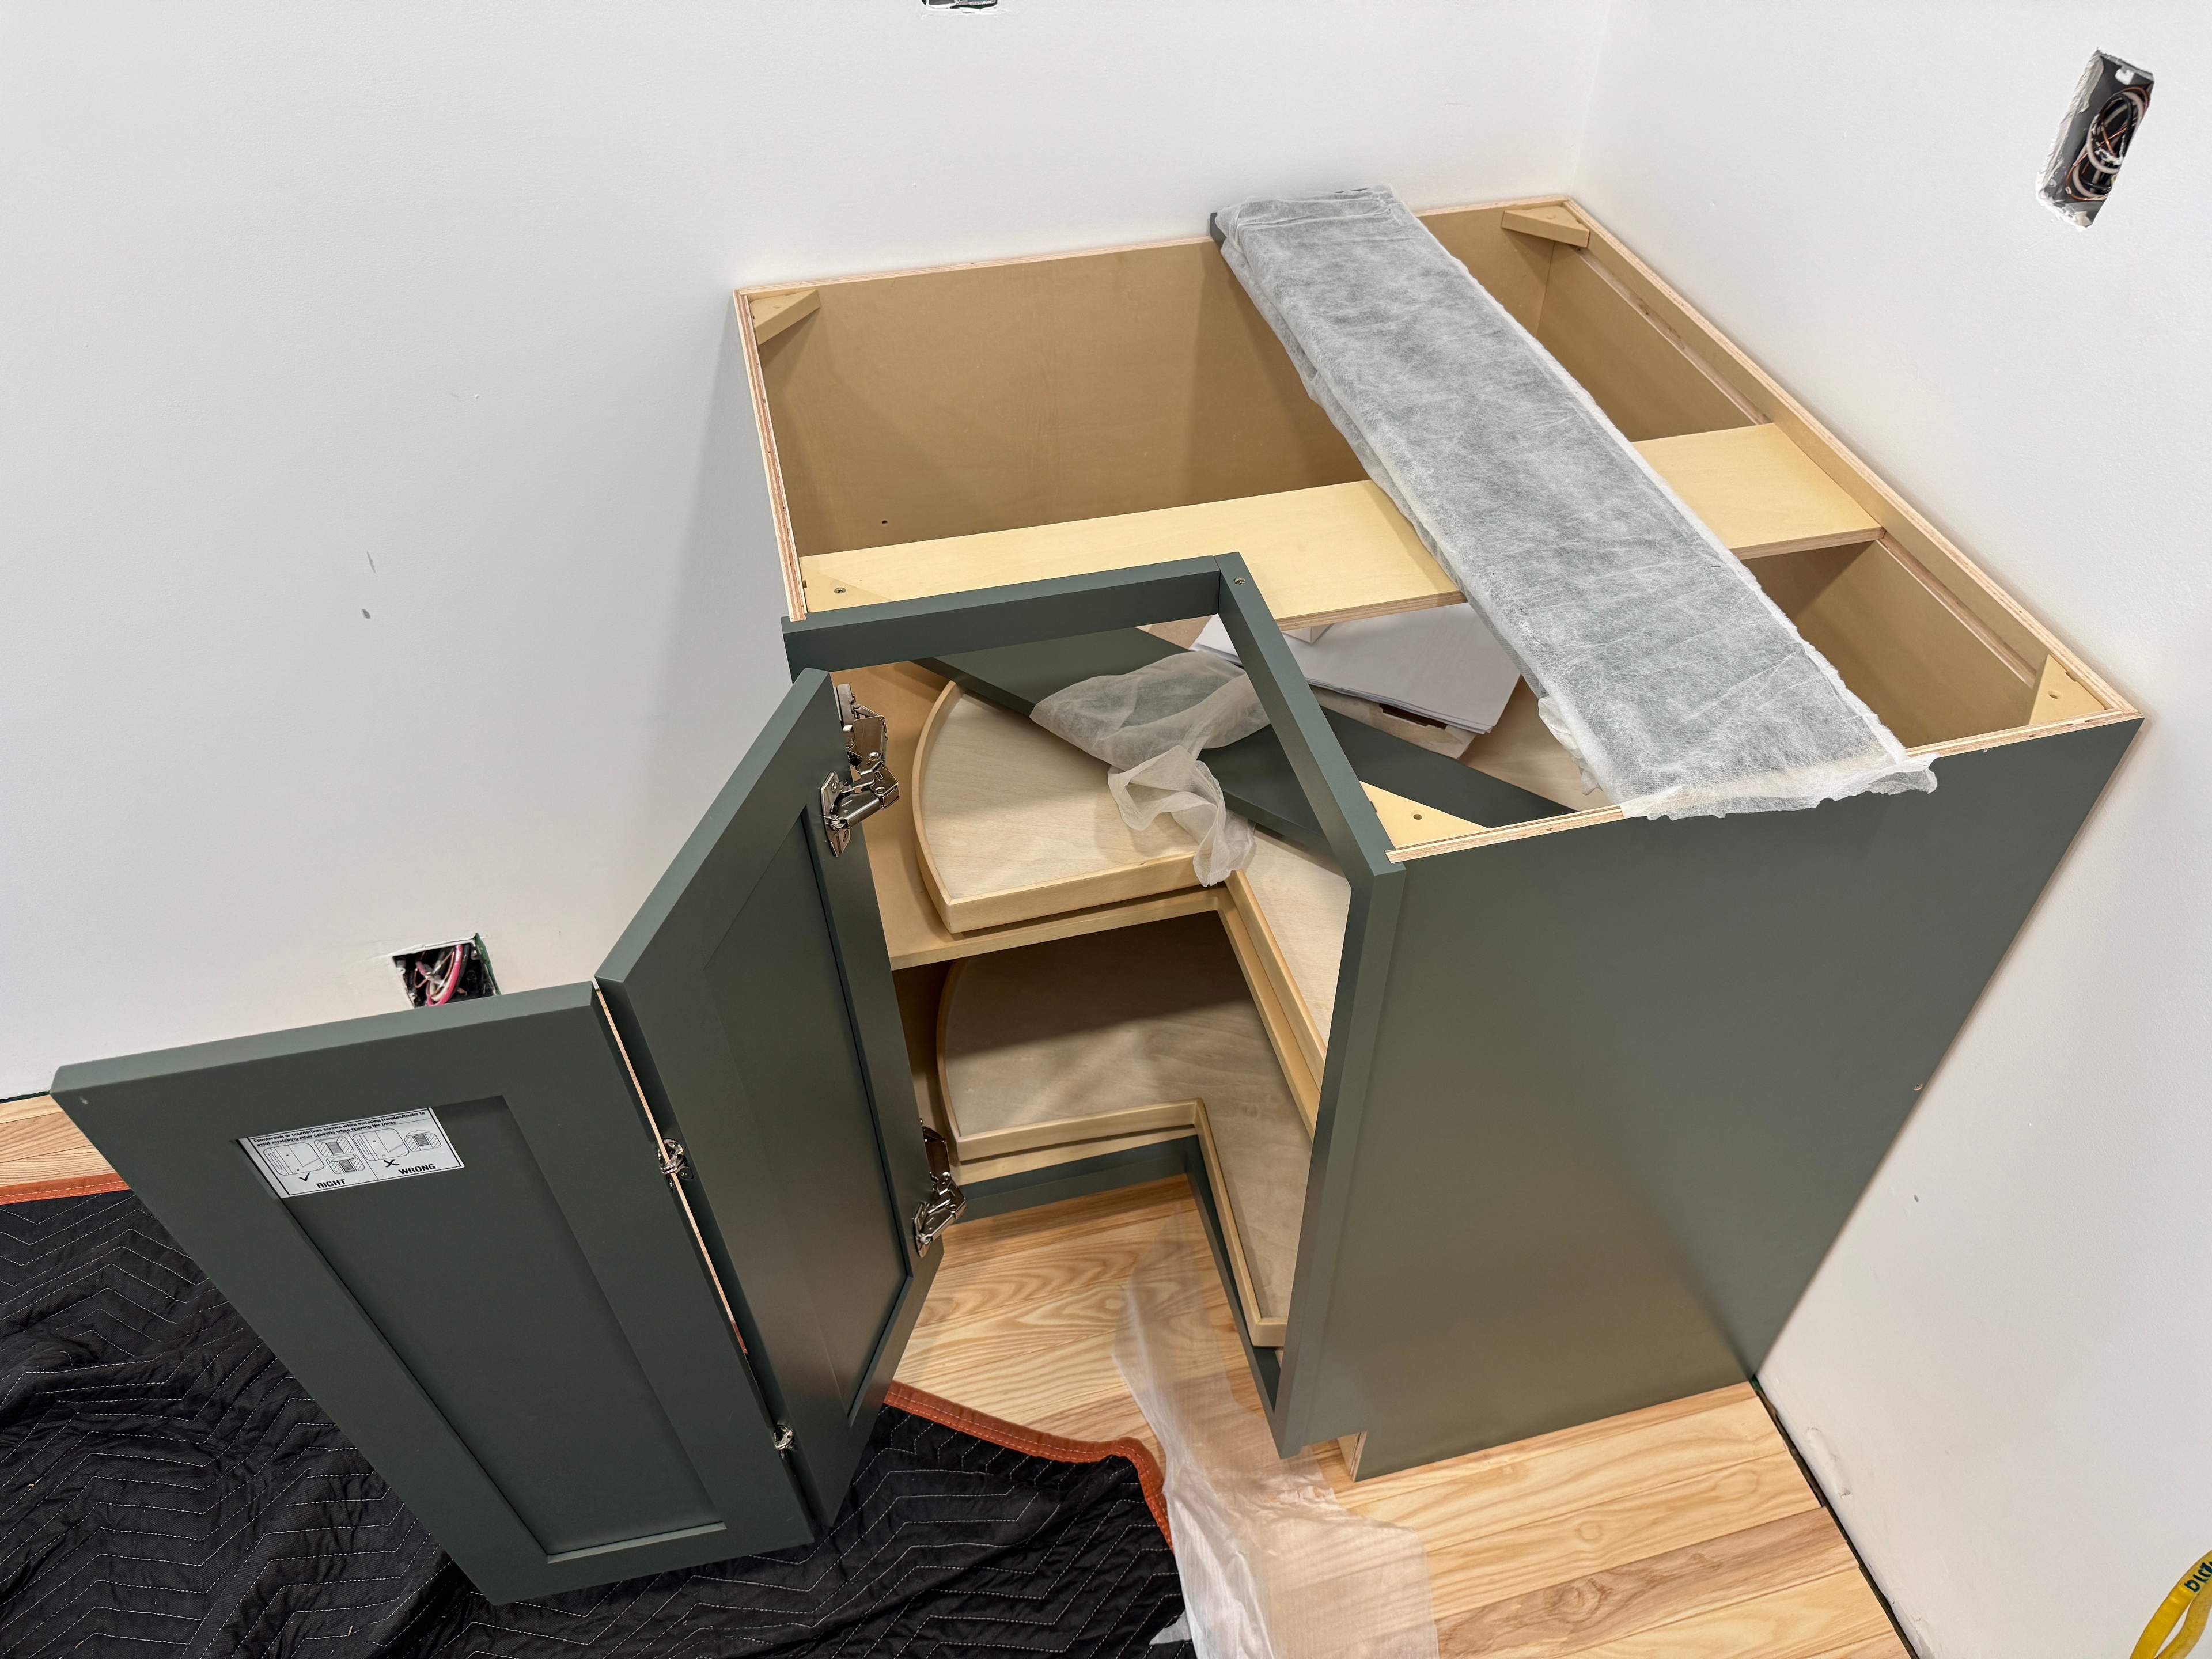
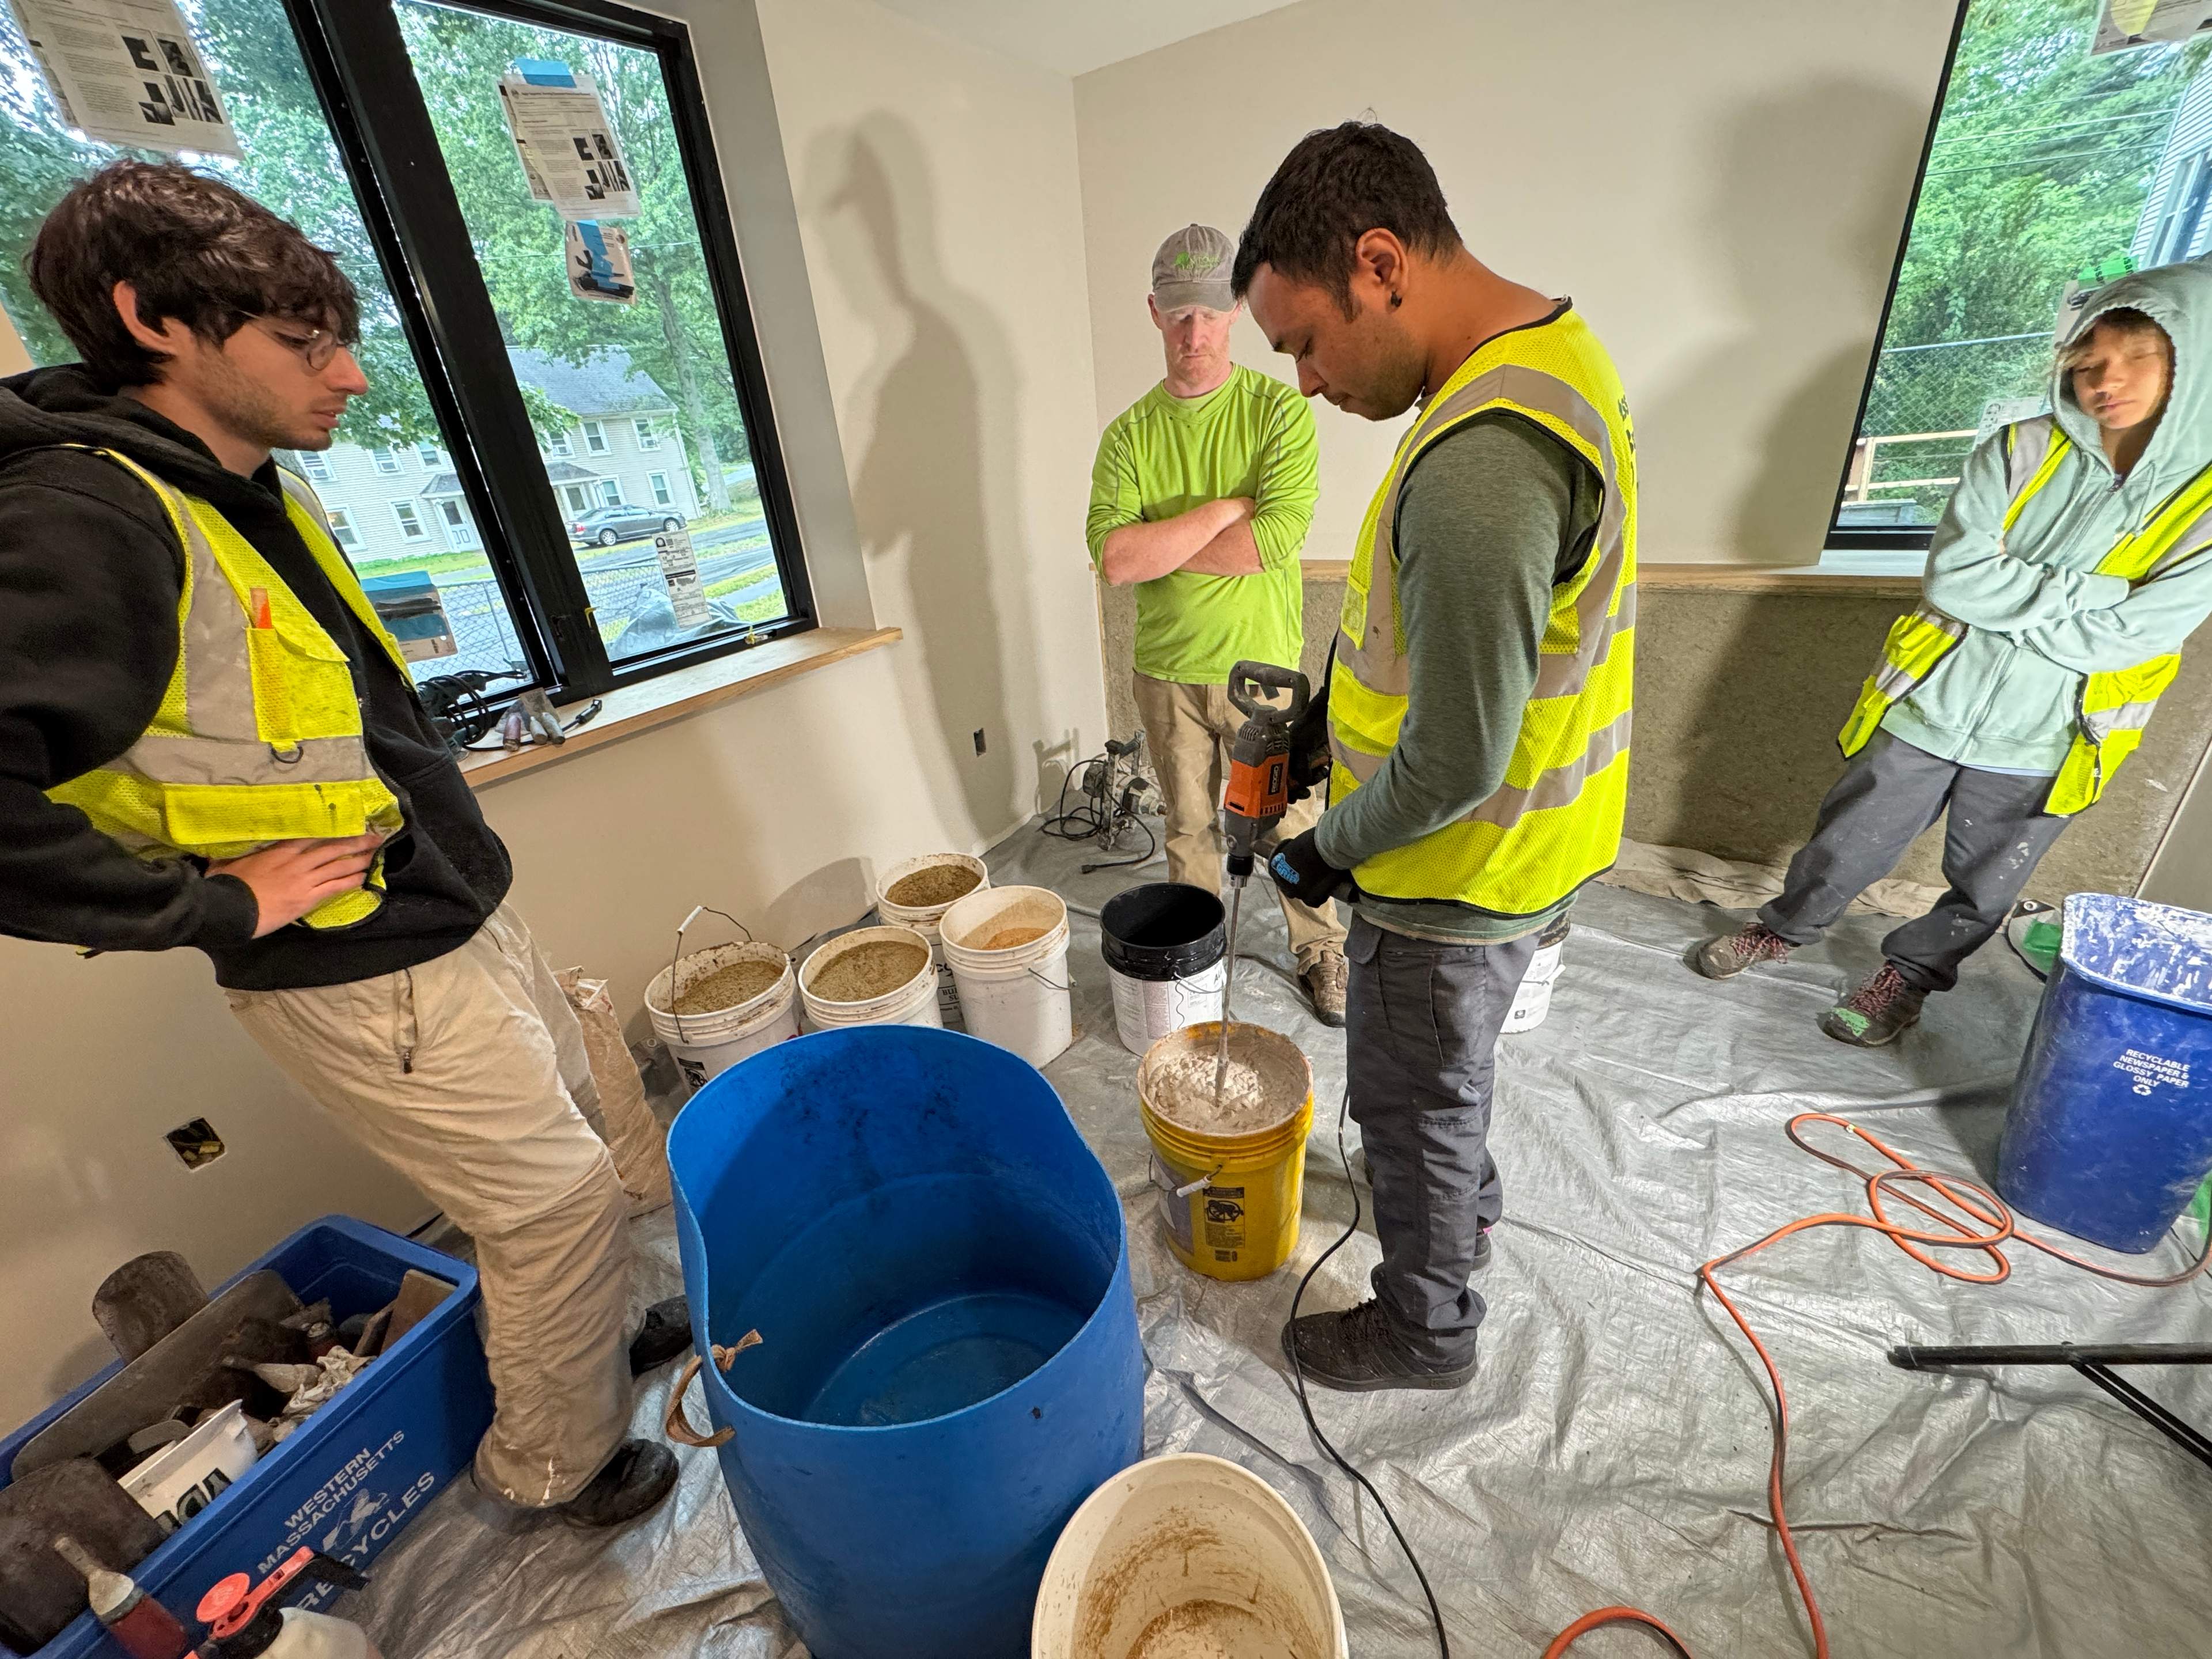
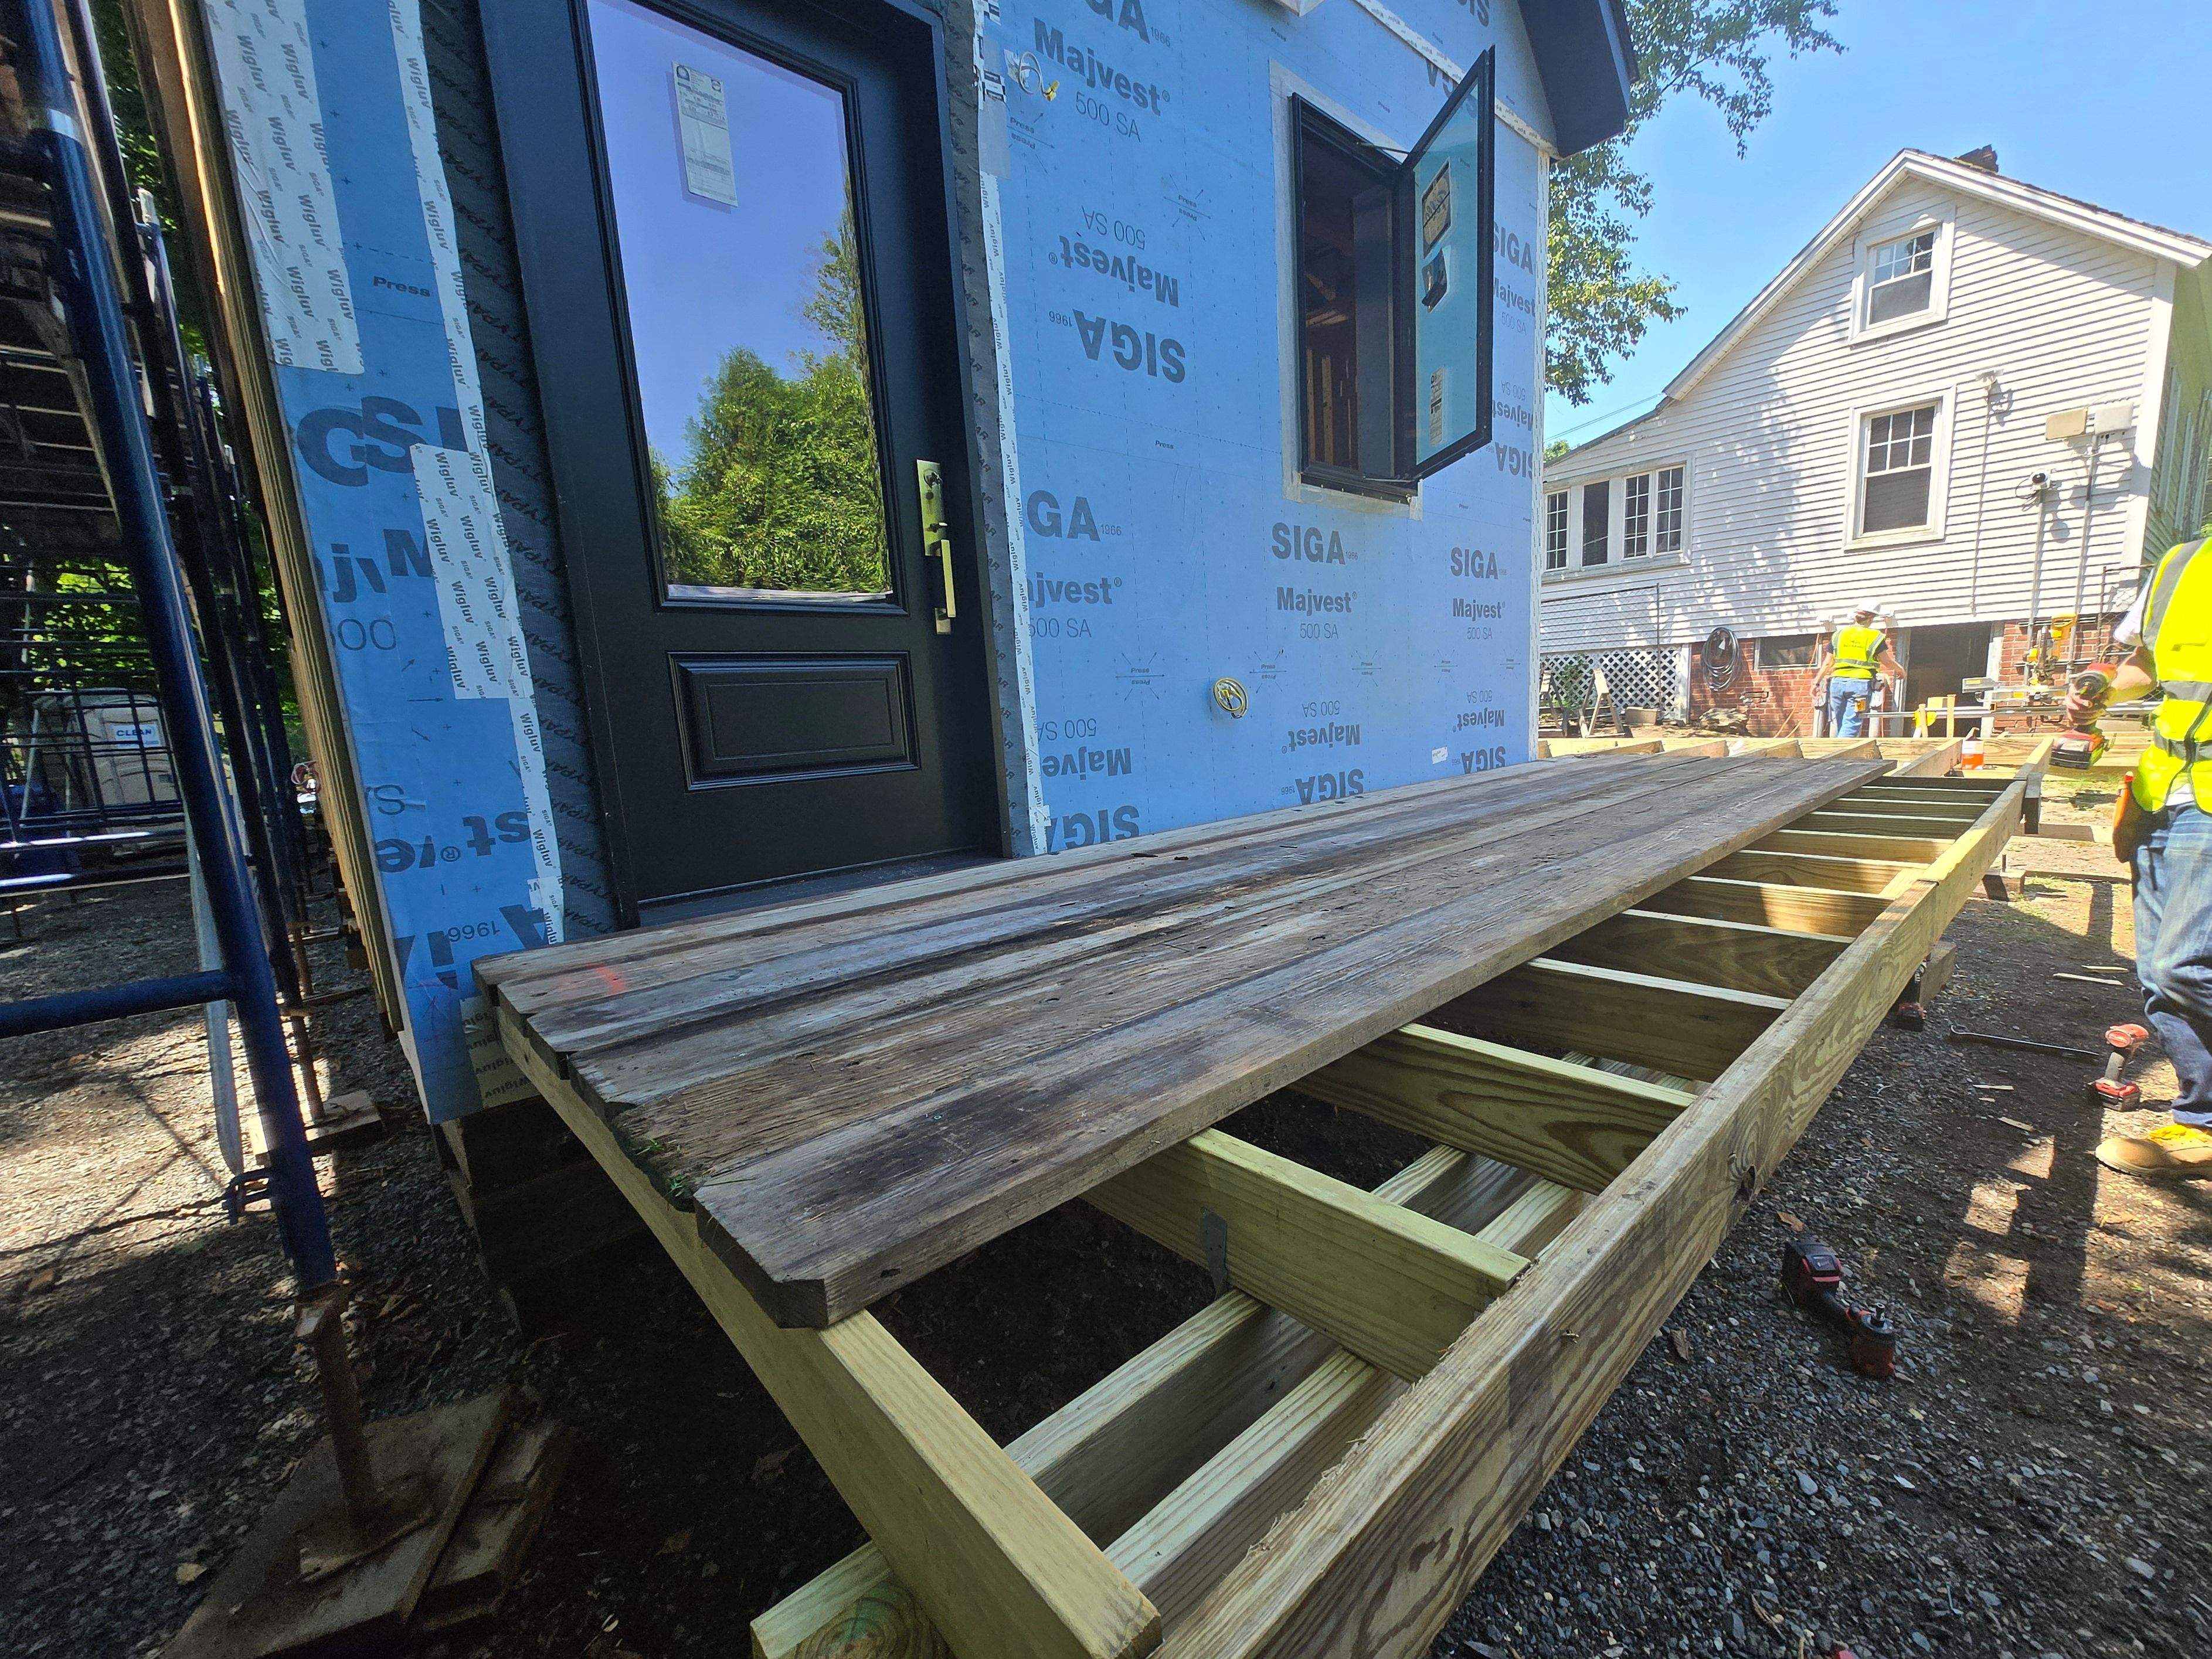
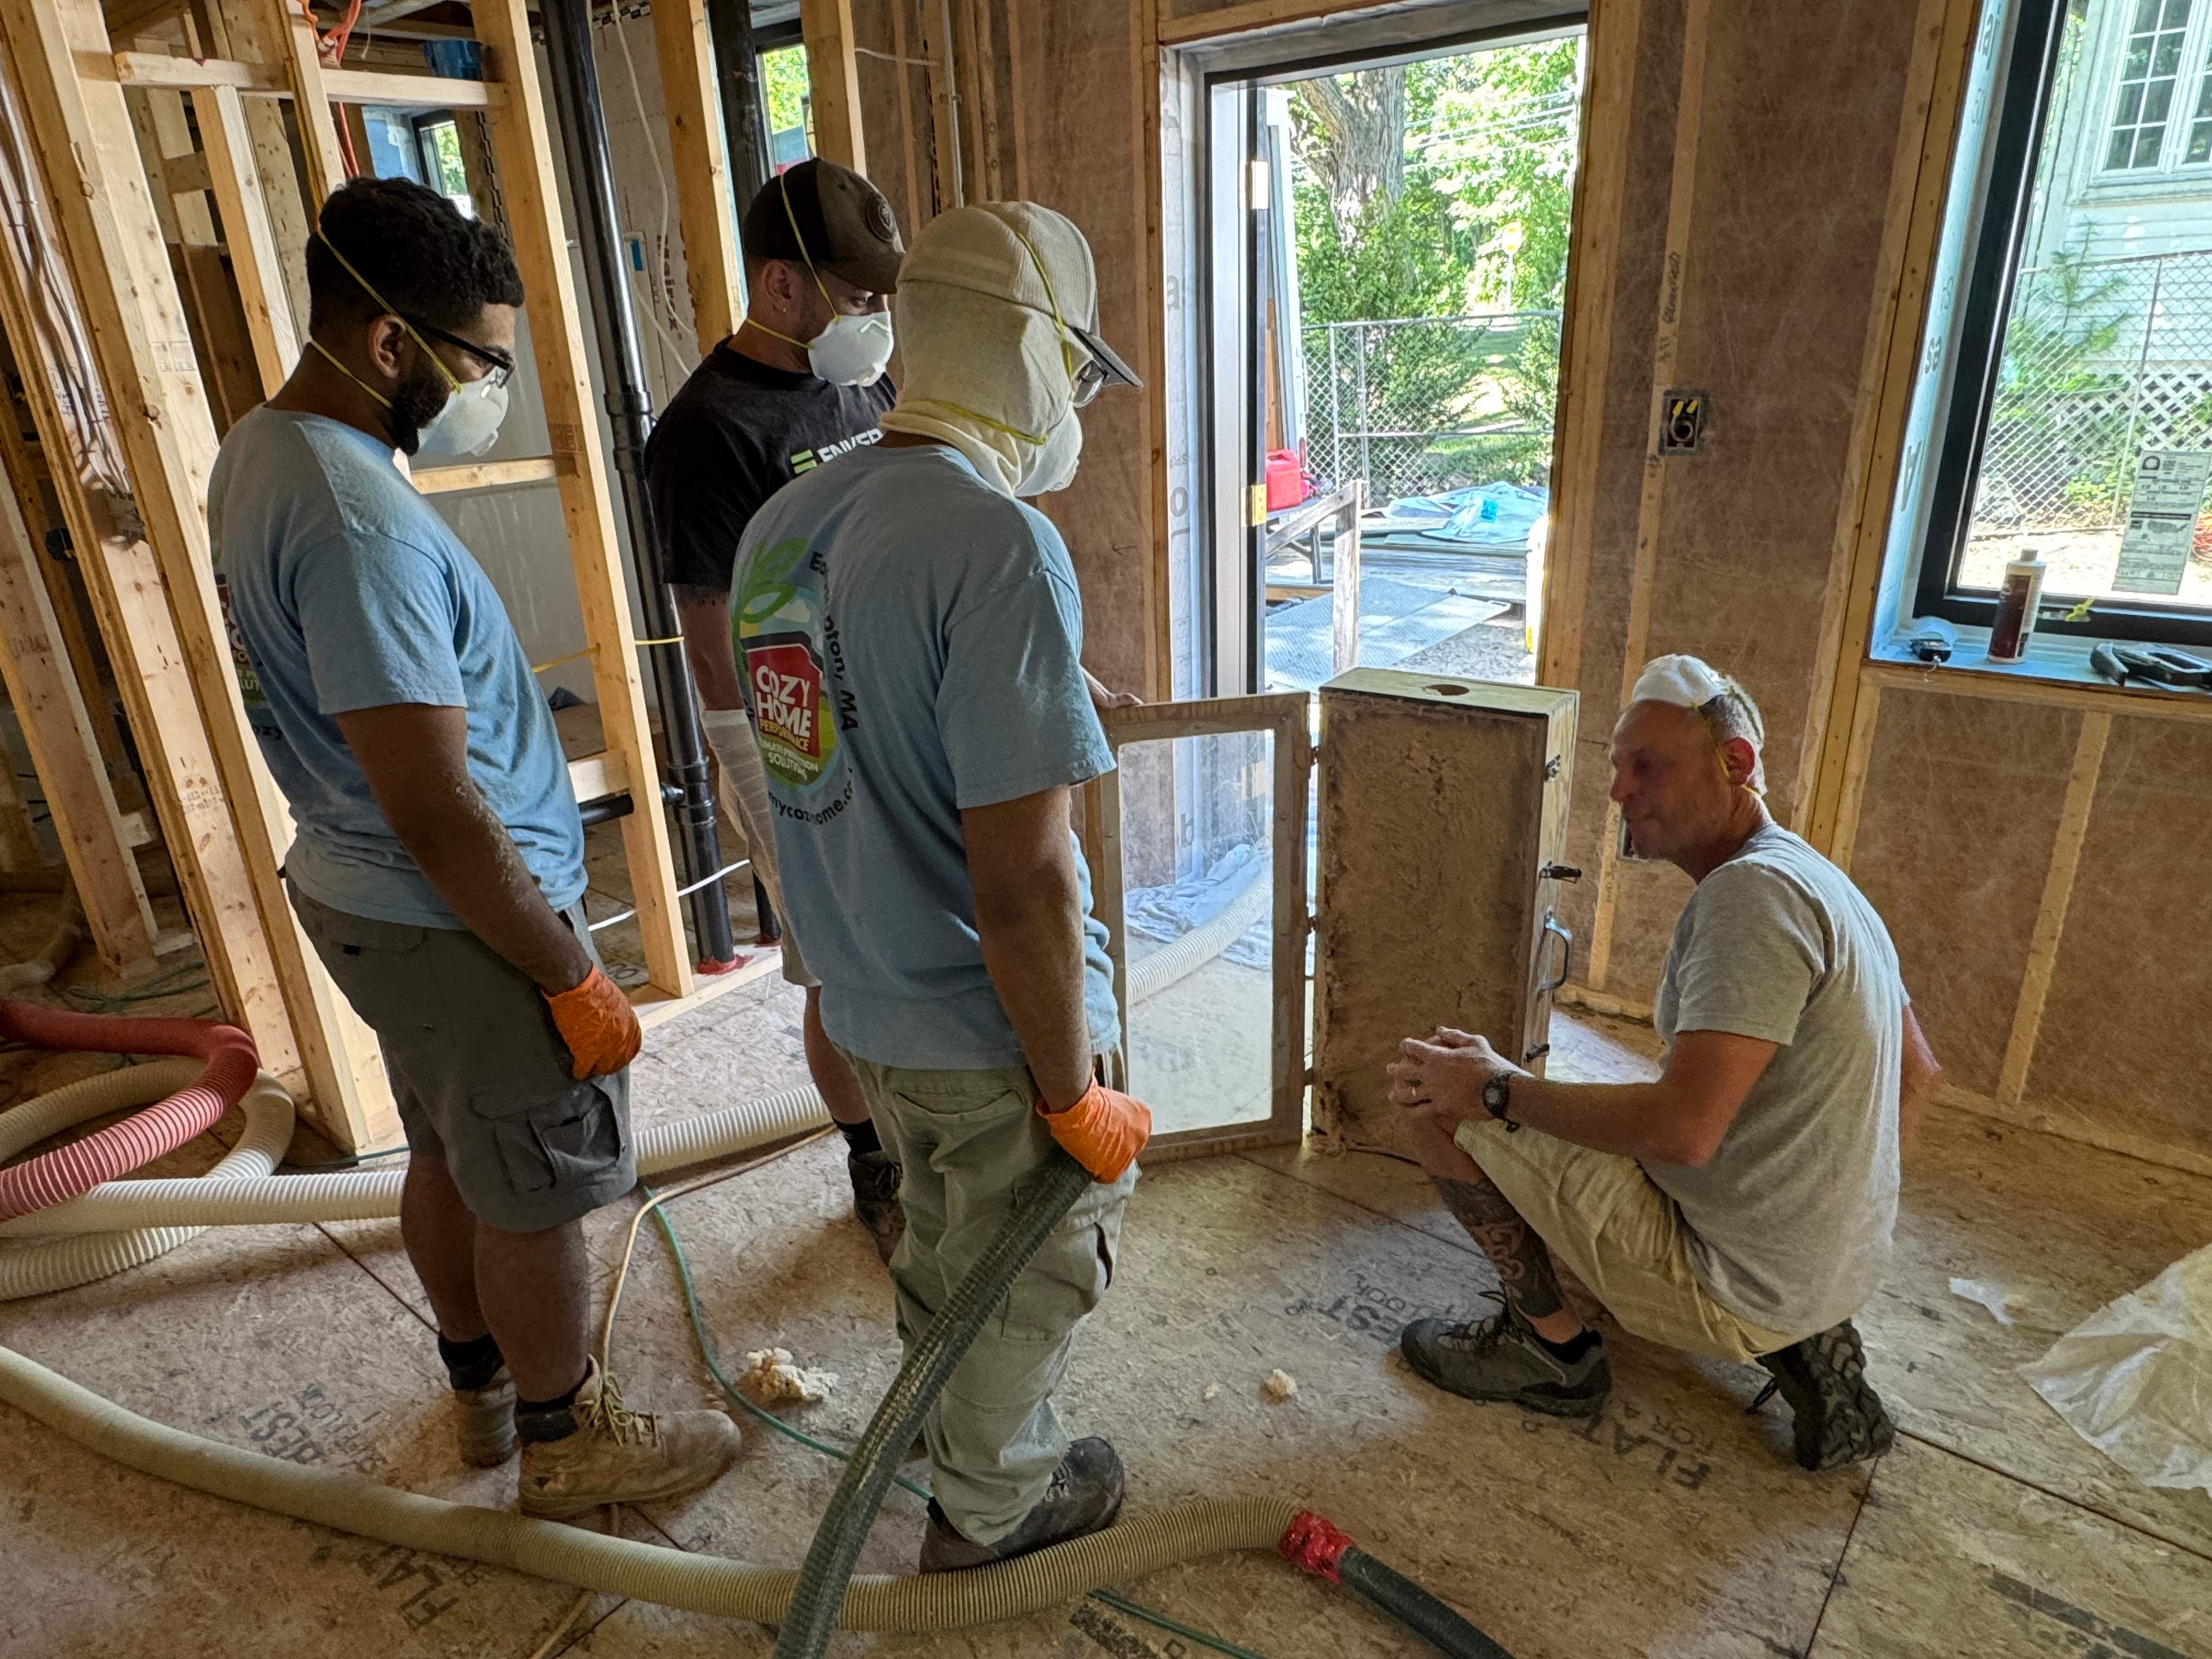
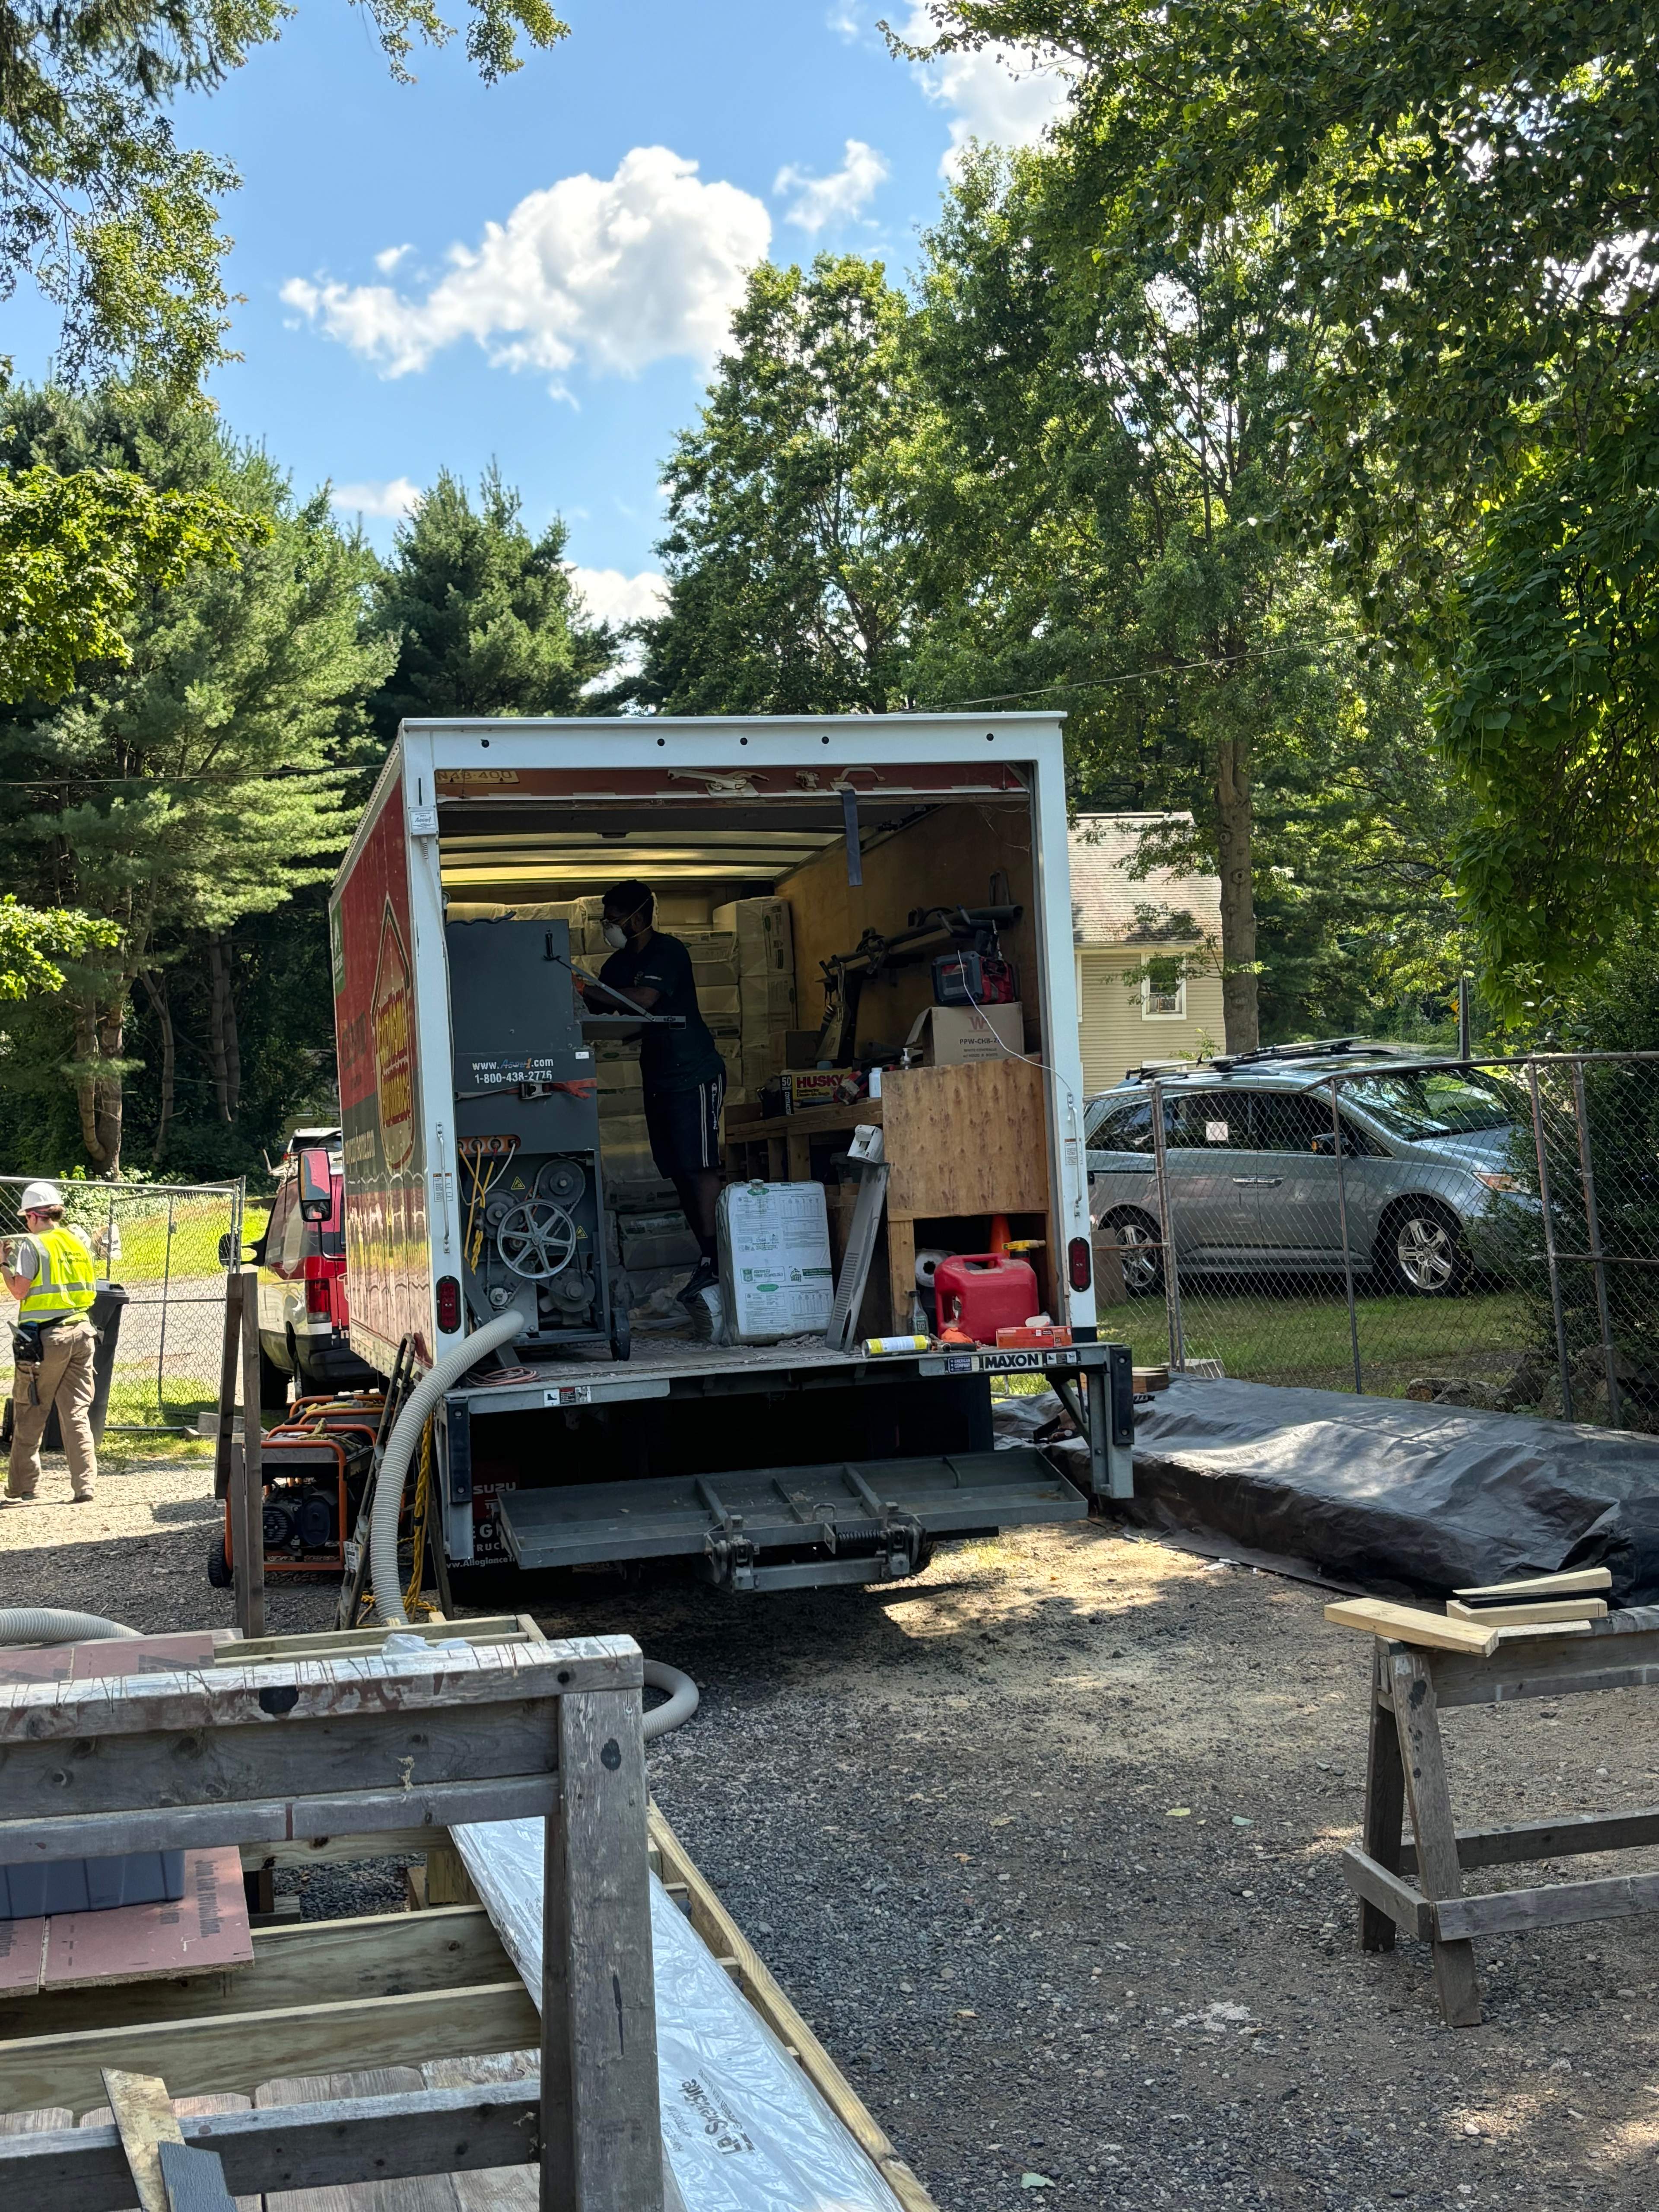
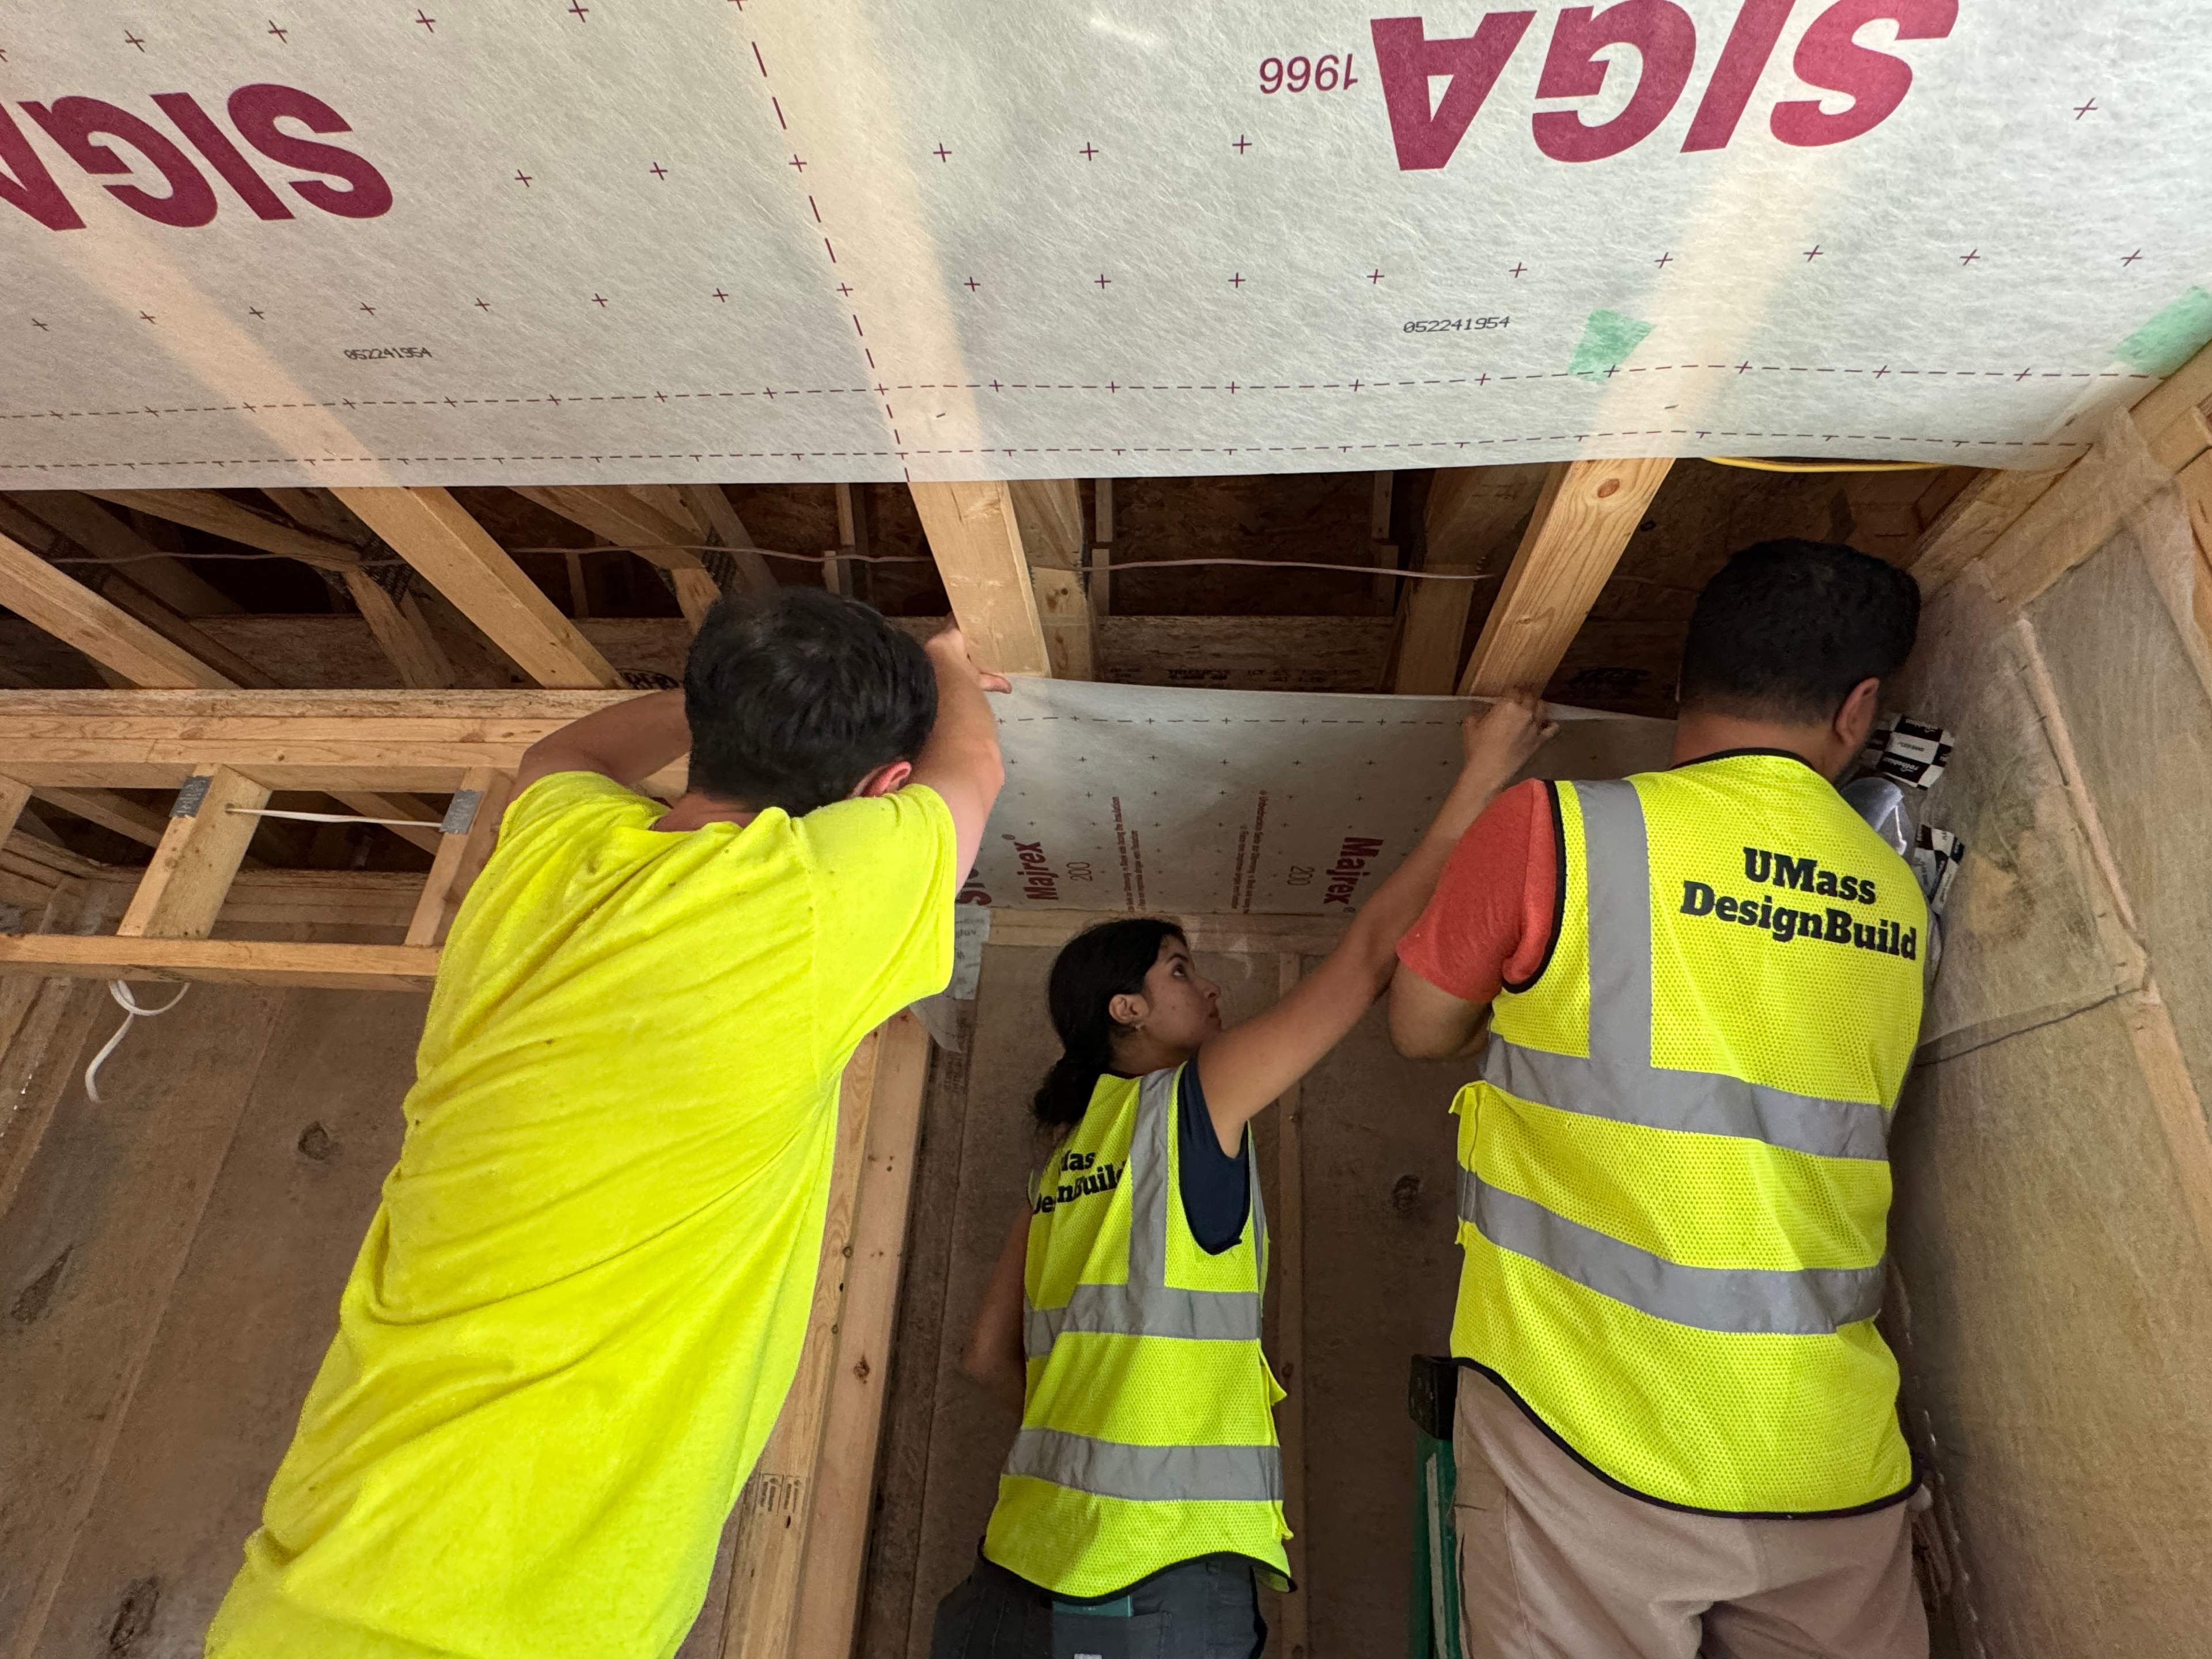
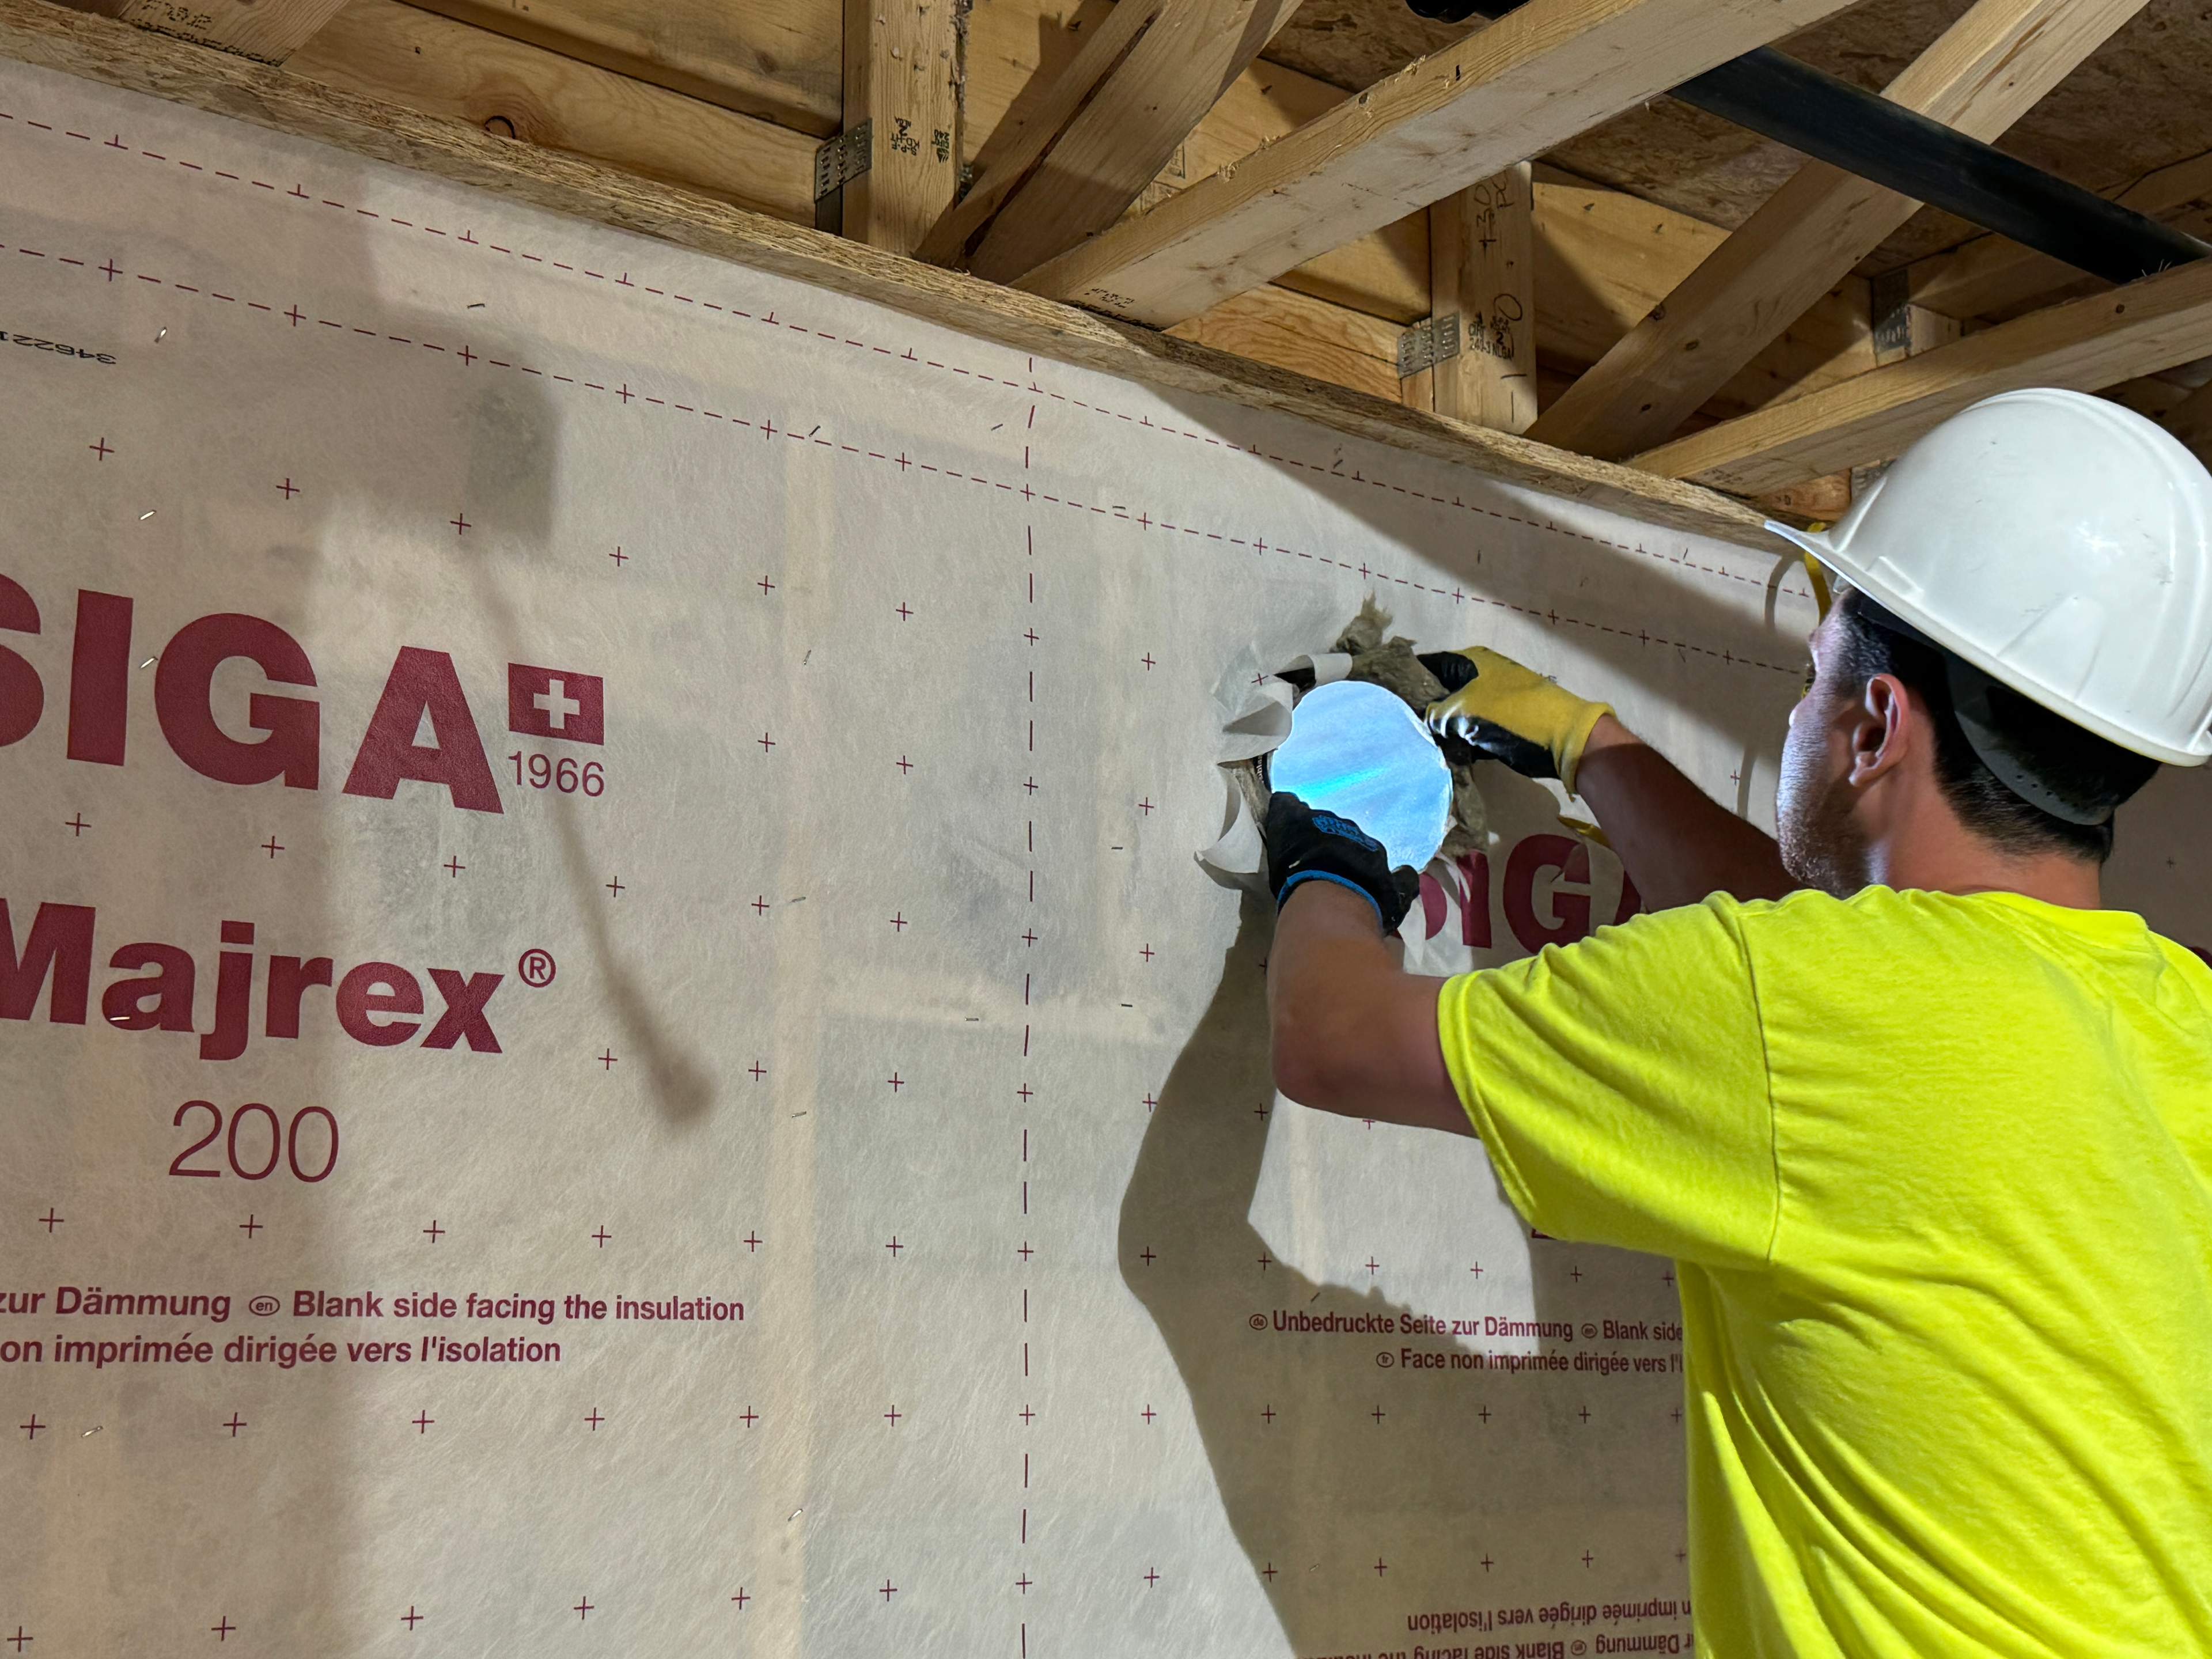
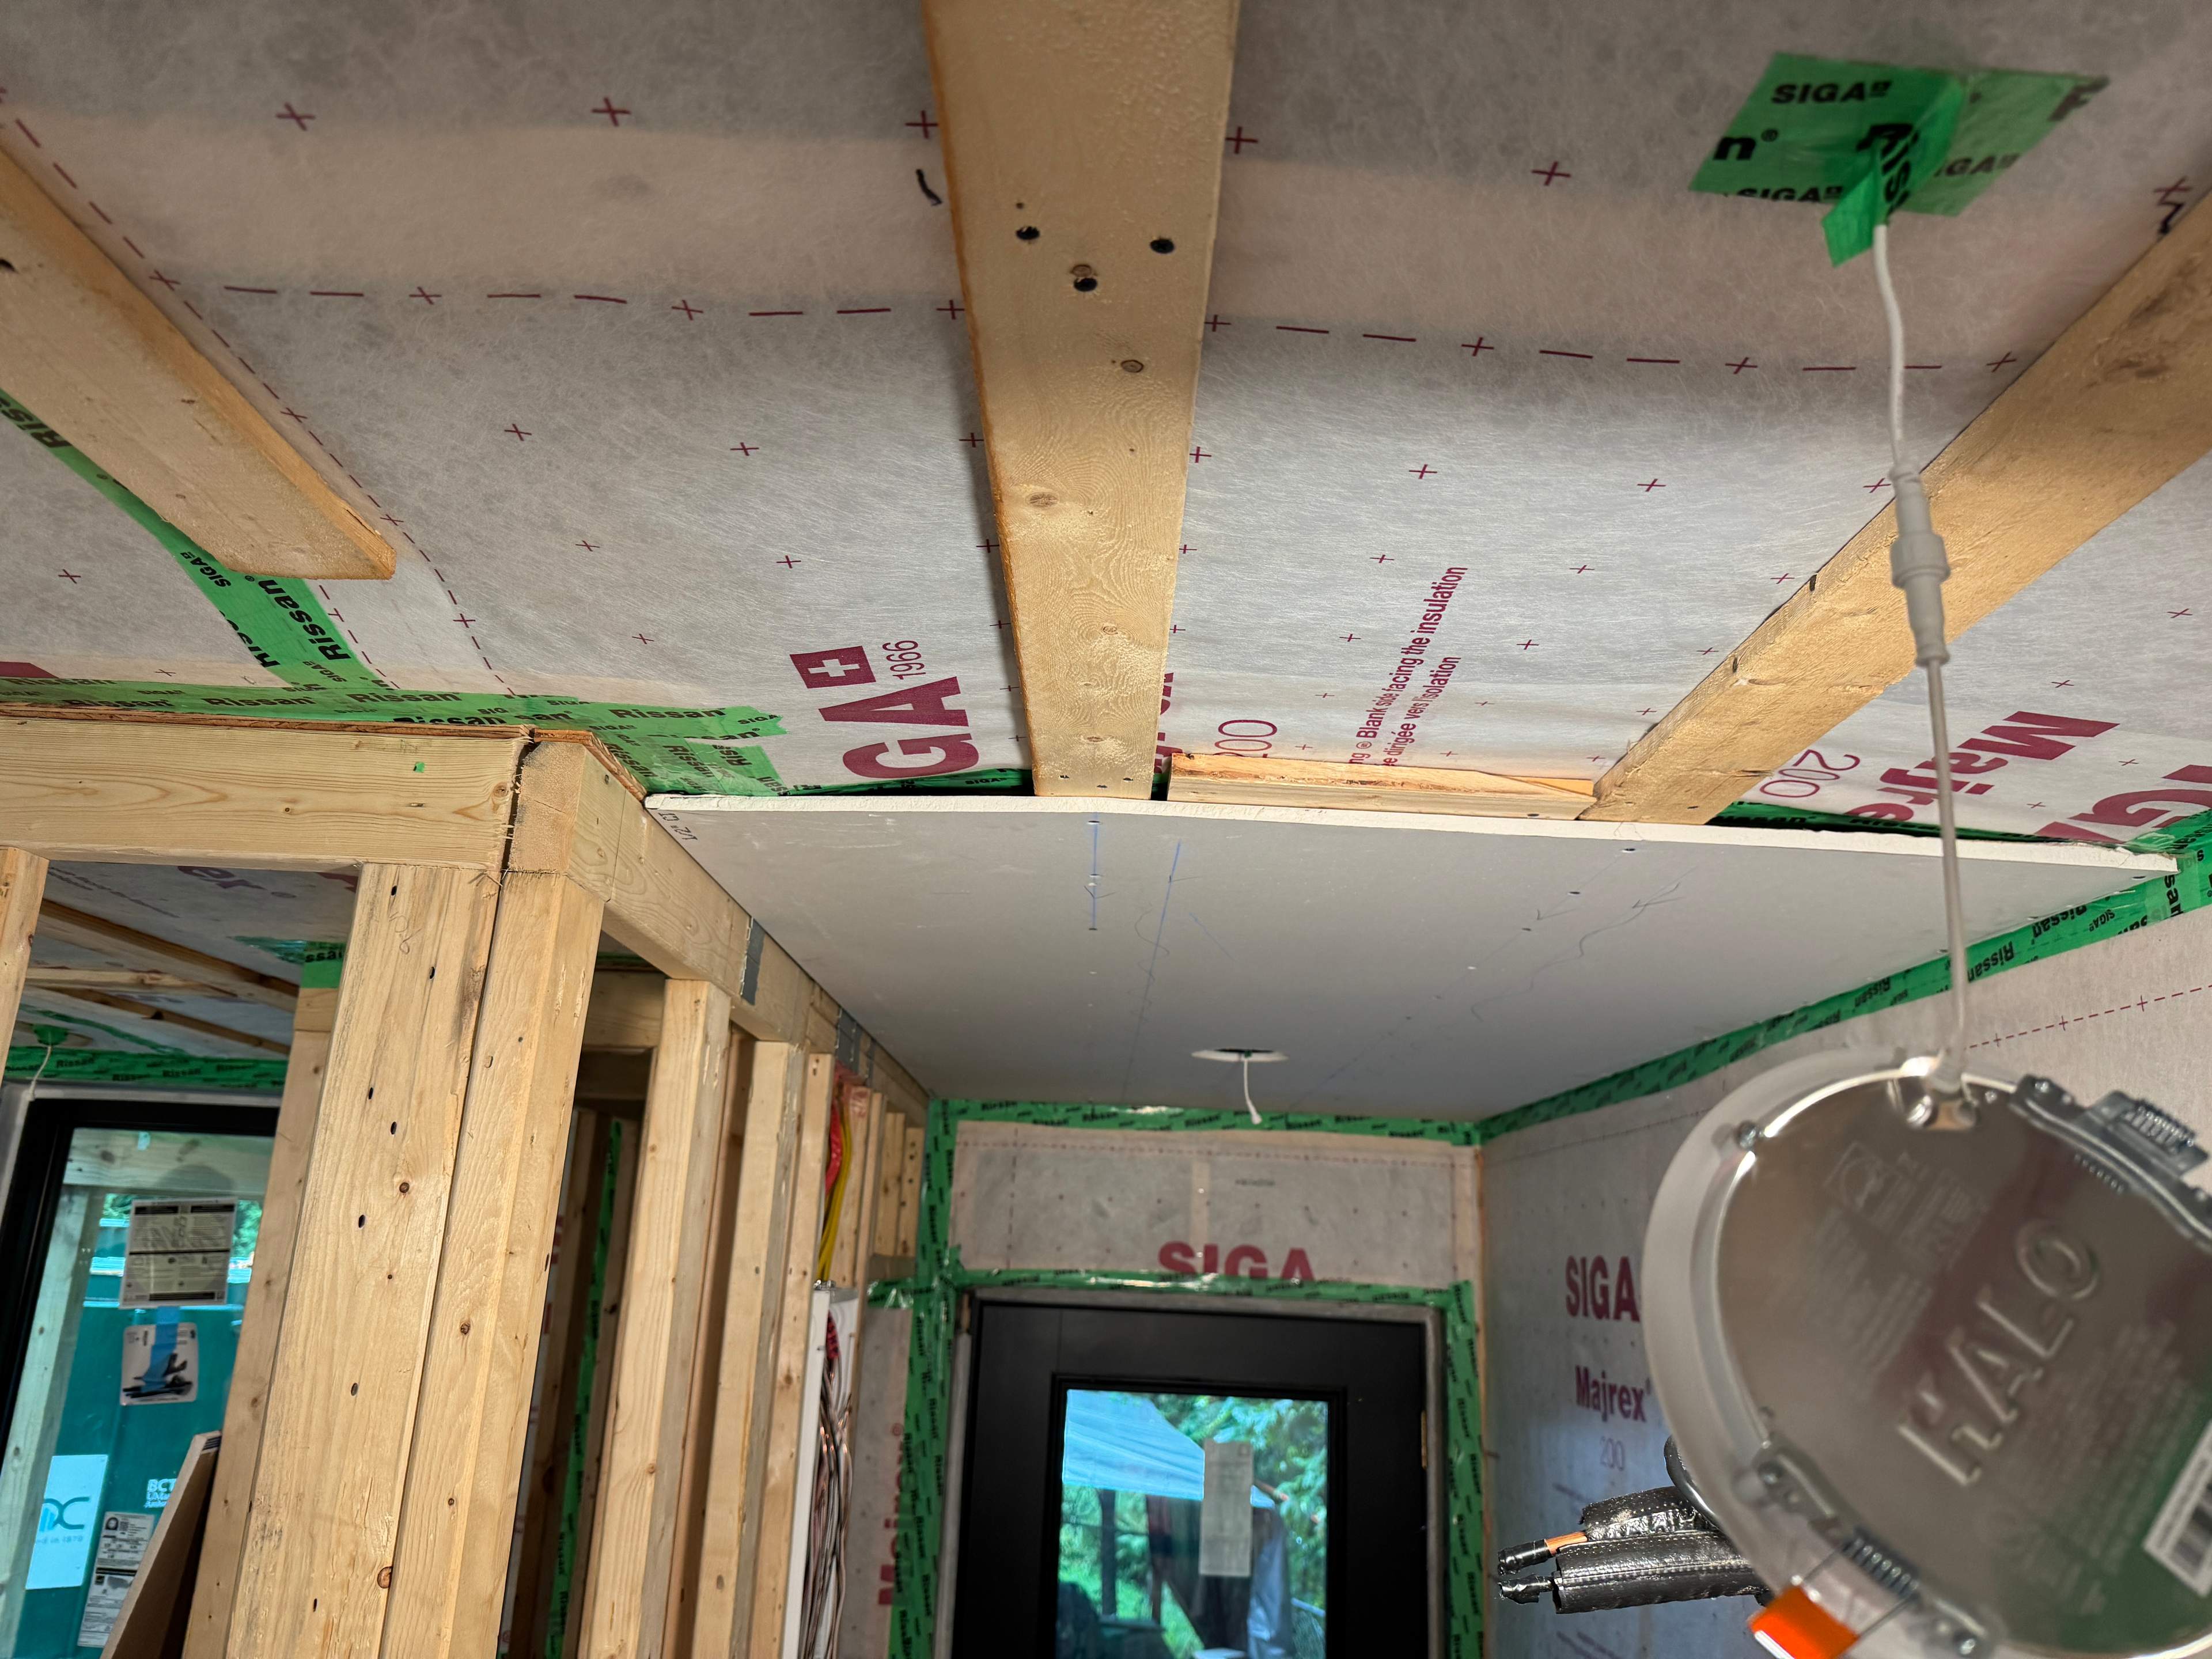
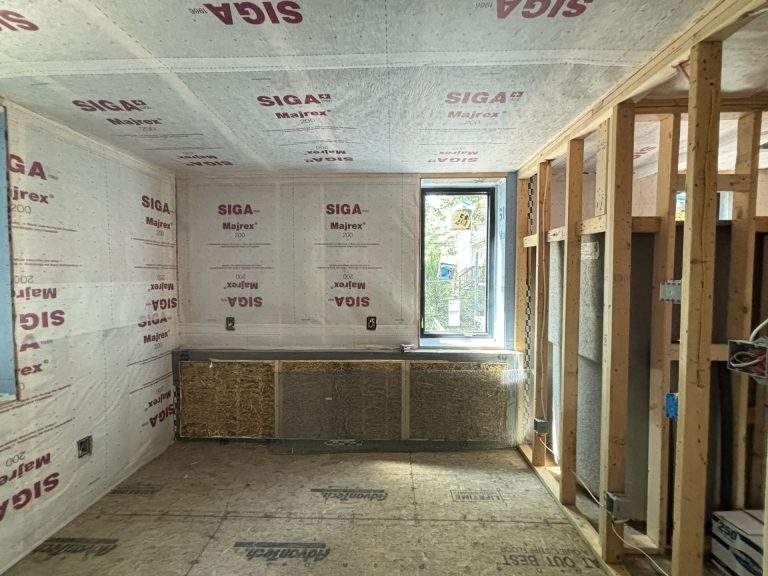
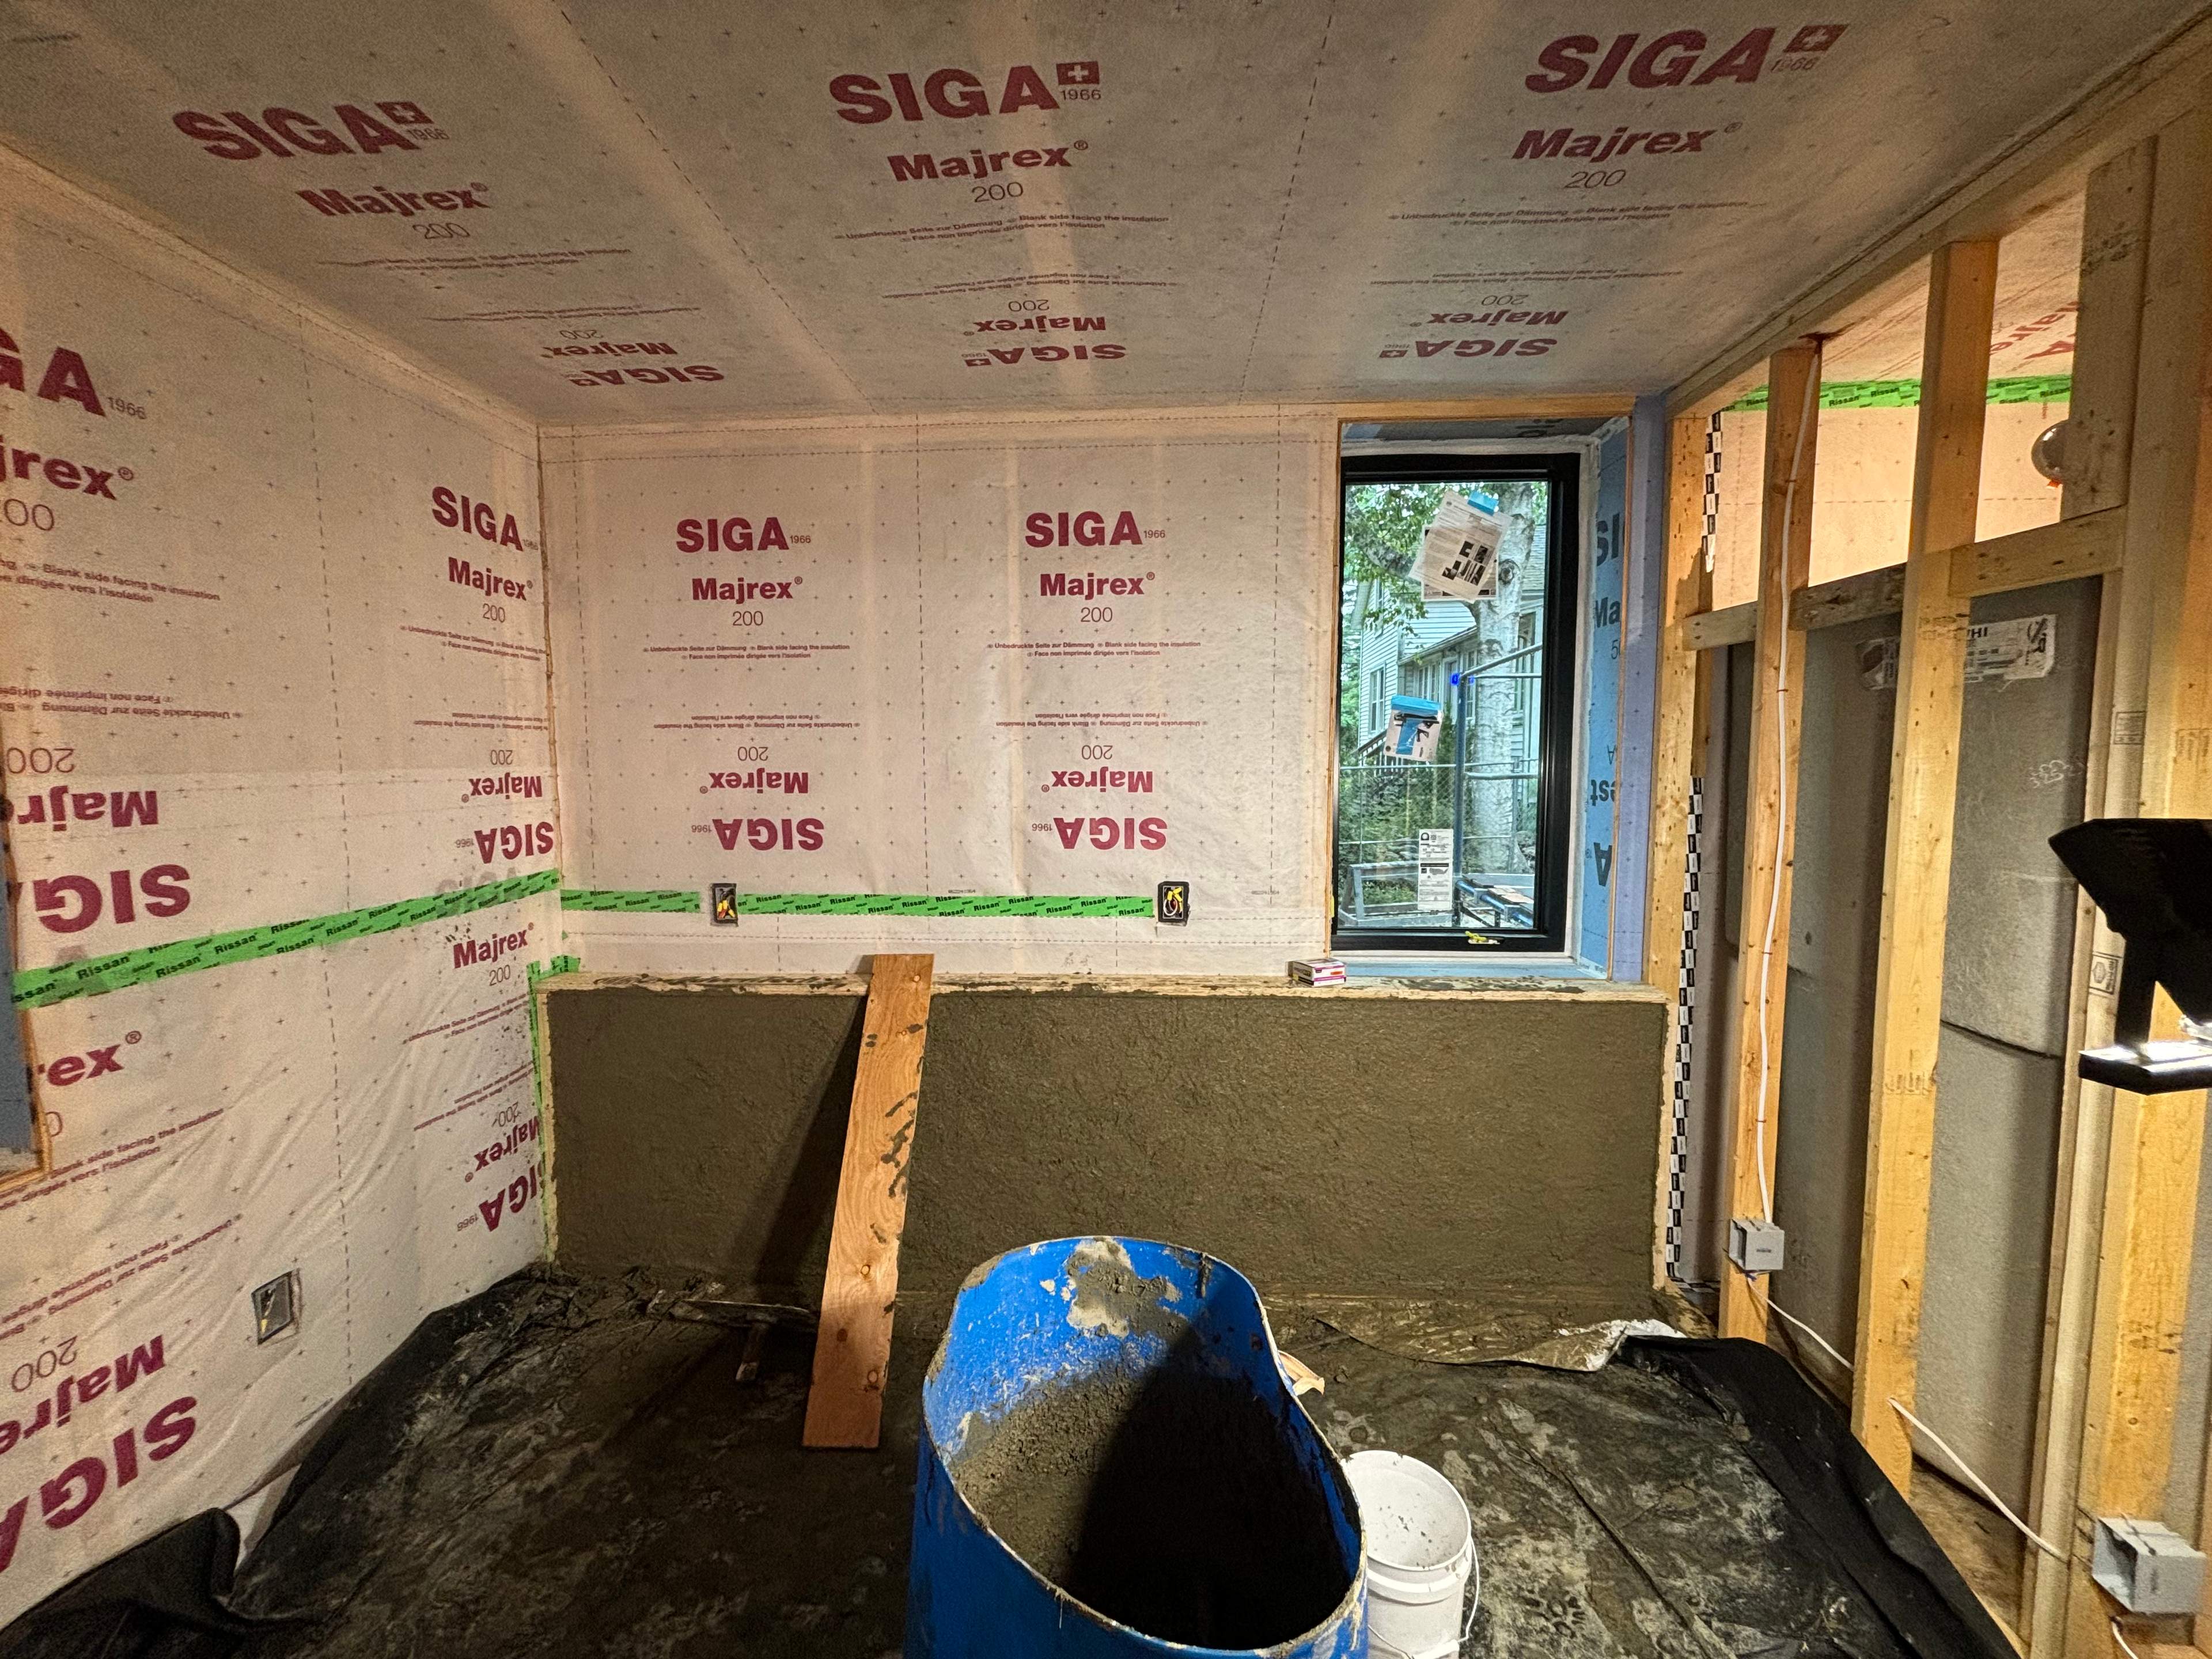
The mission for the second build was to prepare the house for transportation with as much completion as possible. Our team worked to install all interior and exterior finishes, even knowing that certain items would need to be removed before the move. The priority was to deliver a house that looked and felt complete by the end of the design-build, so that it could be placed directly onto the foundation being poured by Habitat for Humanity. This effort demanded careful coordination, balancing craftsmanship with logistical foresight, and underscored the importance of aligning design work with community-driven timelines.
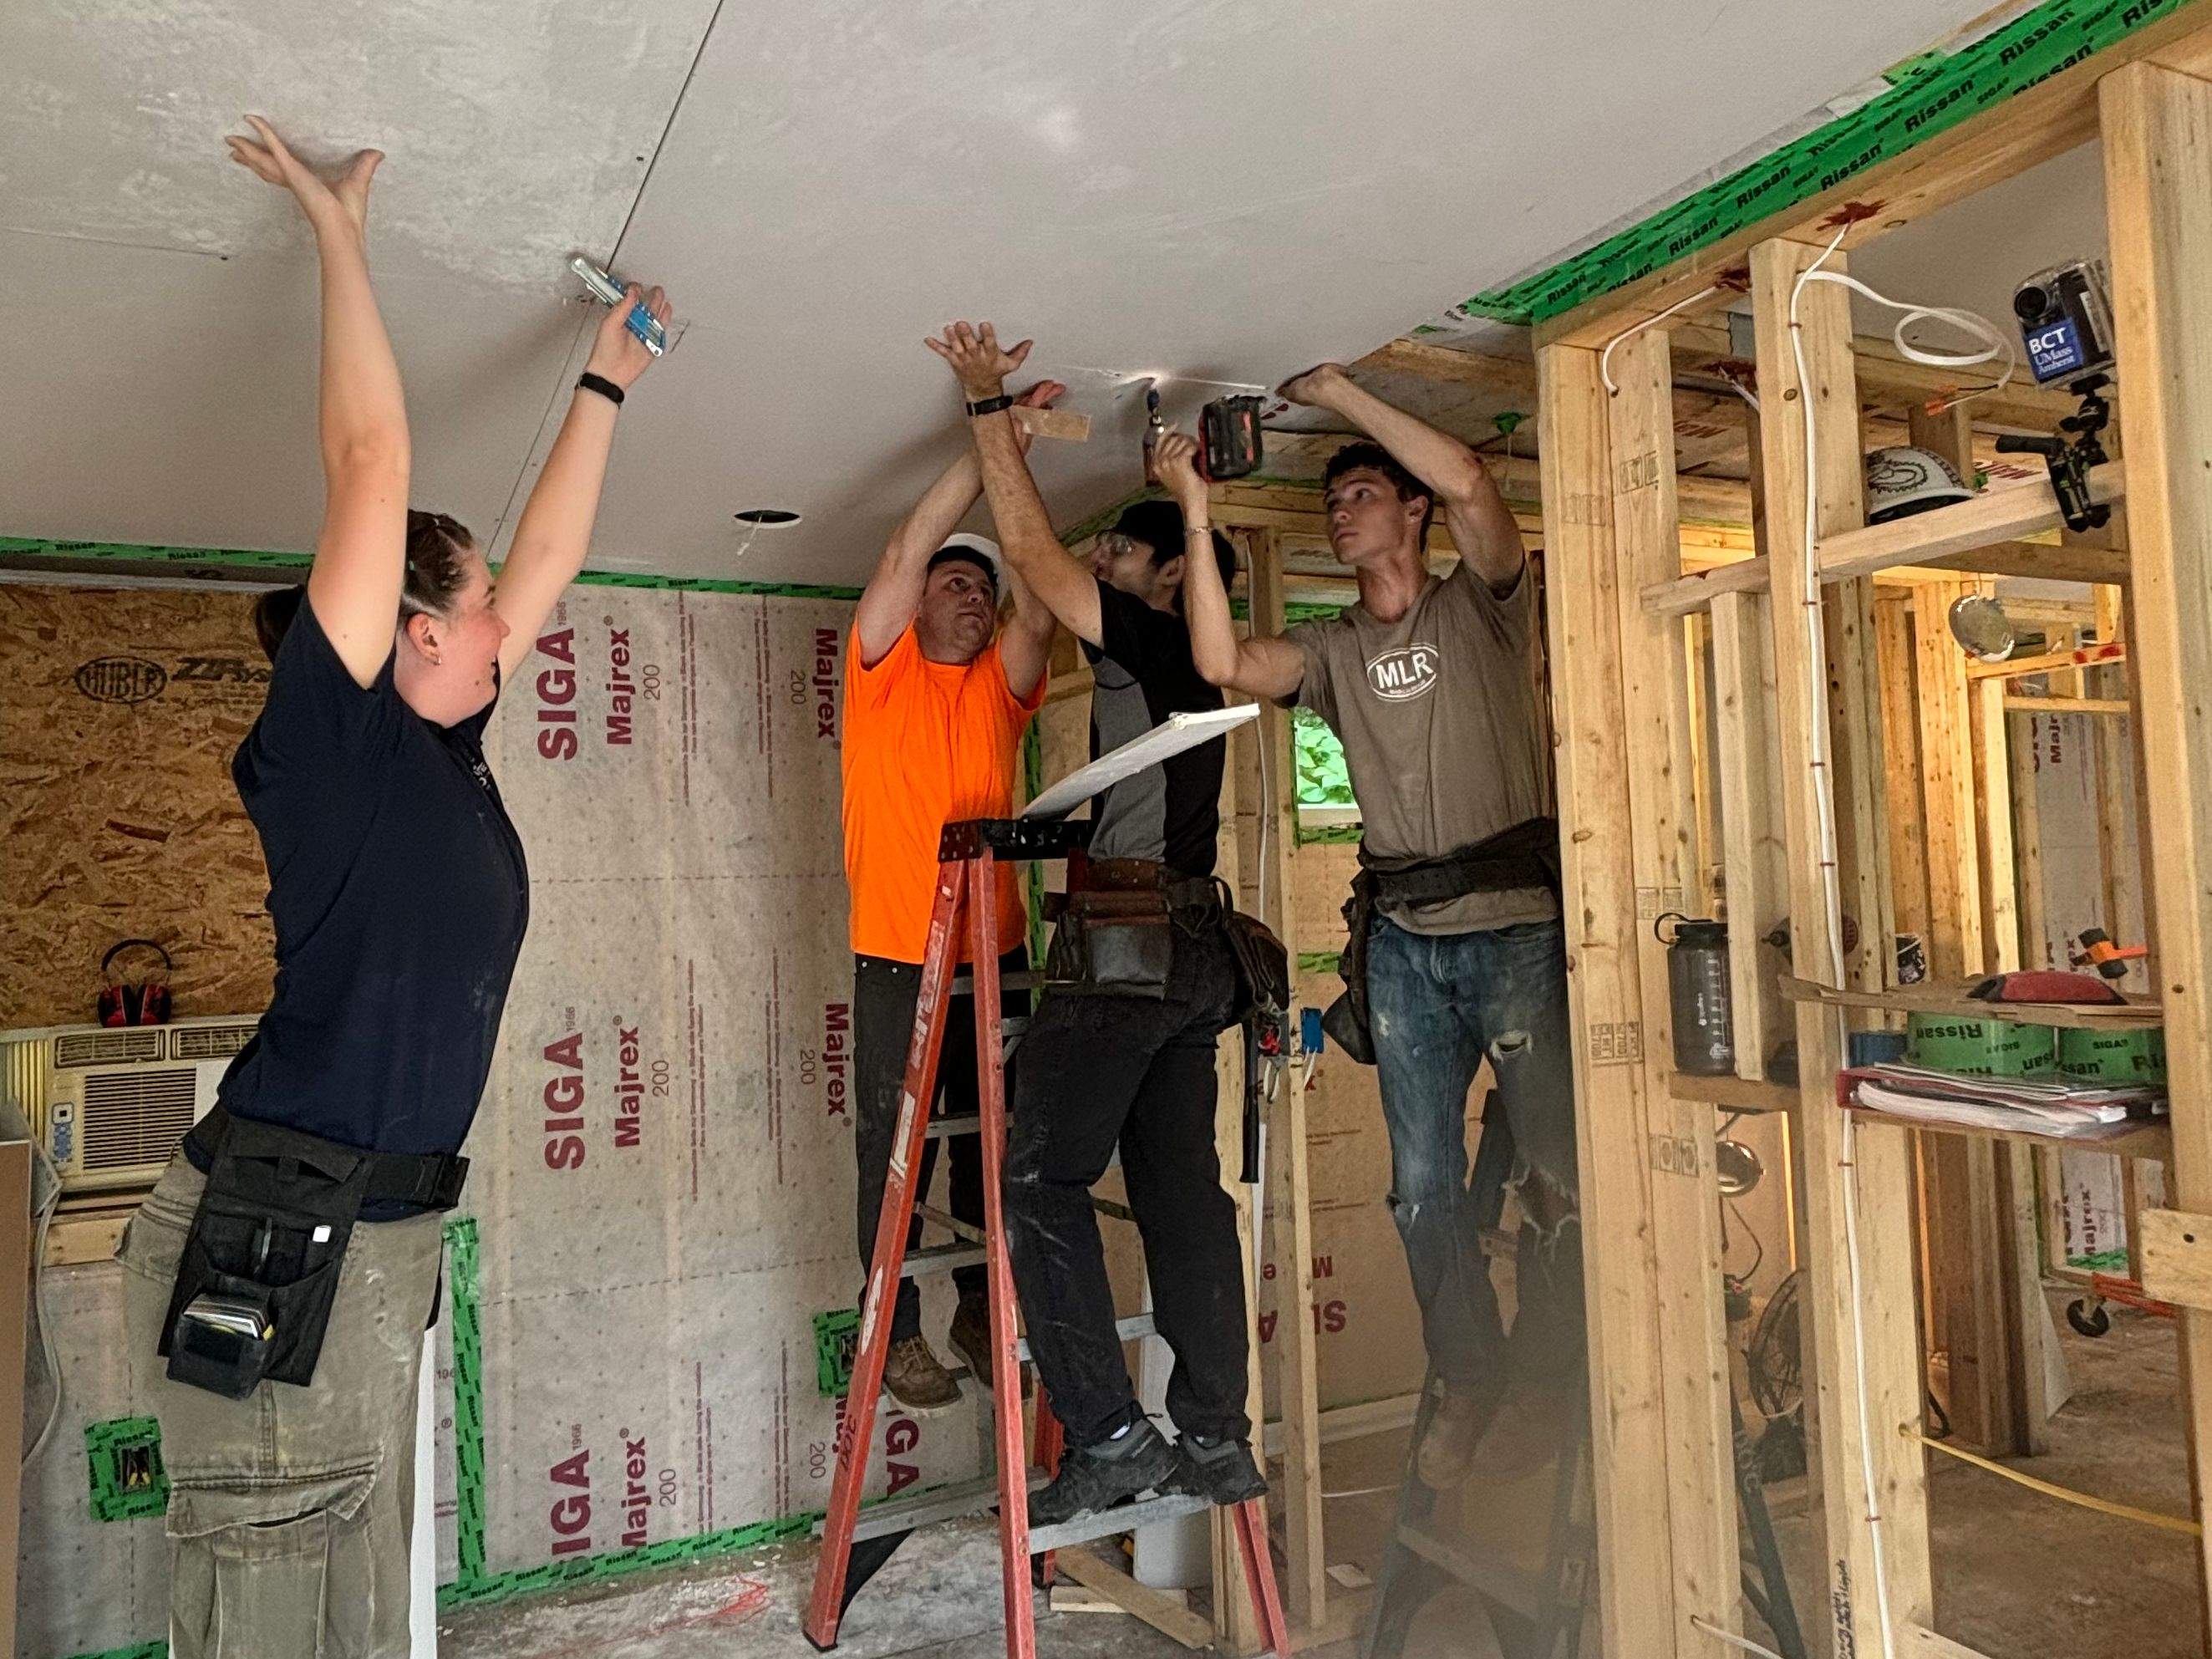
Week 1
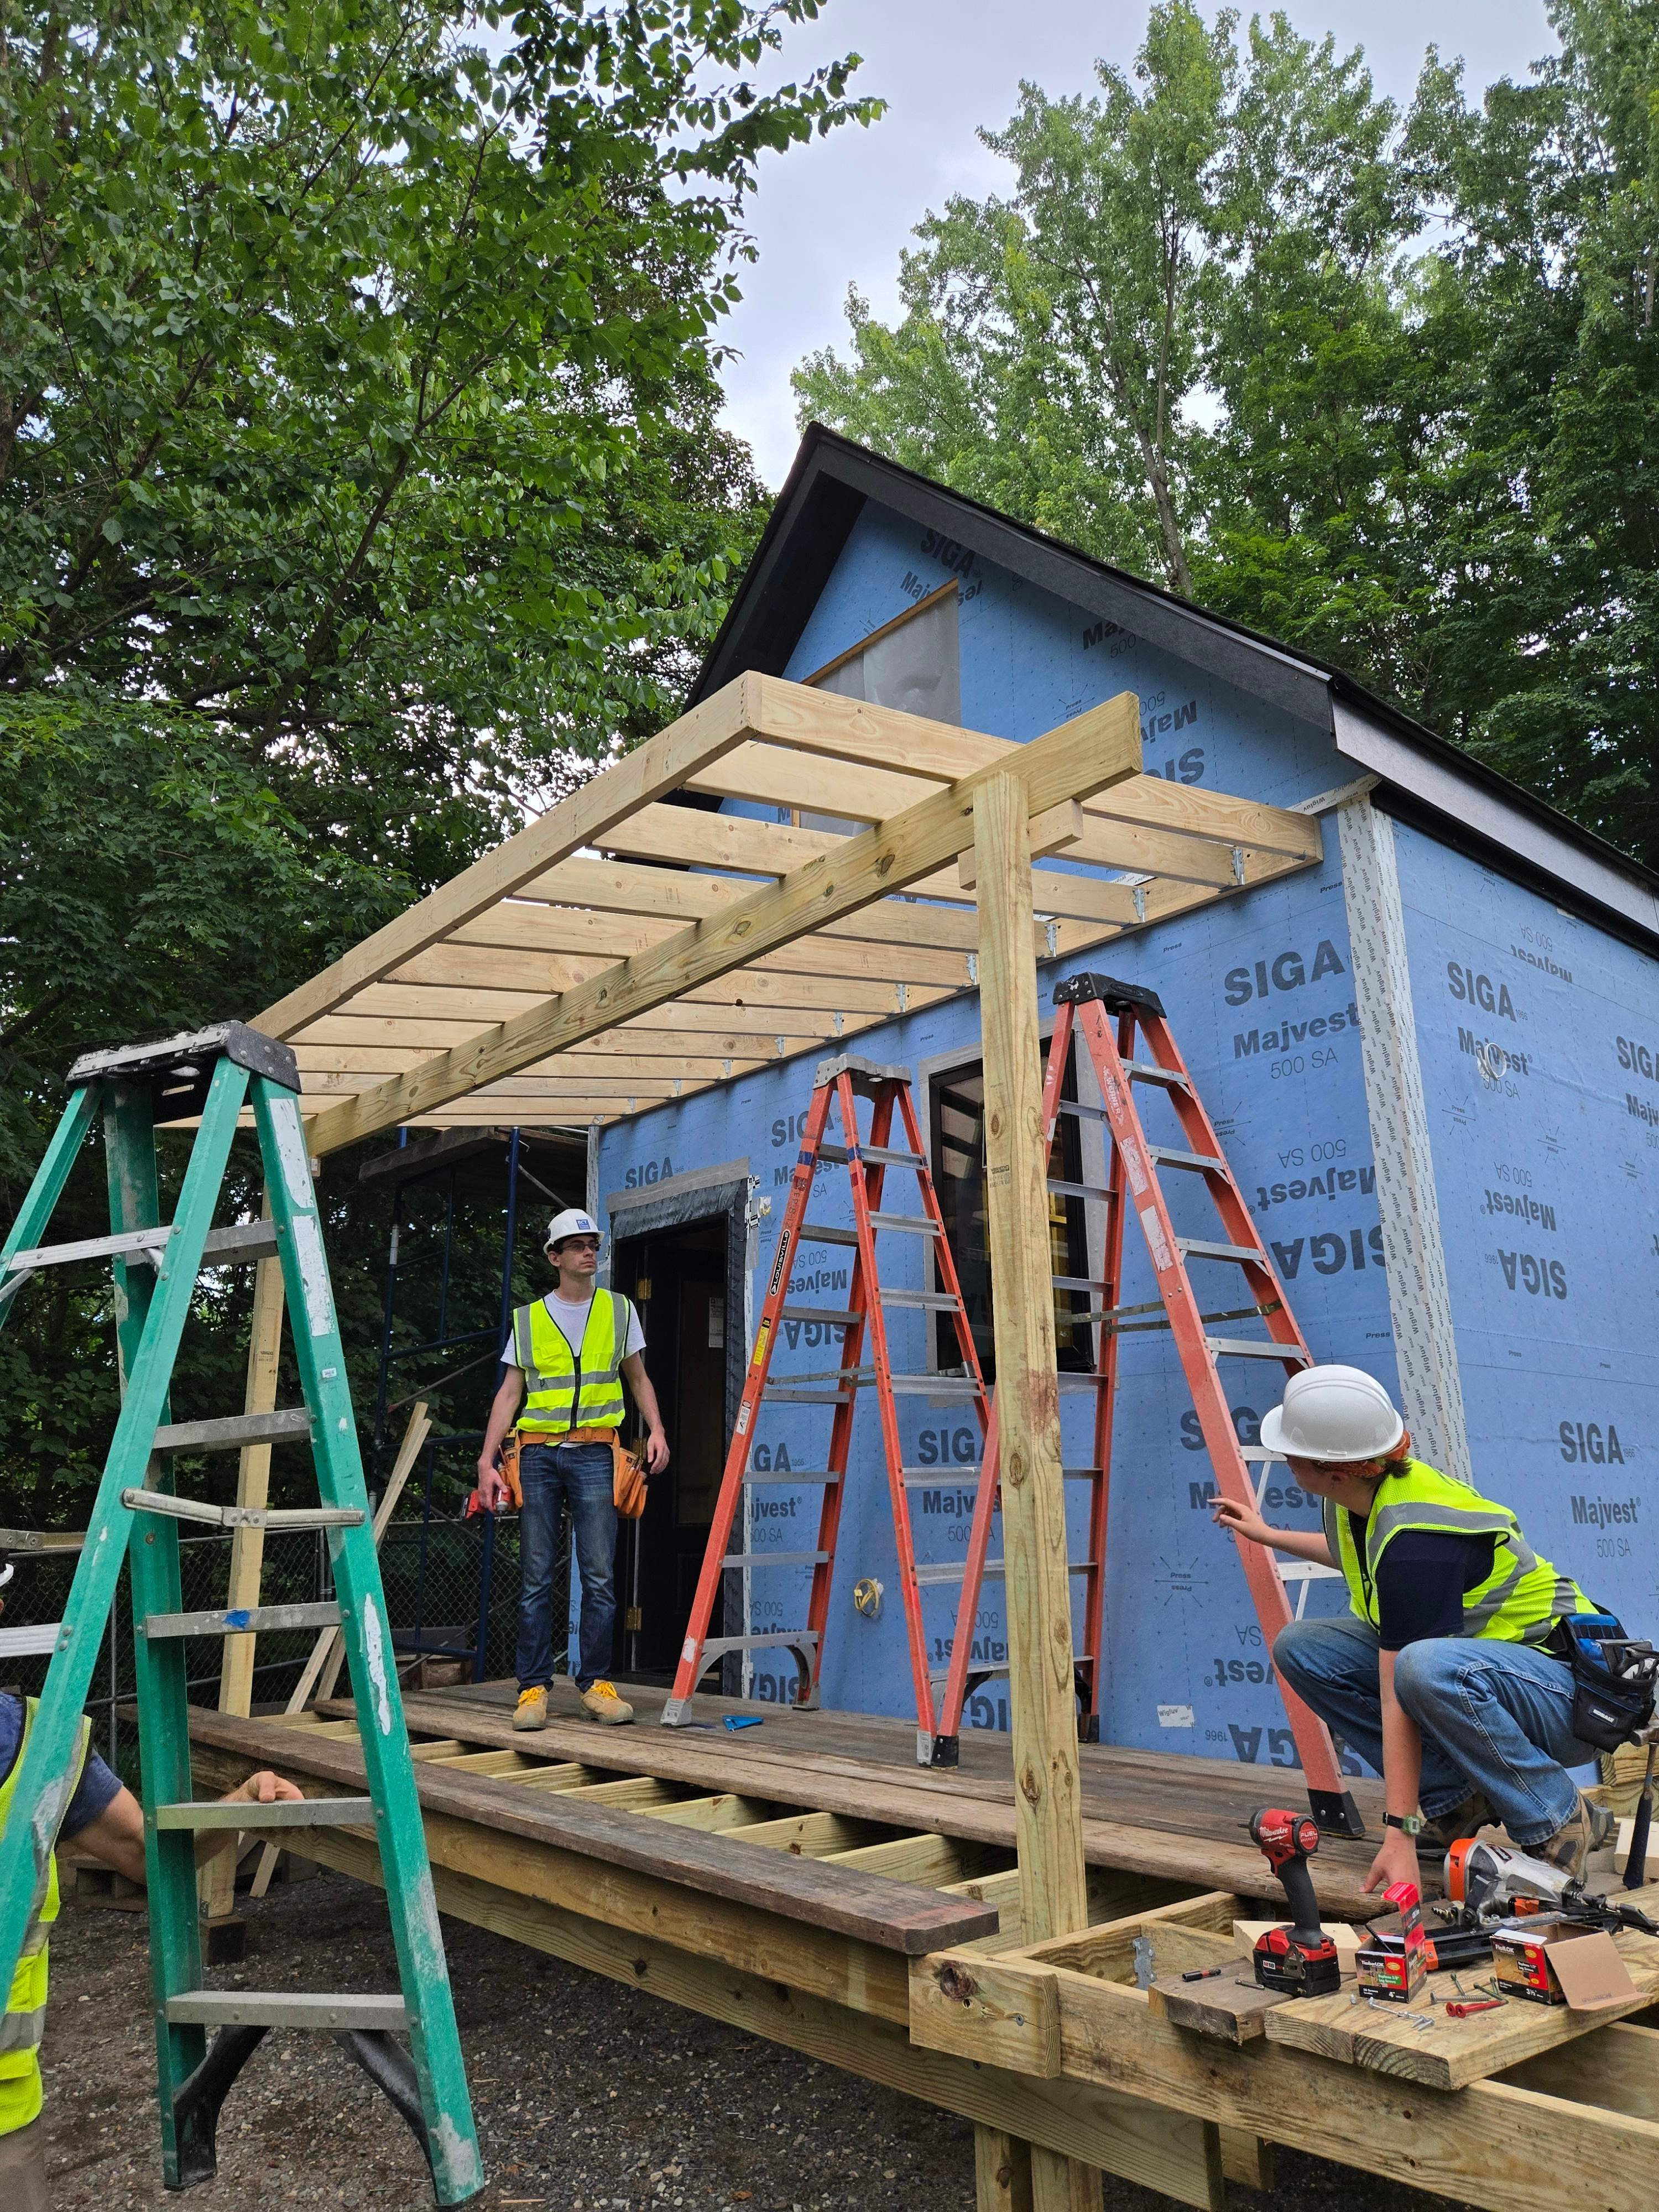
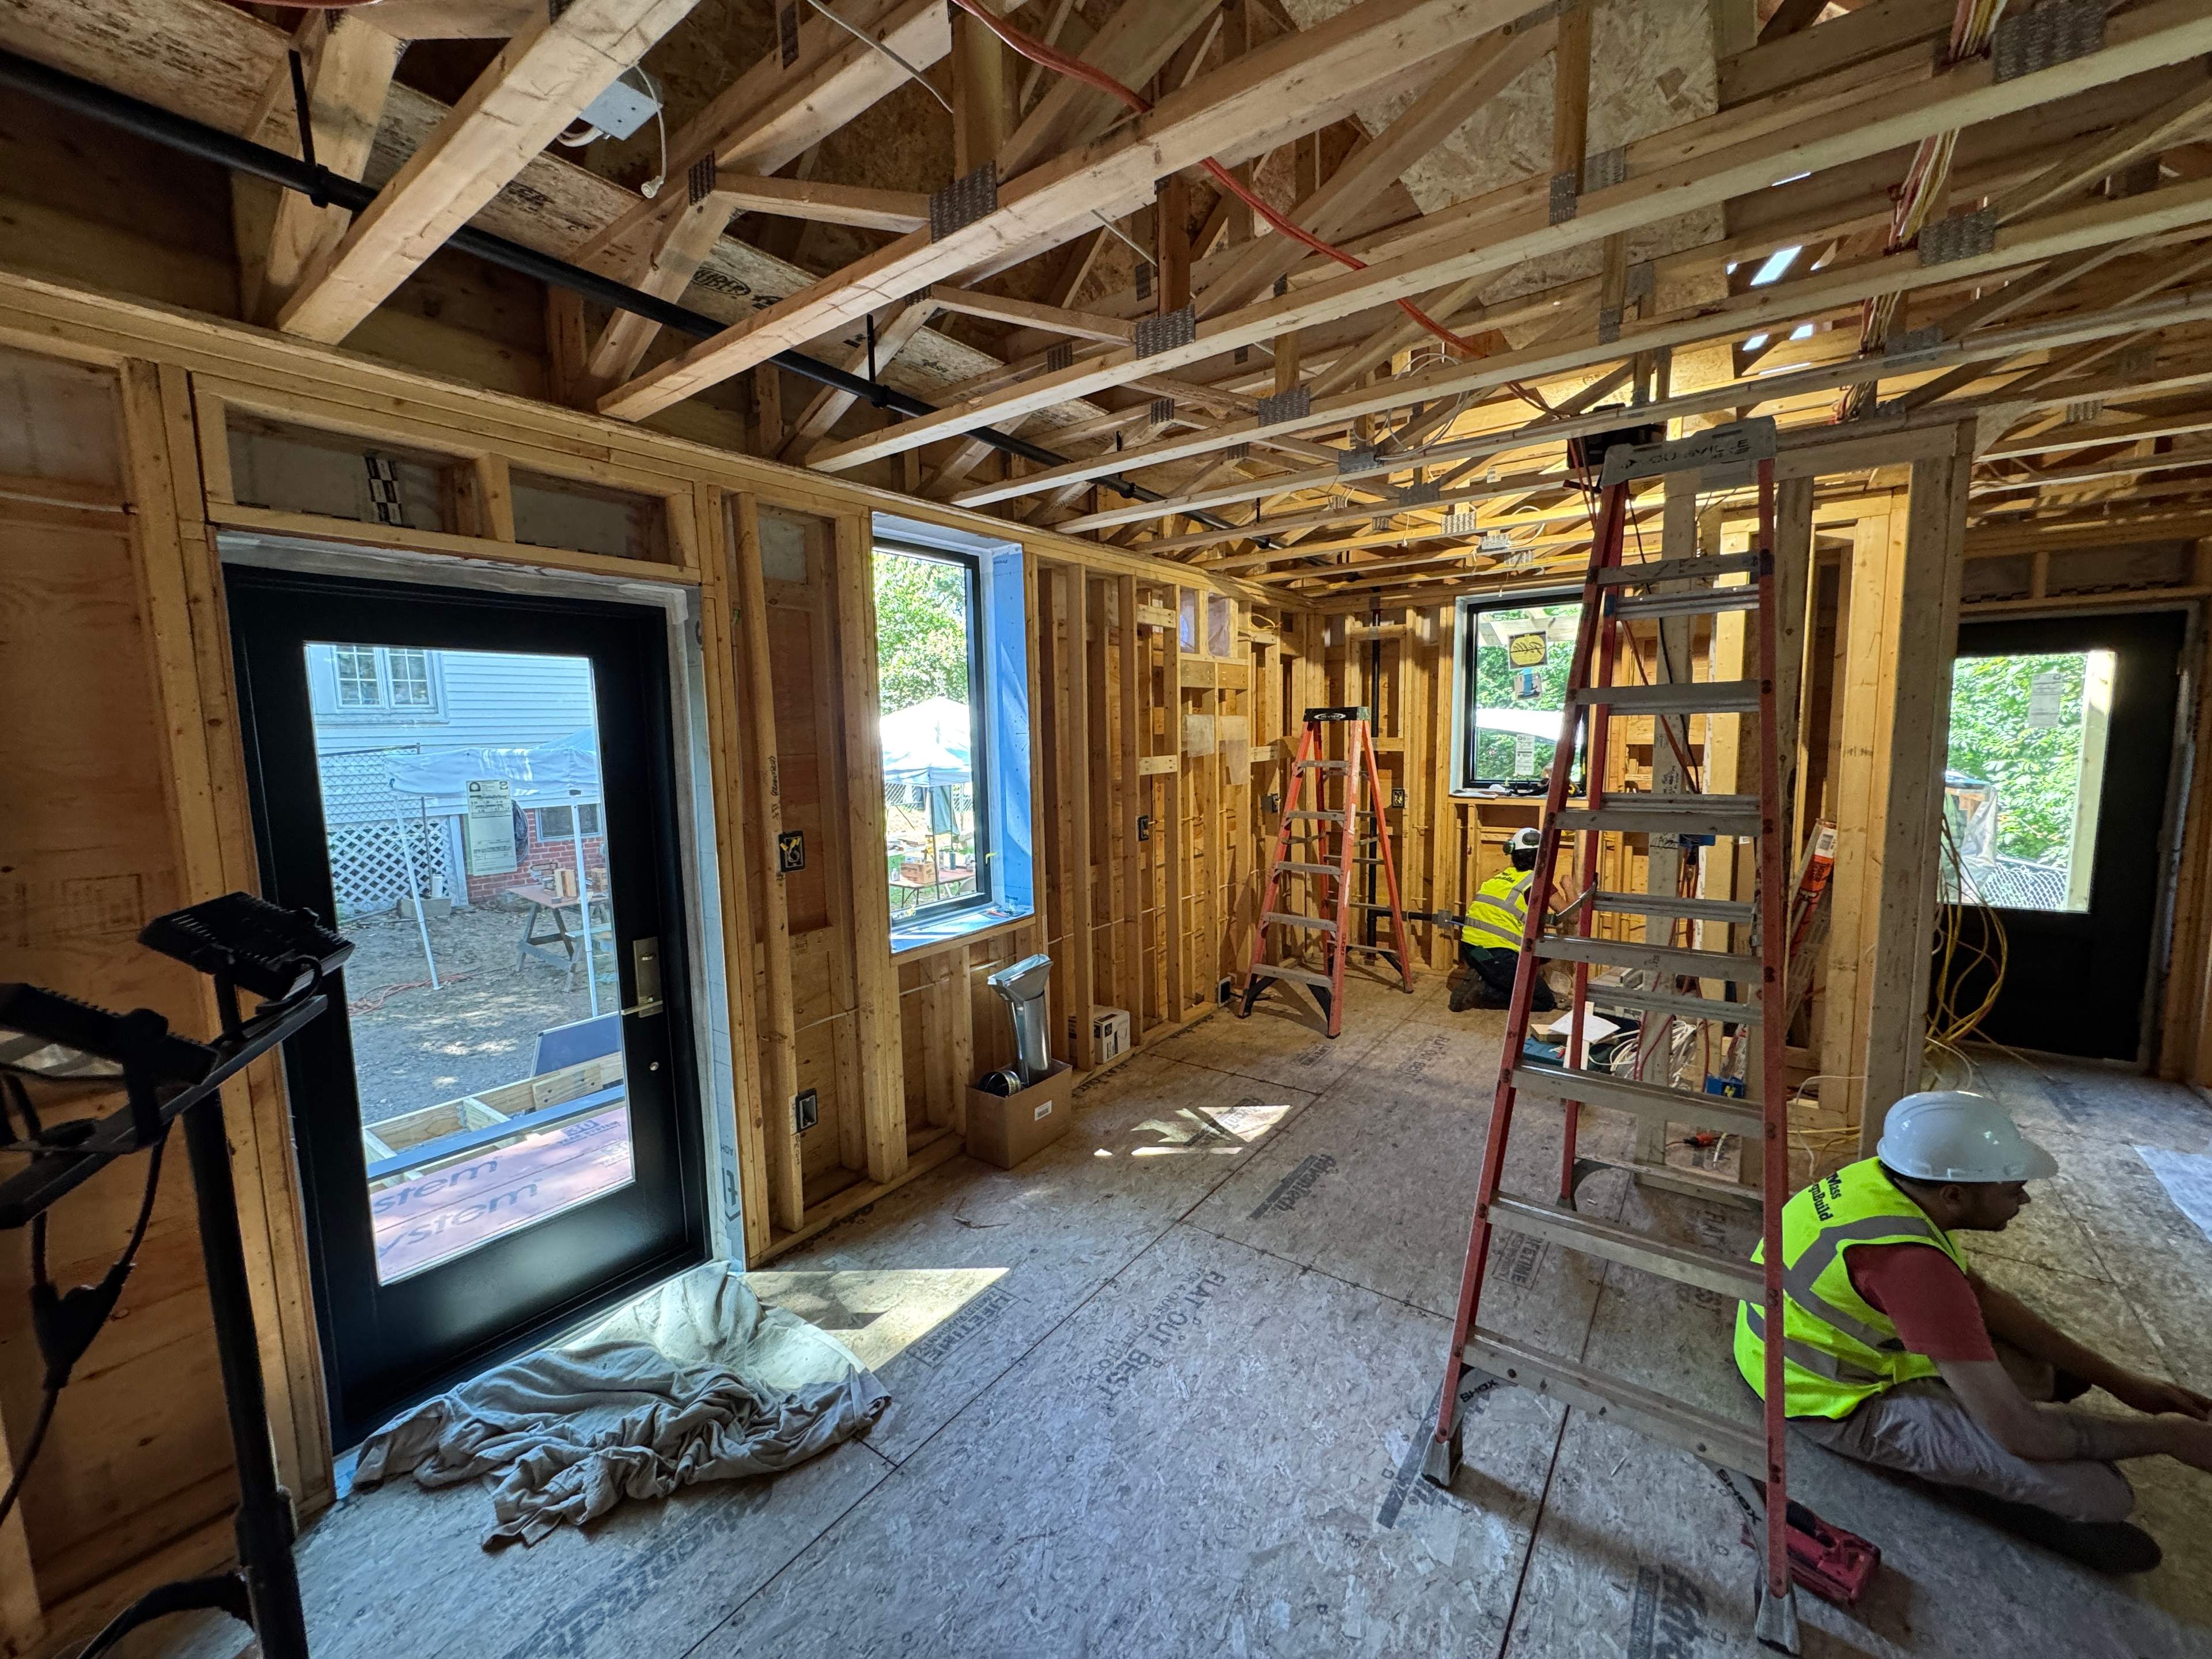
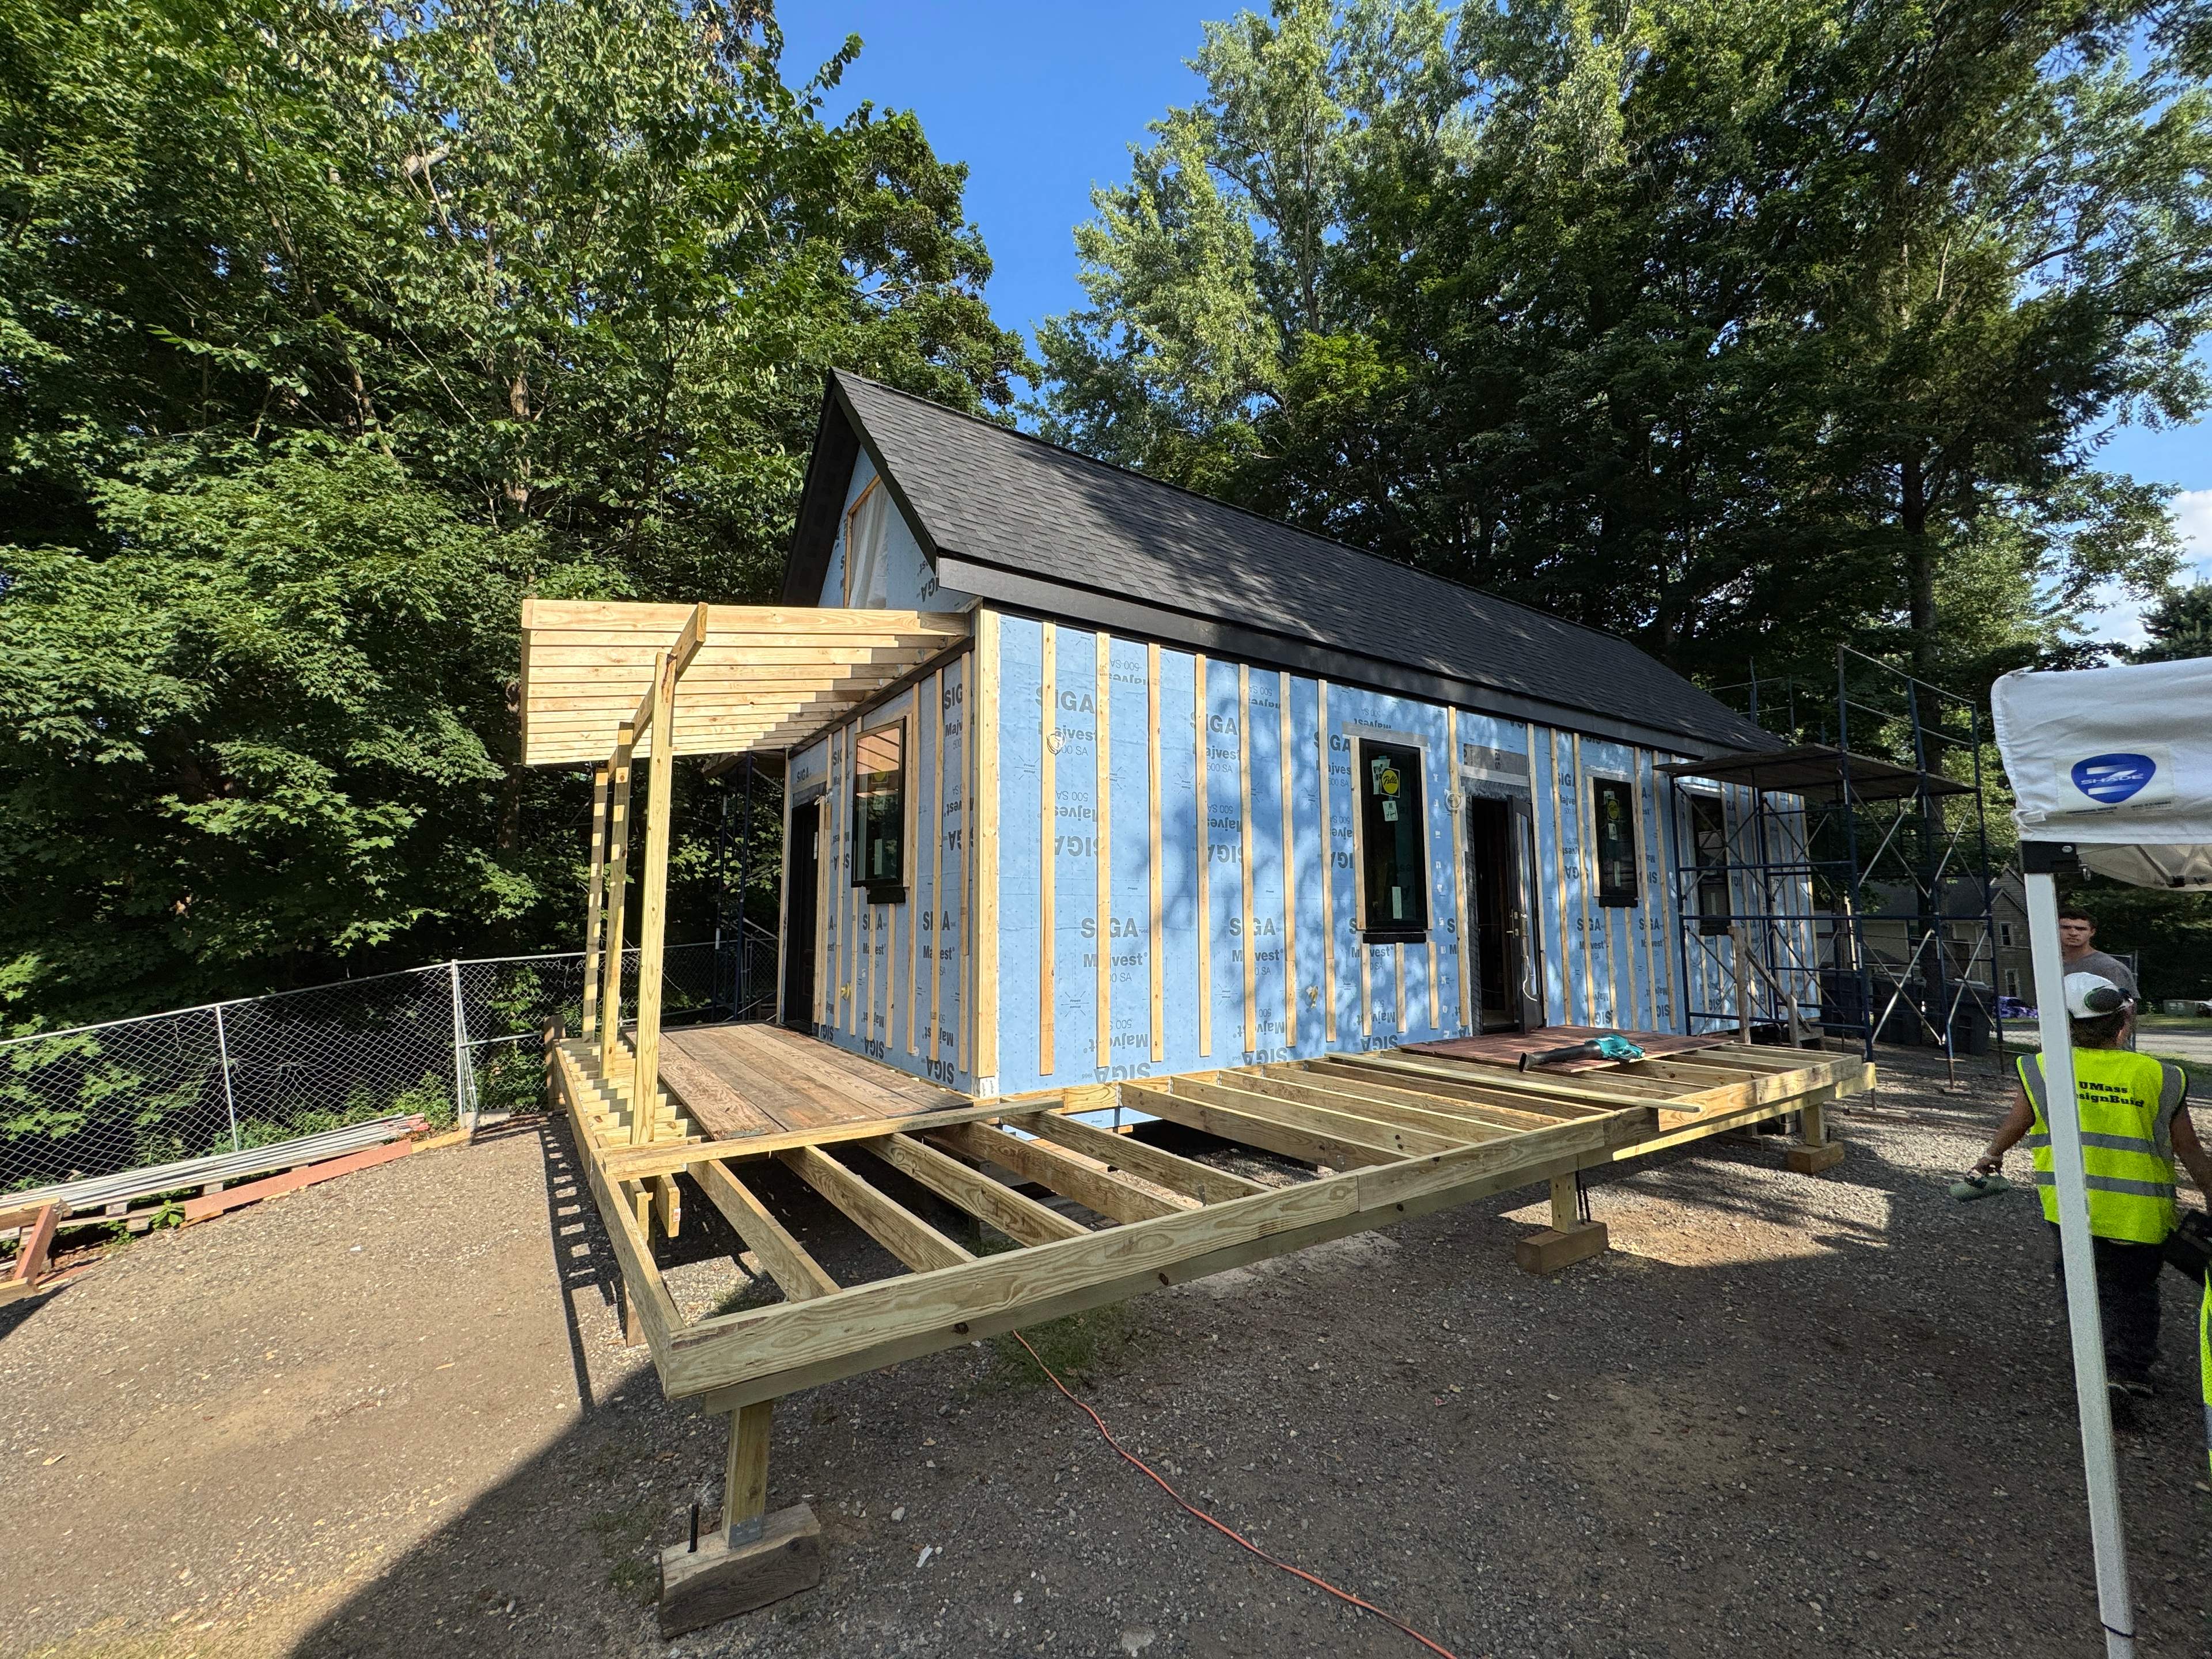
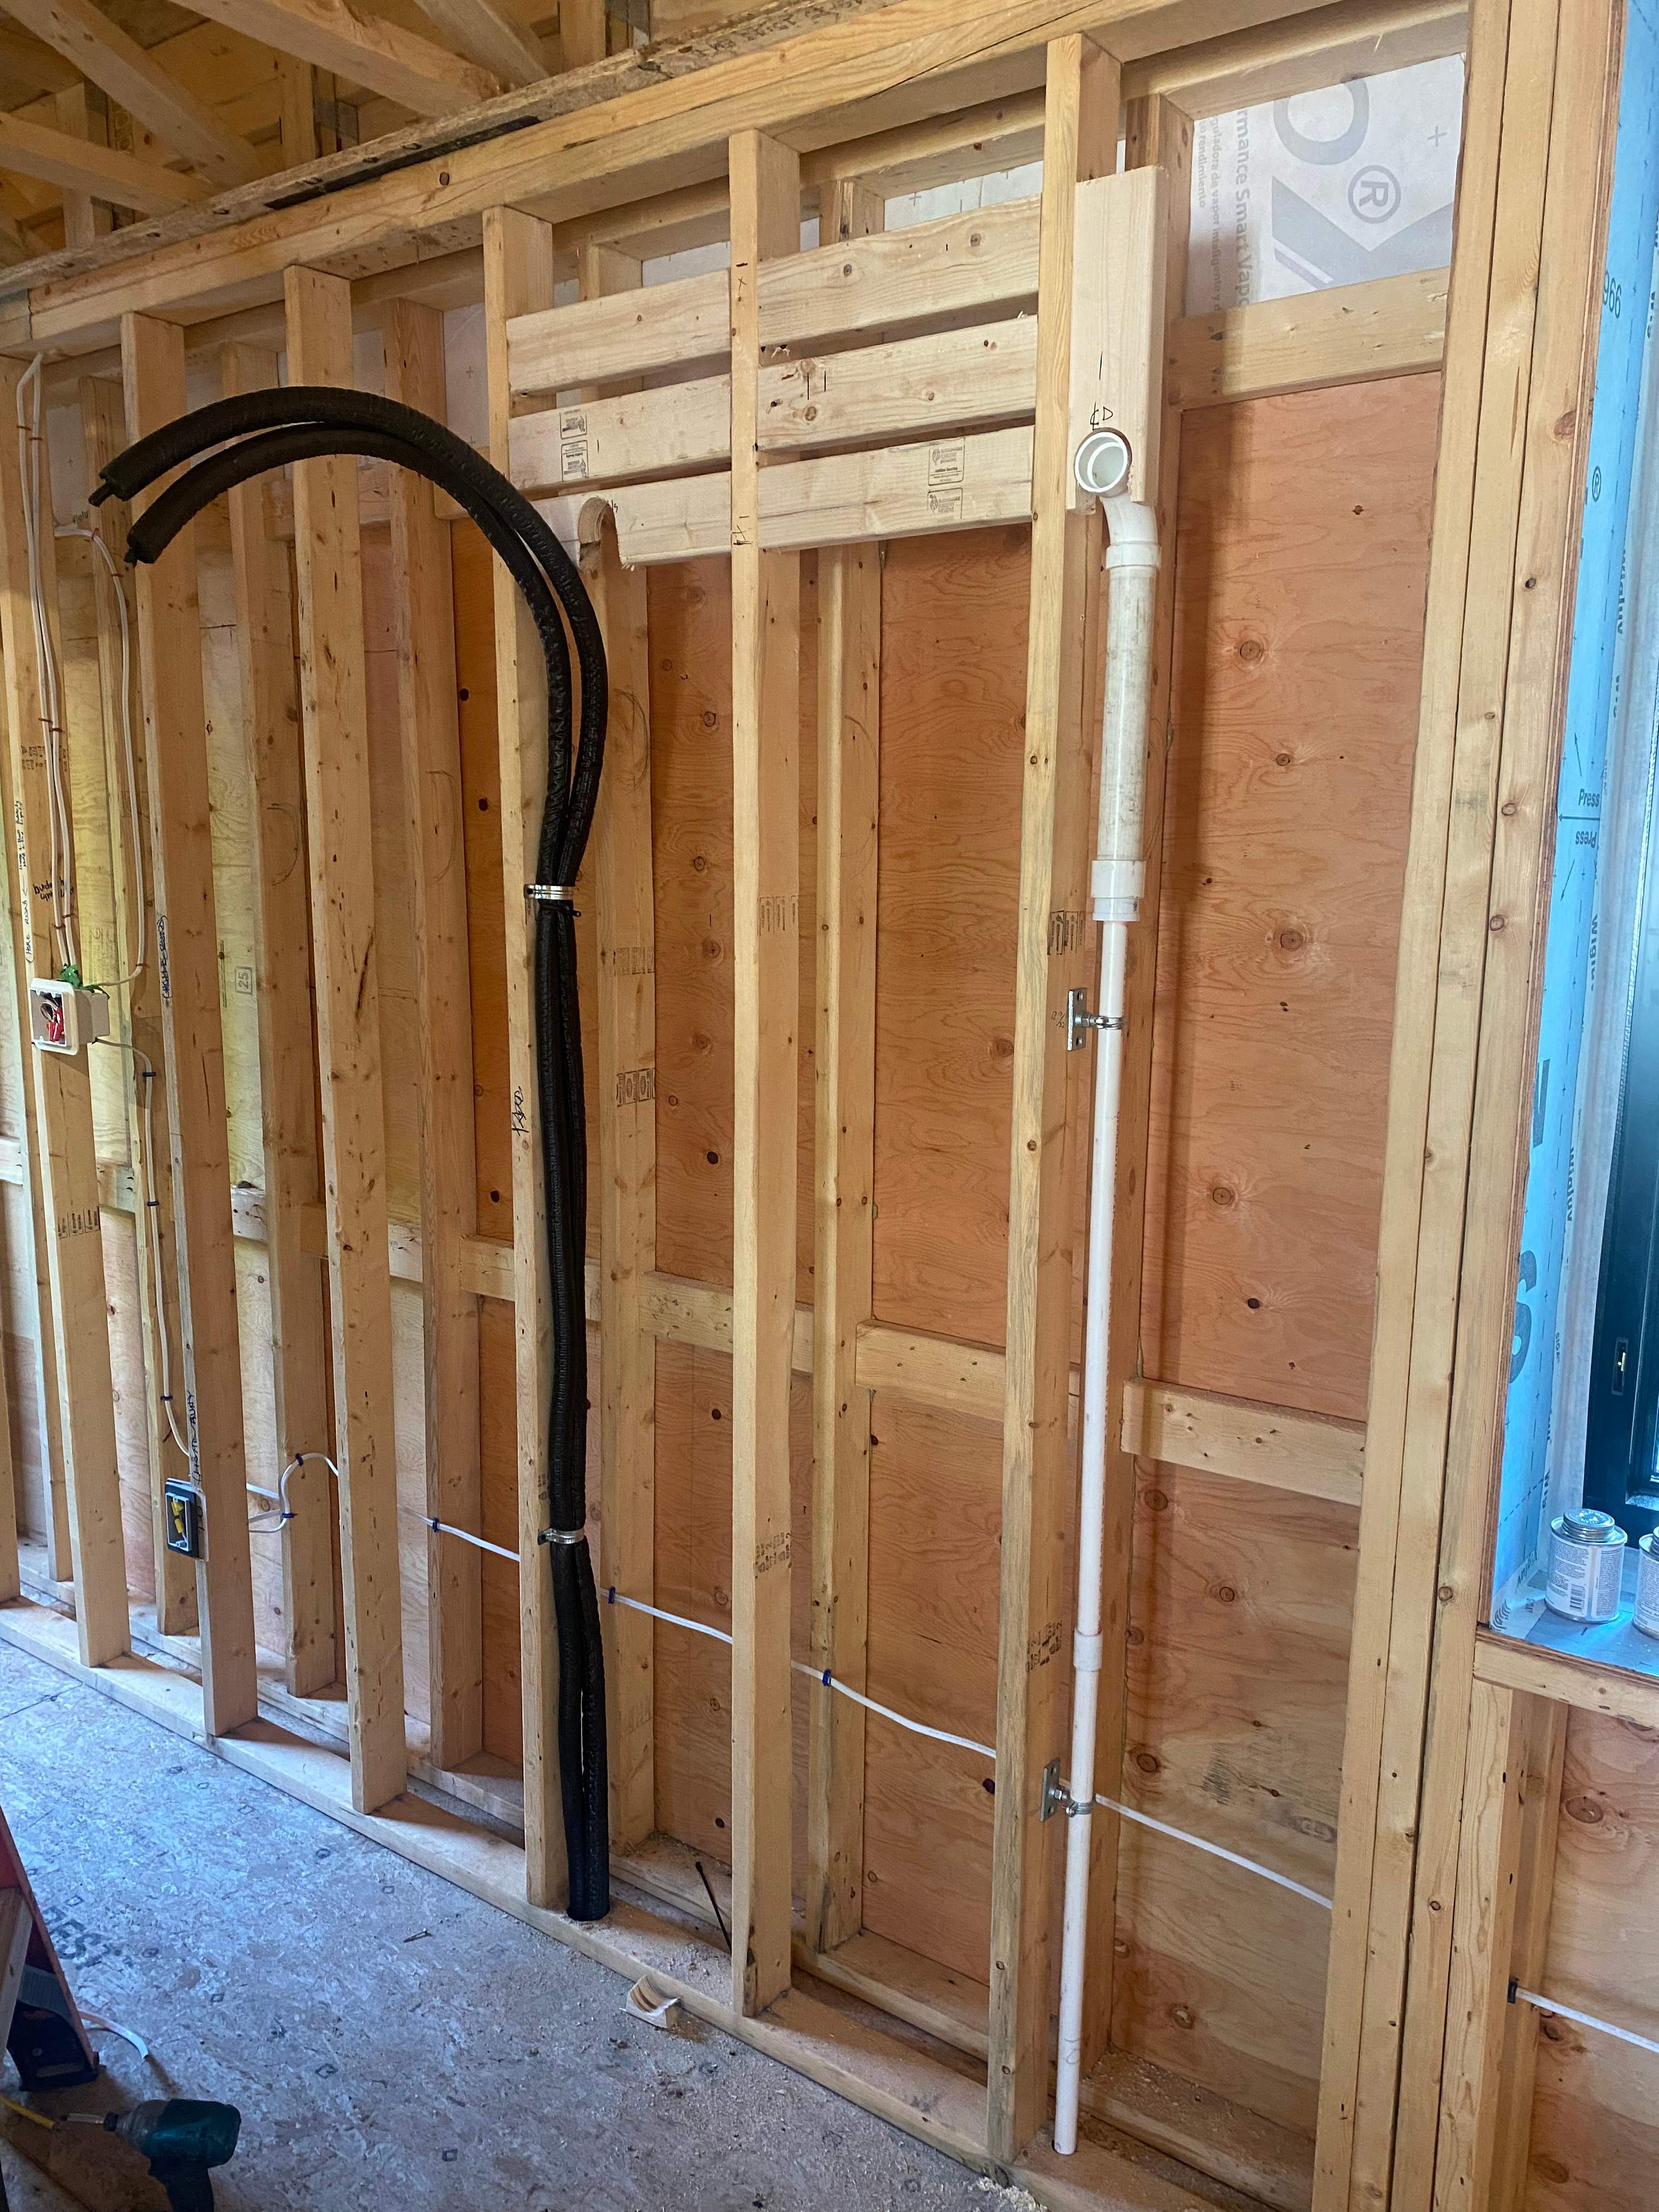
Week 2

Community Engagement
UMass Design Build was featured on local radio, giving us the chance to share our work with a wider audience. Students, faculty, and Habitat for Humanity representatives were interviewed about the project’s goals and impact. I was able to contribute my own perspective, reflecting on the experience and the value of connecting our efforts to the community
Week 3


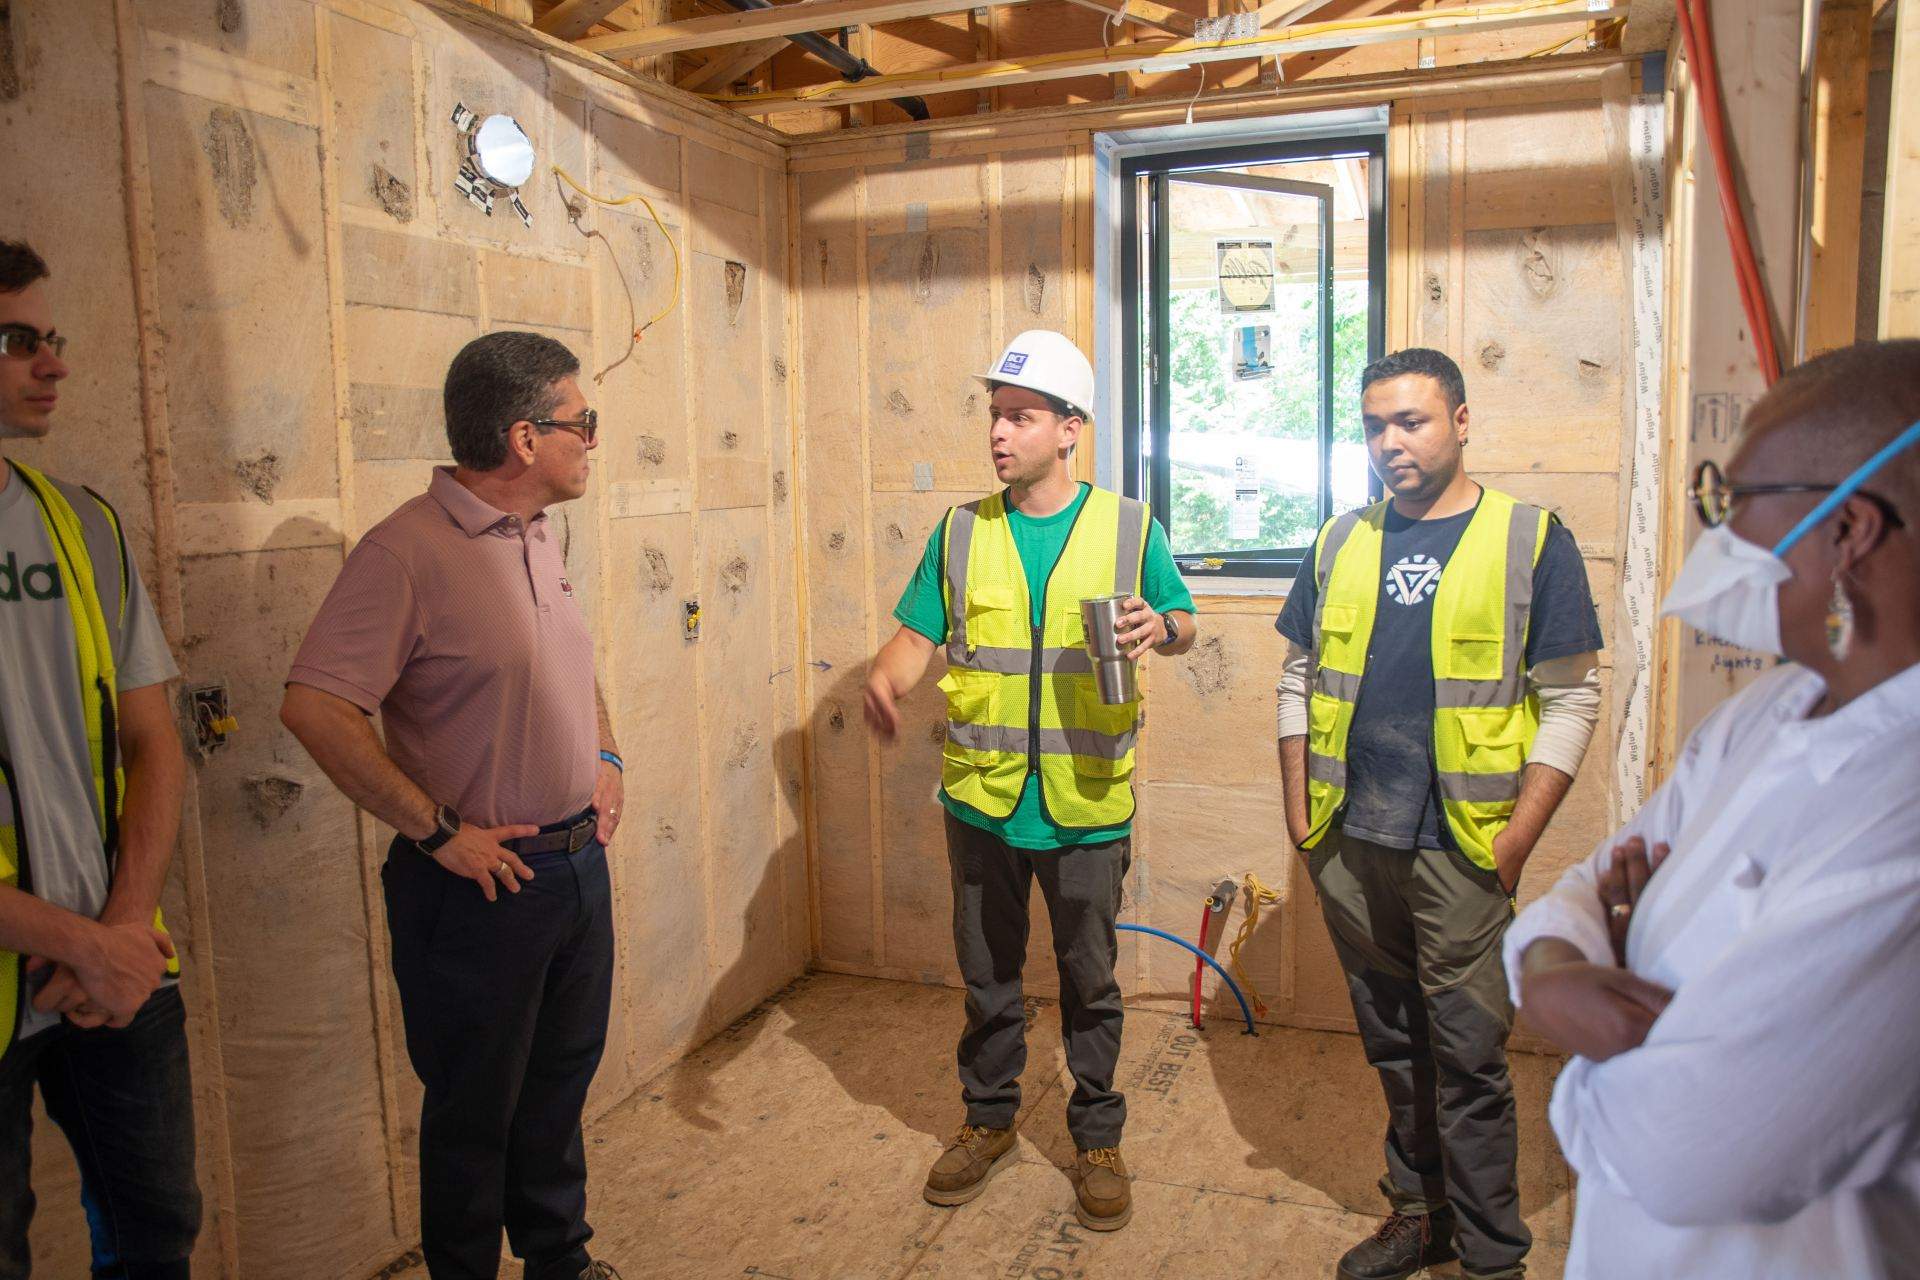
Visit from the Chancellor
We had the opportunity to present our work to UMass Amherst Chancellor Javier Reyes, sharing what the Design Build program offers students and how the experience shaped our learning. It was a chance to demonstrate the value of hands-on collaboration and to discuss how future Architecture and Building & Construction Technology students could benefit from more projects like this.